


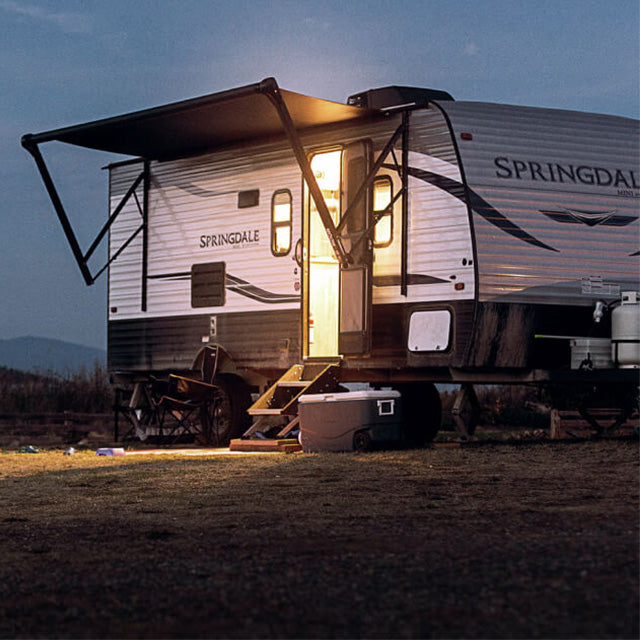

Les véhicules récréatifs (VR) présentent des défis uniques en matière de batterie. Les systèmes à double batterie – démarrage du châssis et batterie de servitude – nécessitent des approches d'entretien différentes. La batterie de servitude, dont le coût varie souvent entre 1 200 et 2 000 $ (ou entre 3 000 et 6 000 $ pour le lithium), alimente les systèmes critiques et exige une protection hivernale soignée. Un stockage inapproprié détruit ces investissements coûteux par sulfatation, gel ou dommages dus à la décharge.
Battery Tender® a été le pionnier des chargeurs intelligents grand public en 1989 et a passé 60 ans à perfectionner la technologie de charge. Ce guide complet couvre l'hivernage approprié des batteries de châssis et des batteries de servitude, qu'il s'agisse de technologies plomb-acide traditionnelles ou de technologies au lithium de plus en plus populaires.
Comprendre les systèmes de batterie de VR
Architecture à double batterie
Batterie de châssis (démarrage)
- Alimente le démarrage du moteur
- Plomb-acide 12 V (généralement AGM)
- 500-800 CCA typiques
- Similaire à une batterie automobile
- Coût : 150-250 $
- Durée de vie de 4 à 7 ans avec entretien
Batterie de servitude (à décharge profonde)
- Alimente les systèmes de la zone de vie
- Plusieurs batteries en parallèle
- Capacité typique de 200 à 600 Ah
- Options plomb-acide ou lithium
- Coût : 800 à 6 000 $ selon la chimie et la capacité
Système de séparation
- Isolateur ou séparateur de batterie
- Empêche la batterie de servitude de décharger la batterie de châssis
- Permet à l'alternateur de charger les deux batteries
- Essentiel pour la protection du système
Évolution de la technologie des batteries de servitude
Les camping-caristes modernes sont confrontés à un choix important : la technologie plomb-acide traditionnelle ou la technologie au lithium.
Batteries de servitude plomb-acide (traditionnelles)
À décharge profonde à électrolyte liquide
- Le plus économique (200 à 300 $ par batterie)
- Nécessite des ajouts d'eau réguliers
- Émet de l'hydrogène pendant la charge
- Peut déborder si le VR n'est pas de niveau
- 300 à 500 cycles typiques
- Durée de vie de 3 à 5 ans
AGM à décharge profonde
- Scellée, sans entretien (300 à 500 $ par batterie)
- Aucun ajout d'eau nécessaire
- Peut être montée dans n'importe quelle position
- Charge plus rapide que les batteries à électrolyte liquide
- 500 à 800 cycles typiques
- Durée de vie de 5 à 8 ans avec Battery Tender
Batterie de servitude typique
- 2 à 6 batteries en parallèle
- Capacité totale de 400 à 800 Ah
- 200 à 400 Ah utilisables (limite de décharge à 50 %)
- Coût total : 800 à 2 000 $
Batteries de servitude au lithium (choix moderne)
La révolution du lithium dans les VR : La technologie au lithium transforme les systèmes électriques des VR. Les avantages pour les camping-caristes sont convaincants :
Avantage de la capacité utilisable
- Plomb-acide : Seulement 50 % utilisable (banque de 400 Ah = 200 Ah utilisables)
- Lithium : 80 % utilisable (banque de 400 Ah = 320 Ah utilisables)
- Résultat : Moitié moins de poids de batterie pour la même puissance utilisable
Gain de poids
- 400 Ah plomb-acide : environ 227 kg
- 400 Ah lithium : environ 73 kg
- Réduction de poids de 154 kg
- Essentiel pour les VR à charge utile limitée
Durée de cycle
- Plomb-acide : 300 à 1 000 cycles
- Lithium : 3 000 à 5 000 cycles et plus
- Durée de cycle typiquement 10 fois plus longue
Vitesse de charge
- Plomb-acide : 8 à 12 heures pour une charge complète
- Lithium : 2 à 4 heures pour une charge complète
- Charge 3 à 4 fois plus rapide
- Essentiel pour le camping sauvage avec panneau solaire
Cohérence de la tension
- Plomb-acide : La tension chute considérablement sous charge
- Lithium : Maintient la tension tout au long de la décharge
- Meilleures performances des appareils avec le lithium
Réalité du coût
- Batterie de servitude plomb-acide de 400 Ah : 1 200 à 2 000 $
- Batterie de servitude au lithium de 400 Ah : 3 000 à 6 000 $
- Amortissement : typiquement 5 à 7 ans
- Les avantages du lithium justifient le prix plus élevé pour les camping-caristes sérieux
Pourquoi les camping-caristes choisissent le lithium
- Camping sauvage (capacité utilisable + vitesse de charge solaire)
- VR sensibles au poids (véhicules tracteurs d'une demi-tonne)
- Camping-caristes à temps plein (la durée de cycle justifie le coût)
- Passionnés de technologie (meilleures performances)
Limitations du lithium
- NE PEUT PAS charger en dessous de 0 °C
- Coût initial plus élevé (3 à 5 fois plus que le plomb-acide)
- Nécessite une charge compatible au lithium
- L'onduleur/chargeur peut nécessiter une mise à niveau
Développement du lithium chez Battery Tender
Nous avons précédemment fabriqué des batteries au lithium et nous lancerons une nouvelle gamme complète de batteries au lithium à l'été 2026, spécialement conçue pour les applications de batteries de servitude de VR et marines avec des systèmes BMS optimisés.
Évaluation avant l'hiver
Inspection de la batterie de châssis
Vérification visuelle
- Fissures, renflements, dommages au boîtier
- Corrosion des bornes
- État des câbles
- Sécurité du système de maintien
Test de tension
- 12,6-12,8 V : Complètement chargée
- 12,4-12,6 V : Charger avant le stockage
- Inférieur à 12,4 V : Charger immédiatement
Test de charge
- Un test professionnel révèle la capacité
- Essentiel pour les batteries de 4 ans et plus
- Remplacer si le test échoue
Évaluation de la batterie de servitude
Batterie plomb-acide
- Tester chaque batterie individuellement (déconnecter les connexions parallèles)
- Vérifier le niveau d'électrolyte (liquide seulement)
- Rechercher les signes de sulfatation
- Vérifier que toutes les batteries ont une tension similaire
Batterie au lithium
- Vérifier les indicateurs d'état du BMS
- Vérifier que toutes les cellules sont équilibrées
- Confirmer qu'il n'y a pas de codes d'erreur
- Vérifier l'absence de dommages physiques
Vérification du système
- Tester le fonctionnement du séparateur/isolateur de batterie
- Vérifier le fonctionnement du convertisseur/chargeur
- Rechercher les consommations parasites
- Tester le régulateur de charge solaire (si équipé)
Décisions relatives à l'emplacement de stockage du VR
Entreposage de VR à service complet
Avec prise de courant disponible
- Idéal pour les deux systèmes de batterie
- Laisser les batteries installées
- Connecter le chargeur Battery Tender ou le convertisseur
- Maintenance de charge parfaite
- Fonctionne pour le lithium si le climat est contrôlé
Sans prise de courant
- Plomb-acide : Retirer les batteries ou prévoir un entretien mensuel
- Lithium : DOIT être retiré si le climat n'est pas contrôlé
- Planifier des visites de charge mensuelles
- Ou ramener les batteries à la maison pour un stockage approprié
Stockage à domicile (allée/cour)
Avec prise de courant
- Rallonge jusqu'au VR
- Connecter l'alimentation de quai
- Faire fonctionner le convertisseur ou le chargeur Battery Tender
- Surveiller mensuellement
Sans prise de courant
- Retirer les batteries
- Stocker dans le garage/sous-sol
- Connecter le chargeur Battery Tender
- Réinstaller au printemps
Installation de stockage à température contrôlée
Environnement à température contrôlée
- Parfait pour les batteries de servitude au lithium
- Les batteries peuvent rester installées
- L'alimentation de quai est généralement disponible
- Le coût élevé est justifié pour la protection du lithium
Unité de stockage standard
- Plomb-acide : Retirer et stocker à la maison
- Lithium : DOIT être retiré (le contrôle de la température est essentiel)
- Vérifier les règles de l'établissement concernant le stockage des batteries
Procédures d'hivernage par système
Hivernage de la batterie de châssis
Option 1 : Laisser installée
- Déconnecter le câble négatif (empêche la consommation parasite)
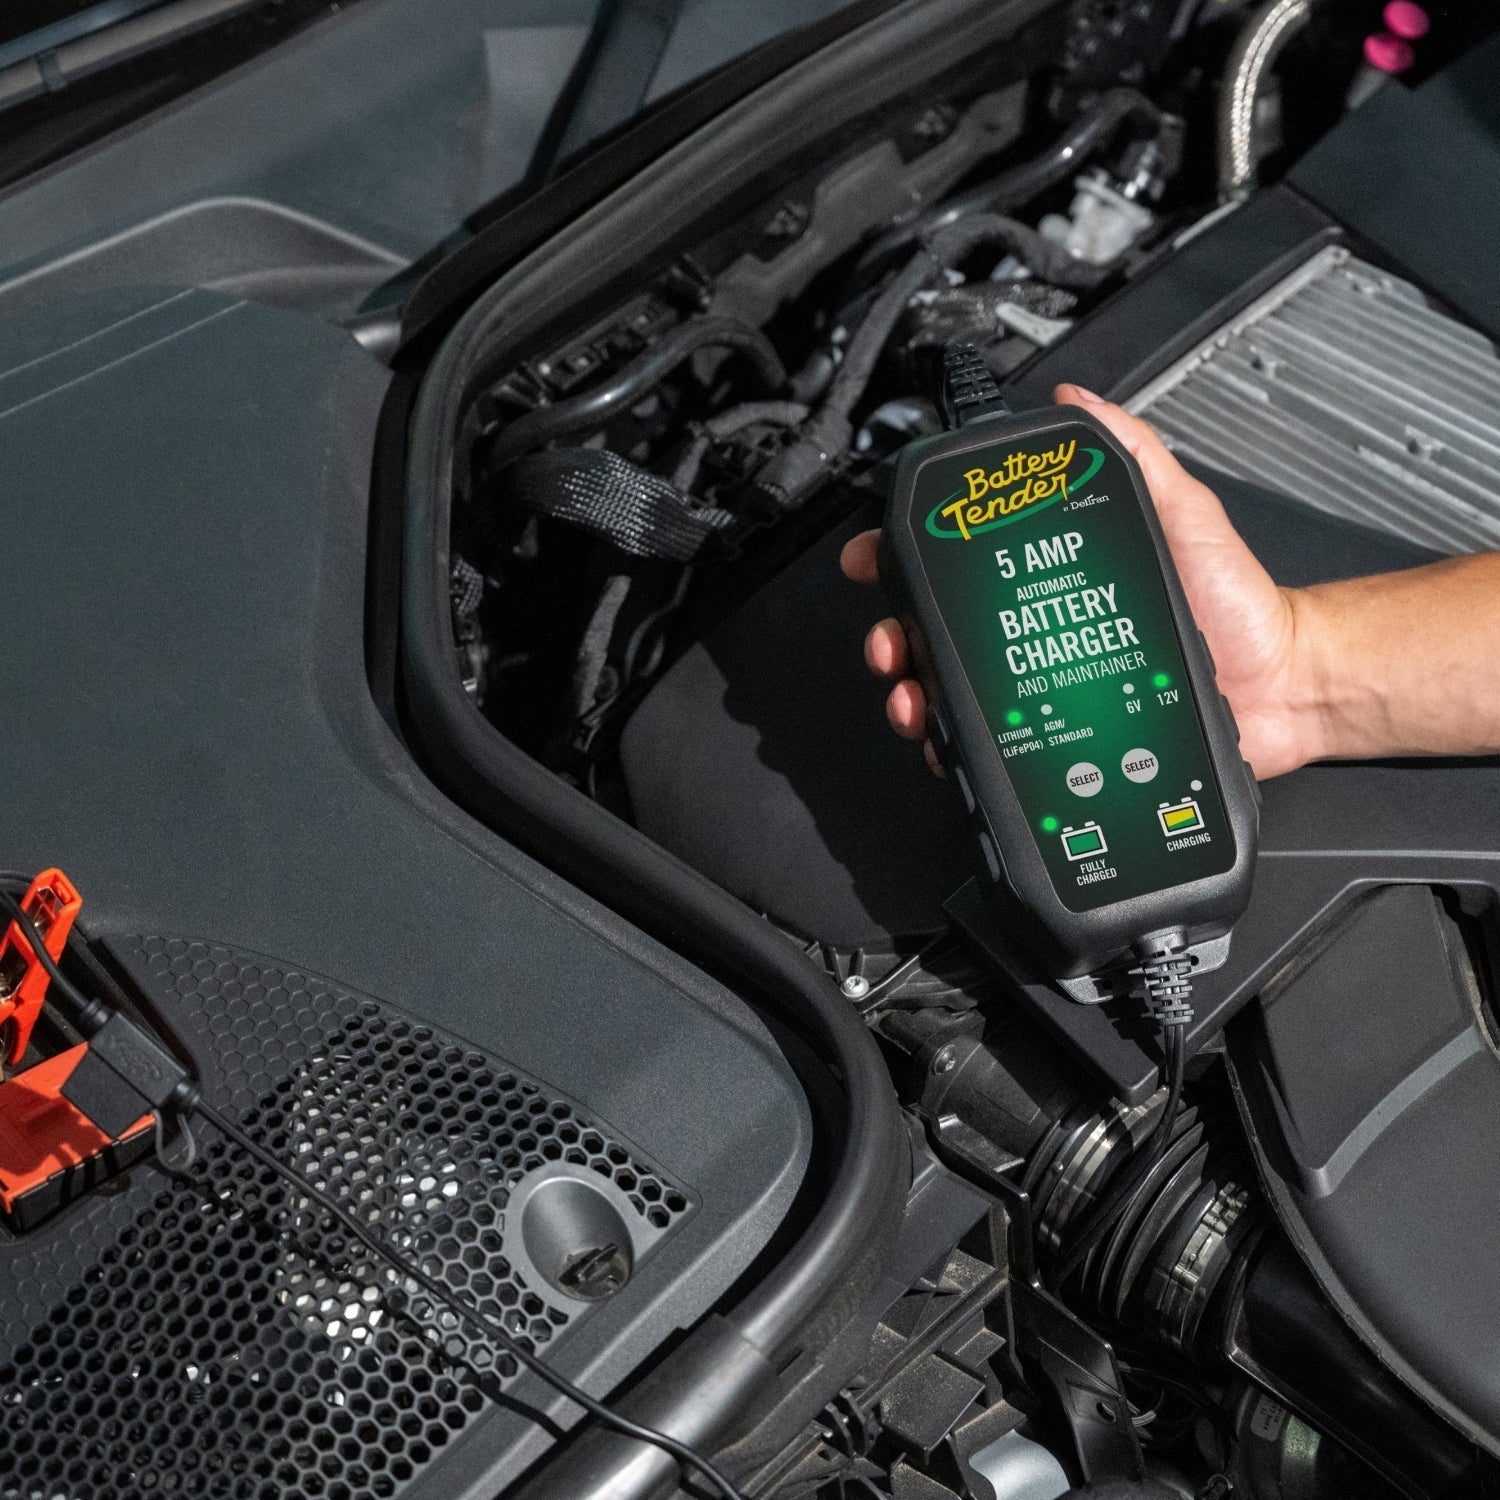
- Connecter un chargeur Battery Tender compatible VR
- Acheminer le chargeur vers un endroit accessible
- Vérifier mensuellement (lumière verte = maintenue)
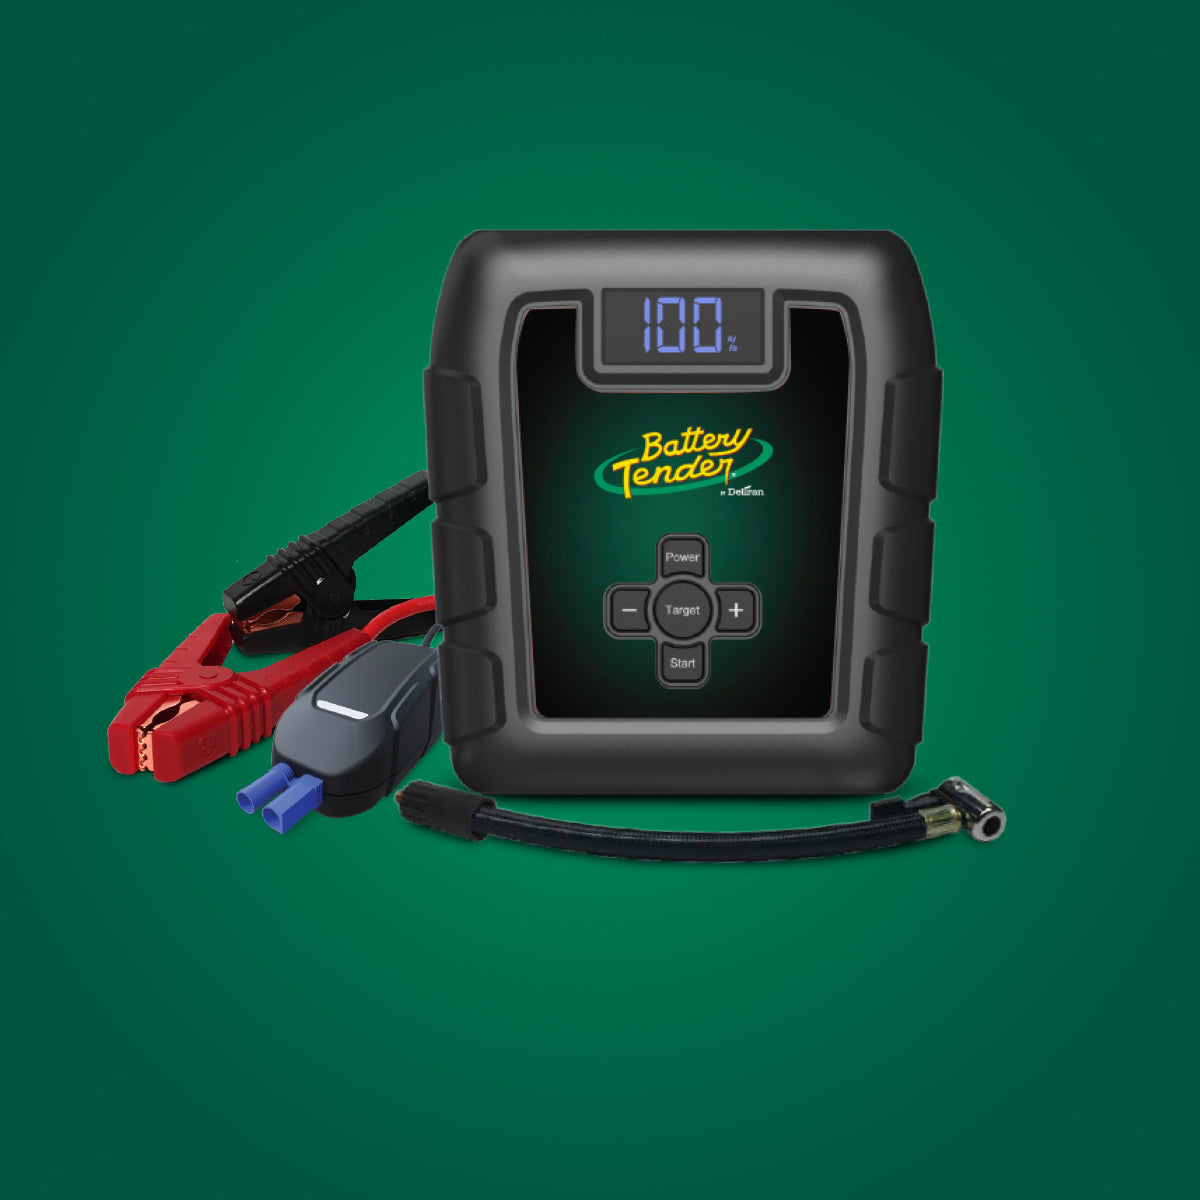
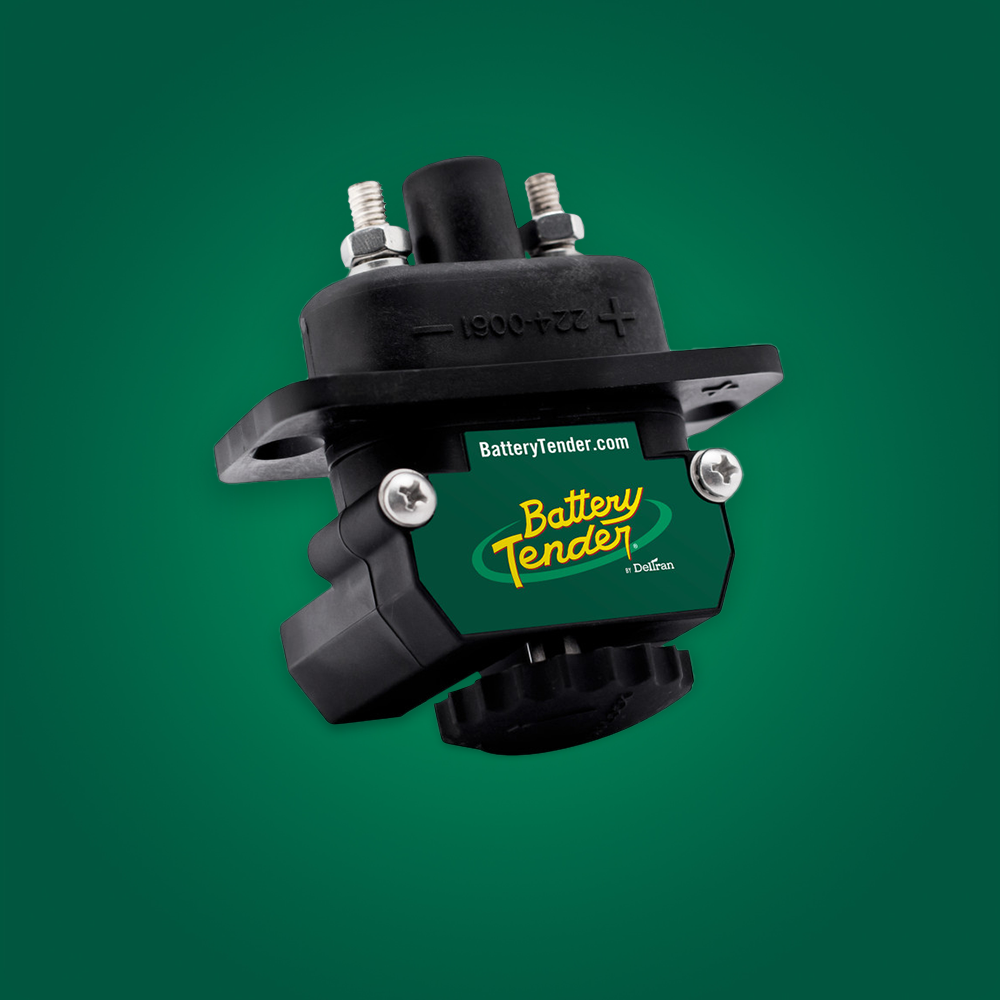
Voir les options de chargeurs Battery Tender spécifiques aux VR ici : Chargeurs de batteries VR et plein air.
Option 2 : Retirer pour le stockage
- Déconnecter le négatif en premier
- Déconnecter le positif en second
- Retirer le système de maintien
- Stocker dans un endroit chauffé (4-21 °C)
- Connecter un chargeur Battery Tender
- Charger à 100 % avant le stockage
Hivernage de la batterie de servitude plomb-acide
Préparation
- Déconnecter les connexions parallèles
- Tester chaque batterie individuellement
- Charger toutes les batteries à 100 % (12,6-12,8 V chacune)
- Vérifier que les tensions sont égales sur l'ensemble de la batterie
Option 1 : Laisser installée avec convertisseur
- Laisser l'alimentation de quai connectée
- Le convertisseur du VR maintient la charge
- Vérifier les tensions mensuellement
- Uniquement si le convertisseur a un mode de flottement approprié
Option 2 : Laisser installée avec chargeur Battery Tender
- Meilleur qu'un convertisseur (mode de flottement dédié)
- Le chargeur de batterie Battery Tender® WaveCharge Pro 4 bancs 12 V, 40 A est idéal pour plusieurs batteries (détails du produit)
- Charge individuelle par batterie
- Maintenance parfaite tout l'hiver
Option 3 : Retirer les batteries
- Idéal pour le stockage extérieur/non chauffé
- Stocker dans un endroit chauffé
- Connecter un Battery Tender® à chaque batterie
- Ou utiliser un chargeur multi-bancs
- Charger à 100 % avant le stockage
Entretien mensuel (si aucun chargeur Battery Tender n'est utilisé)
- Tester la tension de chaque batterie
- Recharger si la tension est inférieure à 12,4 V
- Inspecter les dommages/la corrosion
- Enregistrer les tensions dans un journal d'entretien
Hivernage de la batterie de servitude au lithium
Exigences critiques pour le lithium
Contrôle de la température
- NE PEUT PAS charger en dessous de 0 °C
- Le BMS empêche la charge à froid
- Doit maintenir le stockage au-dessus de 4 °C pour la capacité de charge
- Cela dicte la stratégie de stockage
Option 1 : Stockage à température contrôlée (le meilleur)
- Laisser les batteries installées
- Alimentation de quai connectée
- L'onduleur/chargeur avec profil lithium maintient la charge
- La température reste au-dessus de 4 °C minimum
- Solution parfaite pour le lithium
Option 2 : Retirer et stocker à l'intérieur (le plus courant)
- Déconnecter les batteries du système du VR
- Transporter dans un garage/sous-sol chauffé
- Stocker à 60-80 % de charge (PAS à 100 %)
- Connecter un chargeur compatible lithium
- Vérifier la tension mensuellement
- Recharger si la tension est inférieure à 13,0 V
- Maintenir la température au-dessus de 4 °C
Pour les chargeurs de VR compatibles lithium, voir : Chargeurs de lithium pour VR.
Meilleures pratiques de stockage du lithium
- Stocker à 60-80 % de charge (optimal pour la longévité)
- Très faible autodécharge (2-3 % par mois)
- Vérifier la tension mensuellement
- La surveillance de la température est essentielle
- Moins d'entretien que le plomb-acide (mais la température est non négociable)
Pourquoi le lithium fonctionne pour les camping-caristes
Les intérieurs des VR sont climatisés ou les batteries peuvent être facilement retirées pour être stockées dans un endroit chauffé, ce qui résout la limitation de la charge à froid qui rend le lithium peu pratique pour les motoneiges.
Considérations relatives aux panneaux solaires
Solaire pendant le stockage hivernal
Déconnecter le solaire pour le stockage
- Les panneaux solaires peuvent surcharger les batteries
- Le régulateur de charge peut mal fonctionner
- La neige peut créer une charge intermittente
- Il est préférable d'utiliser un chargeur Battery Tender pour un entretien constant
Si le solaire reste connecté
- Vérifier que le régulateur de charge fonctionne correctement
- Surveiller les tensions des batteries mensuellement
- S'assurer que le régulateur a une compensation de température appropriée
- Lithium : Vérifier que le régulateur a un profil lithium et un capteur de température
Protection des panneaux solaires
- Couvrir les panneaux ou les incliner verticalement (gestion de la neige)
- Déconnecter en cas de préoccupations liées à la charge de neige
- Inspecter le câblage et les connexions
- Nettoyer les panneaux avant le printemps
Charge de plusieurs bancs de batteries
Charger plusieurs batteries simultanément
Défis des batteries de servitude de VR
- 2 à 6 batteries typiques
- Chacune nécessite une charge individuelle
- La charge parallèle peut endommager les batteries
- Les batteries inégales déchargent le banc
Solutions Battery Tender
Chargeurs multibancs pour VR :
- Charger plusieurs batteries simultanément
- Charge indépendante par batterie
- Sélection individuelle de la chimie
- Peut mélanger plomb-acide et lithium (bancs séparés)
- Commodité d'une seule prise
Parcourir les chargeurs multibancs pour VR : Multibancs (VR).
Installation pour le stockage
- Déconnecter les connexions parallèles de la batterie
- Connecter le chargeur à chaque batterie individuellement
- Sélectionner la chimie appropriée par batterie
- Laisser connecté tout l'hiver
- Vérifier les indicateurs verts mensuellement
Pourquoi la charge individuelle est importante
- Les batteries vieillissent à des vitesses différentes
- Une batterie plus faible affaiblit les batteries plus fortes
- La charge individuelle équilibre l'ensemble du banc
- Prolonge la durée de vie globale du système
Hivernage des systèmes de vie du VR
Protection du système d'eau
Prévient les dommages causés par le gel (liés à la batterie) :
- La pompe à eau consomme l'énergie de la batterie si elle est gelée
- Une pompe endommagée crée une consommation parasite
- Un hivernage approprié protège également les batteries
Étapes d'hivernage
- Vidanger tous les réservoirs d'eau
- Vidanger le chauffe-eau
- Ajouter de l'antigel pour VR dans les tuyaux
- Contourner le chauffe-eau
- Faire passer de l'antigel par tous les robinets
Propane et appareils électroménagers
Arrêt du système
- Fermer le propane au niveau du réservoir
- Éteindre le chauffe-eau
- Désactiver le réfrigérateur
- Déconnecter les batteries des consommations parasites
Pourquoi cela est important
- Empêche la décharge de la batterie due aux charges "fantômes"
- Protège les systèmes des dommages causés par le gel
- Réduit le risque d'incendie pendant le stockage
- Permet aux batteries de maintenir leur charge
Remise en service au printemps
Tests avant la saison
Batterie de châssis
- La tension devrait être de 12,6 à 12,8 V si entretenue
- Tester la charge en cas de doute
- Nettoyer les bornes
- Vérifier la sécurité du système de maintien
Batterie de servitude plomb-acide
- Tester chaque batterie individuellement (devrait être de 12,6-12,8 V)
- Tester la charge de l'ensemble du banc
- Vérifier le niveau d'électrolyte (liquide seulement)
- Vérifier que les batteries sont équilibrées (tensions égales)
Batterie de servitude au lithium
- Vérifier la tension (13,0-13,6 V selon la charge de stockage)
- Vérifier que les indicateurs du BMS sont normaux
- Confirmer qu'il n'y a pas de codes d'erreur
- Réchauffer les batteries à plus de 10 °C si stockées à froid
Procédures de réinstallation
Batterie de châssis
- Nettoyer le plateau de batterie
- Positionner correctement la batterie
- Connecter le positif en premier
- Connecter le négatif en second
- Fixer le système de maintien
- Tester le système de démarrage
Batterie de servitude
- Réinstaller chaque batterie
- Reconnecter les connexions parallèles
- Vérifier le câblage correct (positif à positif, etc.)
- Connecter au système du VR
- Tester la fonction du convertisseur/chargeur
- Vérifier le fonctionnement de l'isolateur de batterie
Vérification du système
- Connecter l'alimentation de quai
- Vérifier la tension de charge du convertisseur
- Tester tous les systèmes 12 V (lumières, pompe à eau, etc.)
- Vérifier le fonctionnement du réfrigérateur
- Vérifier le régulateur de charge solaire (si équipé)
- Lithium : Confirmer que l'onduleur/chargeur utilise le profil lithium
Période de rodage
Premiers jours
- Surveiller attentivement les tensions des batteries
- Vérifier les performances du système de charge
- Vérifier l'absence de consommations inhabituelles
- Tester tous les systèmes sous charge
Charge plomb-acide
- Alternateur/convertisseur : 13,8-14,4 V typique
- Devrait accepter la charge facilement
- Pas de chaleur excessive pendant la charge
Charge lithium
- Onduleur/chargeur : 14,2-14,6 V typique
- Vérifier le profil de charge compatible lithium
- Le BMS devrait afficher une charge normale
- Surveiller attentivement les premiers cycles de charge
Analyse coûts-avantages
Batterie de servitude plomb-acide (400 Ah)
Investissement en équipement
- Batteries : 1 200 à 2 000 $
- Chargeur multibancs : 300 à 400 $
- Total : 1 500 à 2 400 $
Avec Battery Tender
- Durée de vie : 6-8 ans (contre 3-4 sans)
- Économies : 1 200 à 2 000 $ (remplacement évité)
- Rendement sur investissement : Le chargeur se rentabilise grâce à la prolongation de la durée de vie de la batterie
Lecture connexe : Un chargeur est moins cher qu'une batterie.
Batterie de servitude au lithium (400 Ah)
Investissement en équipement
- Batteries : 3 000 à 6 000 $
- Chargeur compatible lithium : 140 à 400 $
- Mise à niveau possible de l'onduleur/chargeur : 0 à 1 500 $
- Total : 3 140 à 7 900 $
Valeur à long terme
- Durée de vie : 10-15 ans (contre 3-5 ans pour le plomb-acide)
- Cycles : 3 000 à 5 000 (contre 500 à 1 000 pour le plomb-acide)
- Gain de poids : 154 kg typique
- Capacité utilisable : 2 fois l'équivalent plomb-acide
- Amortissement : 5-7 ans
Pour les camping-caristes sérieux
- Camping sauvage : Vitesse de charge lithium + capacité utilisable critiques
- À temps plein : La durée de cycle justifie l'investissement
- VR à poids limité : Économie de 154 kg significative
- Un stockage hivernal approprié protège un investissement de 3 000 à 6 000 $
Comparaison VR plomb-acide vs lithium
| Catégorie | Plomb-acide | Lithium (LiFePO4) |
|---|---|---|
| Coût du banc 400 Ah | 1 200 à 2 000 $ | 3 000 à 6 000 $ |
| Poids | ~227 kg | ~73 kg |
| Capacité utilisable | 200 Ah (50 %) | 320 Ah (80 %) |
| Temps de charge | 8 à 12 heures | 2 à 4 heures |
| Durée de cycle | 500 à 1 000 | 3 000 à 5 000+ |
| Durée de vie | 3 à 5 ans | 10 à 15 ans |
| Température de stockage | 0 à 27 °C | 4 à 21 °C |
| Température de charge | Jusqu'à -18 °C | Ne peut pas charger en dessous de 0 °C |
| Entretien | Charge régulière ou par Battery Tender | Minimal (contrôle de la température requis) |
| Autodécharge | 3 à 5 % par mois | 1 à 2 % par mois |
| Chute de tension | Significative | Minimale |
| Charge solaire | Plus lente | Beaucoup plus rapide |
| Idéal pour | Camping-caristes de week-end, soucieux du budget | Camping sauvage, à temps plein, sensibles au poids |
FAQ
Q : Puis-je laisser mon VR branché tout l'hiver ?
R : Plomb-acide : Oui, si le convertisseur a un mode de flottement approprié. Lithium : Seulement si l'entreposage est climatisé. Meilleure solution : Un chargeur Battery Tender avec un mode de flottement dédié (conçu pour le stockage à long terme depuis 1989).
Q : Dois-je mettre à niveau ma batterie de servitude vers le lithium ?
R : Envisagez-le si : (1) Vous faites beaucoup de camping sauvage (la vitesse de charge solaire est importante), (2) Votre VR est limité en poids, (3) Vous utilisez votre VR à temps plein ou intensivement (la durée de cycle est importante), (4) Un stockage climatisé est disponible. Le lithium devient la norme pour les camping-caristes sérieux.
Q : Mon convertisseur de VR chargera-t-il les batteries au lithium ?
R : De nombreux convertisseurs plus anciens ne le feront pas. Vérifiez que le vôtre a un profil de charge compatible lithium (14,2-14,6 V en vrac, pas de mode de flottement). Une mise à niveau vers un convertisseur/chargeur compatible lithium peut être nécessaire (500 à 1 500 $).
Q: Puis-je mélanger des batteries au lithium et au plomb-acide dans mon VR?
R: Oui, mais elles doivent être des systèmes distincts (plomb-acide pour le châssis, lithium pour la batterie de servitude). Ne jamais mettre en parallèle des chimies différentes. Chaque système a besoin d'un chargeur approprié.
Q: Ai-je besoin d'un chargeur Battery Tender si mon VR a un convertisseur?
R: Un chargeur Battery Tender est supérieur pour le stockage. Les convertisseurs de VR n'ont souvent pas de mode flottant approprié pour le stockage à long terme. La technologie Battery Tender a été spécifiquement conçue pour l'entretien hivernal depuis 1989.
Q: Comment savoir si mes batteries au lithium sont trop froides pour être chargées?
R: Le BMS empêchera la charge automatiquement en dessous de 0°C (32°F). Si les batteries sont froides, réchauffez-les à plus de 10°C (50°F) avant de tenter de les charger. Ne jamais forcer la charge de batteries au lithium froides.
Conclusion
Les systèmes de batteries des VR exigent une attention hivernale particulière. Les deux bancs de batteries — châssis et servitude — nécessitent des stratégies d'entretien individuelles. Qu'il s'agisse d'entretenir les batteries plomb-acide traditionnelles avec la technologie flottante éprouvée de Battery Tender (lancée en 1989) ou de passer au lithium avec un stockage à température contrôlée, une hivernation appropriée protège les investissements coûteux en batteries.
La technologie lithium transforme les systèmes électriques des VR pour les campeurs autonomes sérieux et les résidents à temps plein. Les avantages en termes de gain de poids et de capacité utilisable justifient le coût élevé, à condition qu'un stockage à température contrôlée soit disponible. La future gamme de produits au lithium de Battery Tender, prévue pour l'été 2026, apportera nos 60 ans et plus d'expertise en matière de recharge à cette technologie émergente pour VR.
Ne laissez pas le stockage hivernal détruire vos batteries de VR. Mettez en œuvre un entretien de charge approprié et profitez d'une alimentation fiable lorsque la saison de camping reprendra.
Parcourez nos chargeurs de batterie et accessoires.