


Les démarreurs d'appoint délivrent des centaines d'ampères de courant instantané, suffisamment pour démarrer des moteurs et, en cas de mauvaise utilisation, causer des blessures graves, voire mortelles. Des explosions de batterie, des chocs électriques, des brûlures par arc électrique et des dommages matériels surviennent chaque année en raison de procédures de démarrage d'appoint incorrectes. Comprendre les protocoles de sécurité transforme le démarrage d'appoint, passant de procédures d'urgence dangereuses à une opération contrôlée et sûre.
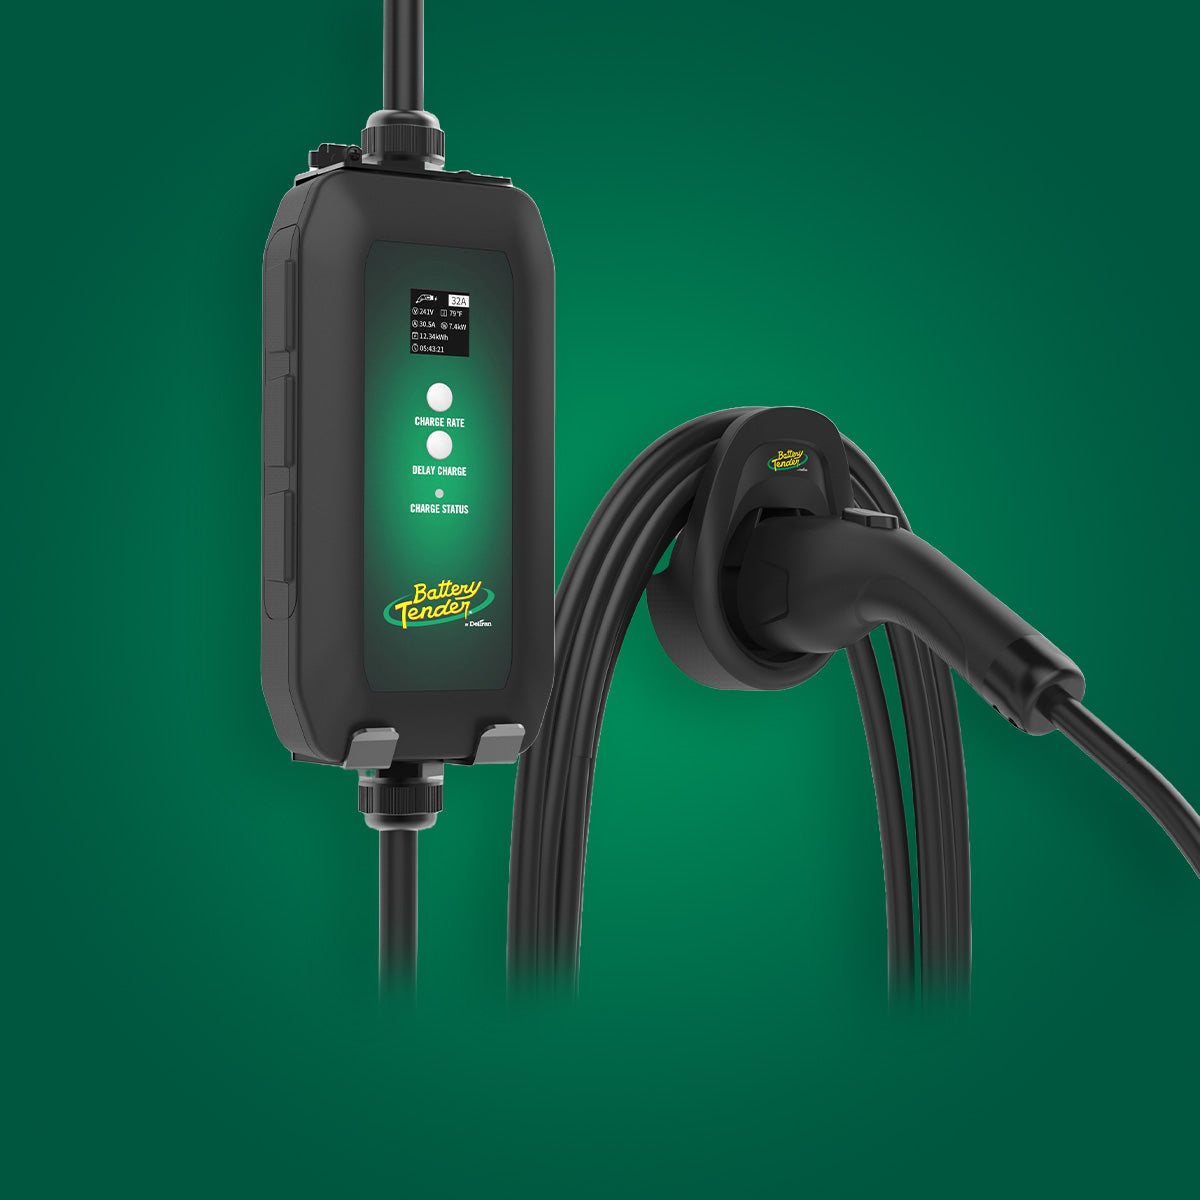
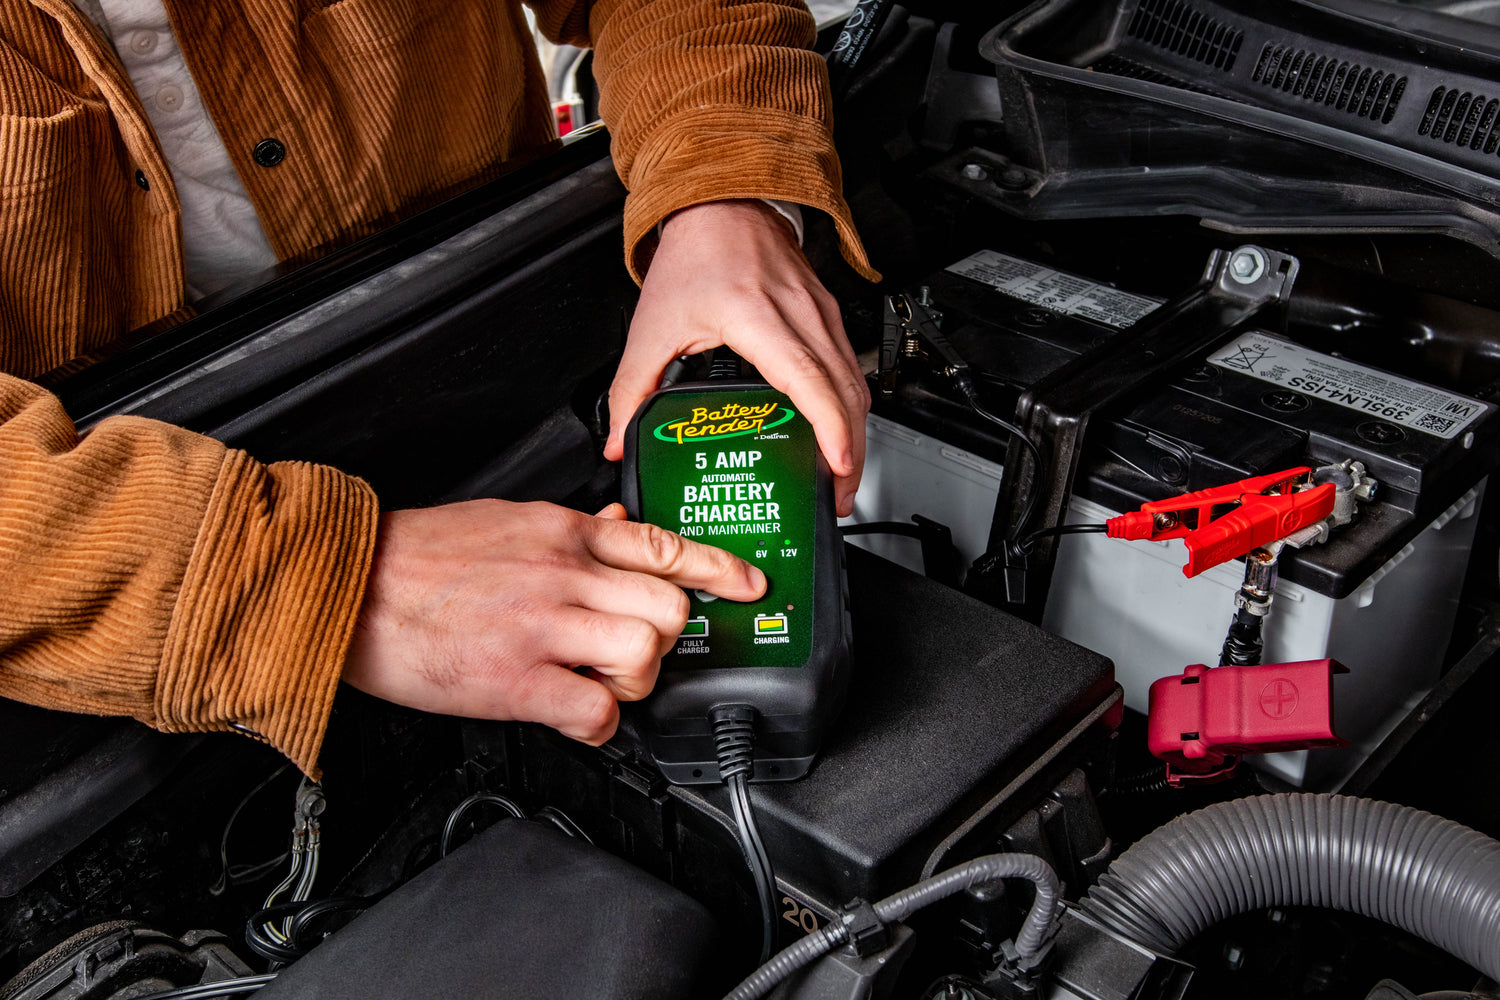
Battery Tender® a passé 60 ans à concevoir des solutions de charge de batterie sûres depuis l'invention des chargeurs intelligents grand public en 1989. Ce guide de sécurité complet partage des procédures essentielles qui préviennent les blessures et les dommages matériels lors des opérations de démarrage d'appoint. Chargeurs de batterie
Comprendre les dangers des démarreurs d'appoint
Danger principal : Explosion de la batterie
Production de gaz hydrogène
- Les batteries au plomb-acide produisent de l'hydrogène lors de la charge/décharge
- La concentration d'hydrogène s'accumule dans le compartiment de la batterie
- Plage explosive : 4 à 75 % d'hydrogène dans l'air
- Une étincelle près de la batterie peut enflammer l'hydrogène
- Vitesse d'explosion : 8 000 pieds par seconde
Conséquences de l'explosion
- Fragments du boîtier de la batterie (éclats)
- Projection d'acide sulfurique (brûlures chimiques)
- Éclats de plastique incrustés dans la peau/les yeux
- Blessures faciales graves courantes
- Potentiel de lésions oculaires permanentes
- Brûlures au troisième degré dues à l'acide
Prévention
- NE JAMAIS créer d'étincelles près de la batterie
- Connecter les câbles dans le bon ordre
- Connexion à la masse au bloc moteur (pas à la batterie)
- Inspecter la batterie avant le démarrage d'appoint
- Assurer une ventilation adéquate
Dangers secondaires
Choc électrique
- Les systèmes 12V sont généralement sûrs (en dessous d'une tension dangereuse)
- MAIS : Un courant élevé peut provoquer des brûlures
- Les bijoux conducteurs de courant provoquent de graves brûlures
- Les conditions humides augmentent le risque de choc
- Les systèmes 24V/48V (camions/équipements) sont plus dangereux
Brûlures par arc électrique
- Des connexions incorrectes créent des arcs électriques
- Température de l'arc : 6 000 à 10 000 °F
- Provoque des brûlures graves instantanément
- Fait fondre les composants métalliques
- Peut enflammer les matériaux inflammables à proximité
Dommages par court-circuit
- La polarité inversée détruit l'électronique
- Les véhicules modernes ont des ordinateurs sensibles
- Peut endommager : ECU, BCM, TCM, tableau de bord
- Coûts de réparation : 500 à 3 000 $ et plus
- Certains dommages sont irréversibles
Exposition à l'acide
- L'acide de batterie est de l'acide sulfurique dilué (35 à 40 %)
- Provoque des brûlures chimiques au contact
- L'exposition oculaire provoque la cécité
- Corrode instantanément les vêtements
- Neutraliser avec une solution de bicarbonate de soude
Inspection de sécurité avant le démarrage d'appoint
Équipement de sécurité individuelle
Protection requise
- Lunettes de sécurité avec protections latérales (essentiel – prévient les projections d'acide)
- Gants (résistants aux produits chimiques de préférence, le cuir est acceptable)
- Manches longues (protège de l'acide/des étincelles)
- Chaussures fermées (pas de sandales/tongs)
Retirer avant de commencer
- Bagues (peuvent provoquer des brûlures électriques)
- Montres (métal conduisant le courant)
- Bracelets ou colliers
- Tout bijou en métal
Pourquoi les bijoux sont dangereux
- Crée un chemin de court-circuit
- Chauffe à une température extrême instantanément
- Ne peut pas être retiré pendant la brûlure (gonflement)
- Provoque des brûlures graves nécessitant des greffes de peau
Inspection physique de la batterie
Vérifications visuelles essentielles
Intégrité du boîtier
- Fissures ou fentes dans le boîtier
- Renflement ou gonflement (indique une batterie gelée ou surchargée)
- Fuite d'électrolyte (taches humides, corrosion)
- Dommages physiques dus à un impact
Si le boîtier est endommagé : NE PAS démarrer d'appoint. La batterie pourrait exploser ou fuir pendant le fonctionnement.
État des bornes
- Corrosion excessive (poudre blanche/bleue/verte)
- Bornes desserrées (peuvent provoquer des étincelles au démarrage)
- Pôles de borne cassés
- Câbles ou connecteurs endommagés
Si les bornes sont gravement corrodées : Nettoyer avant le démarrage d'appoint pour assurer une bonne connexion.
Bouchons d'évent (batteries inondées)
- Vérifier la présence et la sécurité des bouchons
- Vérifier que les évents ne sont pas obstrués
- Rechercher des fuites d'électrolyte autour des bouchons
- Sentir l'odeur d'hydrogène (œuf pourri)
Si forte odeur d'hydrogène : Attendre 10 minutes pour la ventilation avant de connecter.
Tension de la batterie et évaluation de la charge
Test de tension (si disponible)
- 12,6V+ : Entièrement chargée (non déchargée – vérifier l'alternateur)
- 12,0–12,5V : Partiellement déchargée (sûr de démarrer)
- 10,5–11,9V : Profondément déchargée (risque plus élevé, procéder avec prudence)
- Inférieur à 10,5V : Décharge sévère ou dommages internes (aide professionnelle recommandée)
- 0V : Court-circuit interne ou gelée (NE PAS DÉMARRER D'APPOINT)
Risque par tension
- Supérieur à 12,0V : Procédures de démarrage d'appoint normales
- 10,5–11,9V : Prudence supplémentaire, dommages internes possibles
- Inférieur à 10,5V : Le risque d'explosion augmente considérablement
- 0V : Danger critique – batterie endommagée
Vérification de la batterie gelée
Point de congélation par niveau de charge
- Entièrement chargée (12,6V+) : -76°F (ne gèlera pas)
- 50 % chargée (12,2V) : -10°F (peut geler par temps très froid)
- Déchargée (11,9V) : 20°F (gèle en hiver normal)
Signes d'une batterie gelée
- Boîtier gonflé ou fissuré
- Sensation de solidité au toucher
- Pas de lecture de tension
- Glace visible dans les cellules
- Extrêmement froid au toucher (en dessous de la température ambiante)
DANGER : Tenter de démarrer une batterie gelée peut provoquer une explosion violente. La glace empêche le courant de circuler, provoquant un échauffement résistif qui peut enflammer l'hydrogène.
Si la batterie est gelée
- Déplacer vers un endroit chauffé (40°F+)
- Laisser décongeler complètement pendant 24 heures et plus
- Inspecter les fissures du boîtier
- Charger lentement, ne pas démarrer d'appoint
- Remplacer si le boîtier est endommagé
Connexion sécurisée des câbles de démarrage
Sélection et préparation des câbles
Spécifications des câbles appropriées
- Minimum 4 AWG (2 AWG mieux pour le froid/les diesels)
- Conducteurs en cuivre (pas en aluminium)
- Longueur minimale de 20 pieds (positionne les véhicules en toute sécurité à distance)
- Pinces robustes avec ressort et dents solides
- Poignées isolées (prévention des courts-circuits accidentels)
- Pas d'isolation endommagée (le fil exposé provoque des courts-circuits)
Vérifications avant connexion
- Inspecter les câbles pour des coupures, des fissures ou des fils exposés
- Vérifier que les pinces s'ouvrent en douceur
- Vérifier que les dents des pinces sont propres et tranchantes
- Confirmer que les poignées sont correctement isolées
Positionnement du véhicule
- Garer les véhicules à proximité (les câbles atteignent confortablement)
- NE PAS laisser les véhicules se toucher (contact métal sur métal)
- Serrer les freins de stationnement des deux véhicules
- Transmissions en position Park ou Neutral
- Éteindre tous les accessoires dans les deux véhicules
- Retirer les clés des contacts initialement
Pourquoi les véhicules ne doivent pas se toucher
- Crée un chemin de masse avant la connexion des câbles
- Peut provoquer des étincelles au point de contact
- Annule l'objectif d'une connexion de câble contrôlée
- Chemins de courant imprévisibles
Séquence de connexion appropriée
CETTE SÉQUENCE EMPÊCHE LES ÉTINCELLES PRÈS DE LA BATTERIE :
Étape 1 : Batterie déchargée Positive (+)
- Identifier la borne positive (ROUGE, "+", pôle plus grand généralement)
- Nettoyer la borne si elle est fortement corrodée
- Ouvrir complètement la pince
- Positionner la pince carrément sur le pôle de la borne
- Fermer la pince fermement (contact métal sur métal)
- Remuer pour vérifier la fixation sécurisée
Étape 2 : Bonne batterie Positive (+)
- Identifier la borne positive
- Assurer que la pince s'ouvre complètement
- Positionner carrément sur le pôle
- Fermer fermement
- Vérifier la sécurité
Étape 3 : Bonne batterie Négative (-)
- Identifier la borne négative (NOIR, "-", pôle plus petit généralement)
- Ouvrir complètement la pince
- Positionner carrément sur le pôle
- Fermer fermement
- Vérifier la sécurité
Étape 4 : Masse du véhicule déchargé (PAS LA BORNE NÉGATIVE DE LA BATTERIE)
- CRITIQUE : Trouver un métal non peint sur le bloc moteur ou le châssis
- À 12+ pouces de la batterie (éloigne l'étincelle finale de l'hydrogène)
-
Points de masse acceptables :
- Têtes de boulons du bloc moteur
- Support de montage de l'alternateur
- Crochet de levage du moteur
- Longeron du châssis (si accessible)
-
Éviter :
- Conduites de carburant (risque d'incendie)
- Pièces mobiles (ventilateur, courroies)
- Surfaces rouillées (mauvaise connexion)
- Surfaces peintes (isolantes)
Pourquoi connecter à la masse au bloc moteur
- La connexion finale crée une étincelle
- L'étincelle loin de la batterie empêche l'inflammation de l'hydrogène
- Le bloc moteur fournit un chemin de masse solide
- Procédure de sécurité standard de l'industrie depuis les années 1970
Erreurs courantes de connexion
Erreur : Connecter les deux positifs d'abord, puis les deux négatifs
- Problème : Crée un potentiel de courts-circuits pendant la connexion
- Crée des étincelles près des deux batteries
- Risque : Inflammation d'hydrogène à l'une ou l'autre batterie
Erreur : Connecter le négatif à la borne de la batterie déchargée
- Problème : L'étincelle finale se produit à la batterie déchargée
- Concentration d'hydrogène la plus élevée à la batterie déchargée
- Risque : Explosion à la batterie déchargée
Erreur : Mauvais contact des pinces
- Problème : Une résistance élevée crée un échauffement
- Peut faire fondre les pinces ou les câbles
- Transfert de courant insuffisant
- Risque : Échec de démarrage, dommages matériels
Erreur : Véhicules se touchant
- Problème : Chemins de courant incontrôlés
- Étincelles aux points de contact
- Risque : Problèmes électriques imprévisibles
Procédure de démarrage d'appoint sécurisée
Fonctionnement du véhicule donneur
Liste de contrôle avant le démarrage
- Tous les câbles sont connectés correctement
- Les deux véhicules sont en position Park/Neutral
- Les freins de stationnement sont serrés
- La zone est dégagée de spectateurs
- Confirmer que toutes les connexions sont sécurisées
Démarrage du véhicule donneur
- Démarrer le moteur du véhicule donneur
- Laisser tourner au ralenti pendant 30 secondes (stabilisation)
- Augmenter le régime à 1500–2000 tr/min (pas au régime maximum)
- Maintenir le régime élevé pendant 5 minutes (10 minutes par temps très froid)
- Cela charge légèrement la batterie déchargée
Pourquoi le donneur doit tourner
- L'alternateur complète le courant de la batterie
- Réduit la décharge de la batterie du donneur
- Fournit un flux de courant stable
- Prévient les dommages à la batterie du donneur
Procédure de démarrage du véhicule déchargé
Tentative de démarrage
- Vérifier que le véhicule donneur tourne toujours à un régime élevé
- Tourner la clé dans le véhicule déchargé
- Actionner le démarreur pendant MAXIMUM 10 secondes
- S'il ne démarre pas, RELÂCHER IMMÉDIATEMENT
- Attendre 30 secondes avant la prochaine tentative
- Essayer 2 à 3 tentatives maximum
- En cas d'échec après 3 tentatives, arrêter et demander l'aide d'un professionnel
Pourquoi limiter le temps de démarrage
- Le moteur de démarreur surchauffe rapidement
- Un démarrage continu endommage le démarreur de façon permanente
- La contrainte sur les systèmes électriques augmente
- Une pause de 30 secondes permet au démarreur de refroidir
- Plus de 3 tentatives indiquent un problème plus profond
Si le démarrage est réussi
- Laisser les deux moteurs tourner 2 à 3 minutes
- Allumer le ventilateur de chauffage dans le véhicule démarré (la charge électrique aide à la régulation de tension)
- Accélérer légèrement le moteur démarré (1500 tr/min)
- Se préparer à déconnecter les câbles
Déconnexion sécurisée des câbles
INVERSER EXACTEMENT L'ORDRE DE CONNEXION :
Étape 1 : Retirer la masse du véhicule déchargé (Noir du bloc moteur)
- La première déconnexion est le point le plus sûr
- Aucun risque d'étincelle restante
- Pince du bloc moteur en premier
Étape 2 : Retirer le négatif de la bonne batterie (Noir de la batterie)
- Couper le circuit négatif
- Aucun courant ne circule à ce point
Étape 3 : Retirer le positif de la bonne batterie (Rouge de la batterie)
- Le véhicule donneur tourne toujours (protection de l'alternateur)
Étape 4 : Retirer le positif de la batterie déchargée (Rouge de la batterie)
- Dernière connexion, retrait le plus sûr
- Aucun circuit ne reste
Précautions de déconnexion
- Ne pas laisser les pinces se toucher pendant la déconnexion
- Ne pas toucher la carrosserie du véhicule avec les pinces
- Ranger les câbles correctement (éviter l'emmêlement)
- Vérifier que les pinces ne surchauffent pas (doivent être froides)
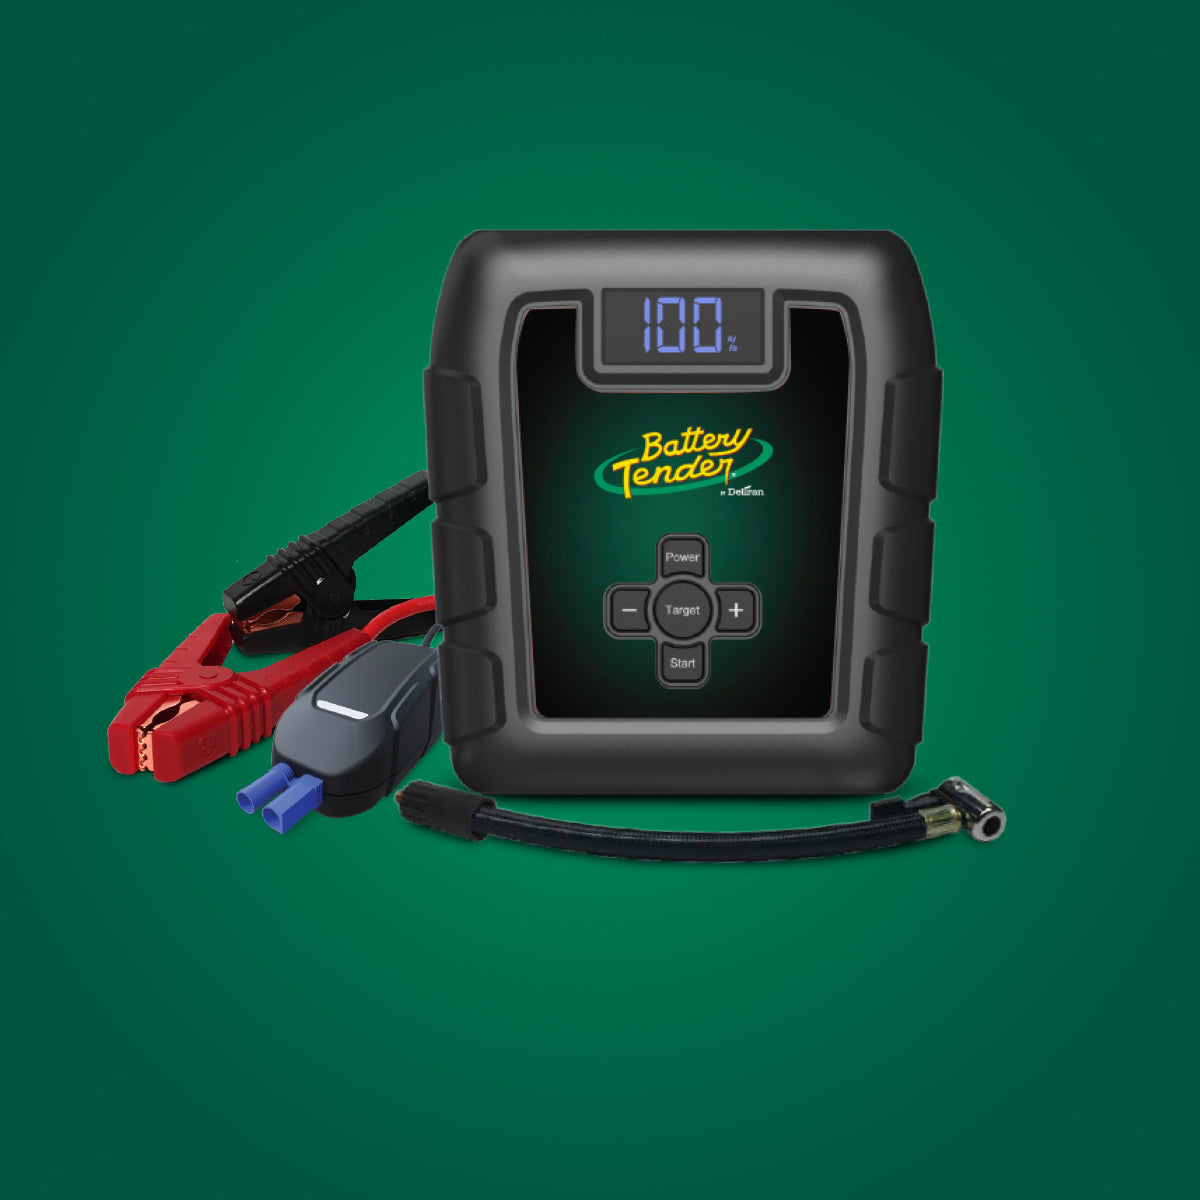
Sécurité des démarreurs d'appoint portables
Démarreurs d'appoint au lithium vs plomb-acide
Démarreurs d'appoint au lithium-ion
- Avantages : Légers, compacts, chargement USB
- Risques : Peuvent prendre feu s'ils sont endommagés, surchauffés ou court-circuités
- Temps froid : Capacité réduite en dessous de 32°F
- Sécurité : Circuits de protection intégrés (généralement fiables)
Démarreurs d'appoint au plomb-acide
- Avantages : Courant de crête plus élevé, coût inférieur
- Risques : Plus lourds, risque de fuite d'acide, peuvent exploser en cas d'abus
- Temps froid : Capacité considérablement réduite
- Sécurité : Risques traditionnels (hydrogène, acide, explosion)
Connexion du démarreur d'appoint portable
Avantages en matière de sécurité
- Pas de véhicule donneur (plus simple)
- Protection contre l'inversion de polarité intégrée (la plupart des modèles)
- Technologie de prévention des étincelles courante
- Longueur de câble plus courte (moins à gérer)
Procédure de connexion
- Vérifier que le démarreur d'appoint est chargé (vérifier l'indicateur)
- Éteindre tous les accessoires du véhicule
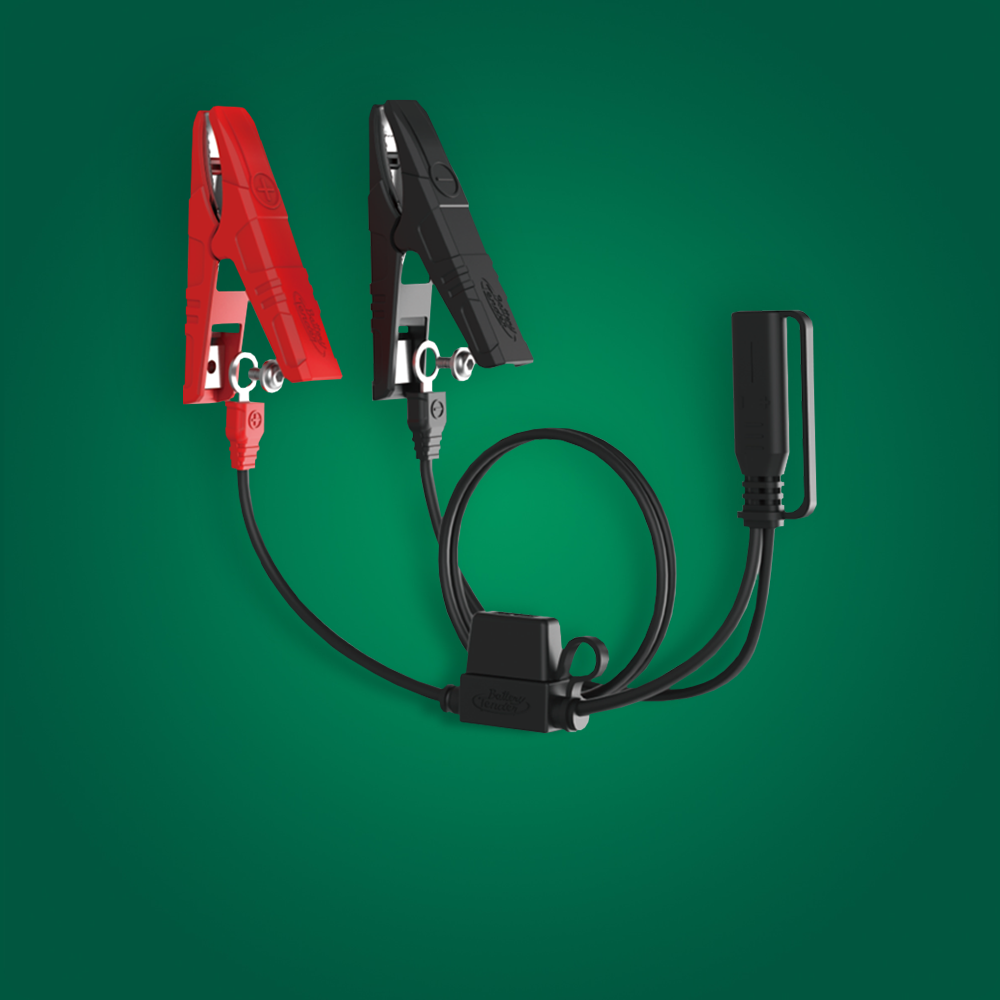
- Connecter la pince ROUGE au positif (+) de la batterie déchargée
- Connecter la pince NOIRE à la masse du moteur (12+ pouces de la batterie)
- Allumer le démarreur d'appoint (si interrupteur présent)
- Attendre 10 secondes (petit transfert de charge)
- Tenter de démarrer (3 à 5 secondes de démarrage max)
- En cas d'échec, attendre 30 secondes et réessayer
Déconnexion
- Éteindre le démarreur d'appoint (le cas échéant)
- Retirer la pince NOIRE de la masse
- Retirer la pince ROUGE de la batterie
- Recharger le démarreur d'appoint immédiatement (ne pas stocker déchargé)
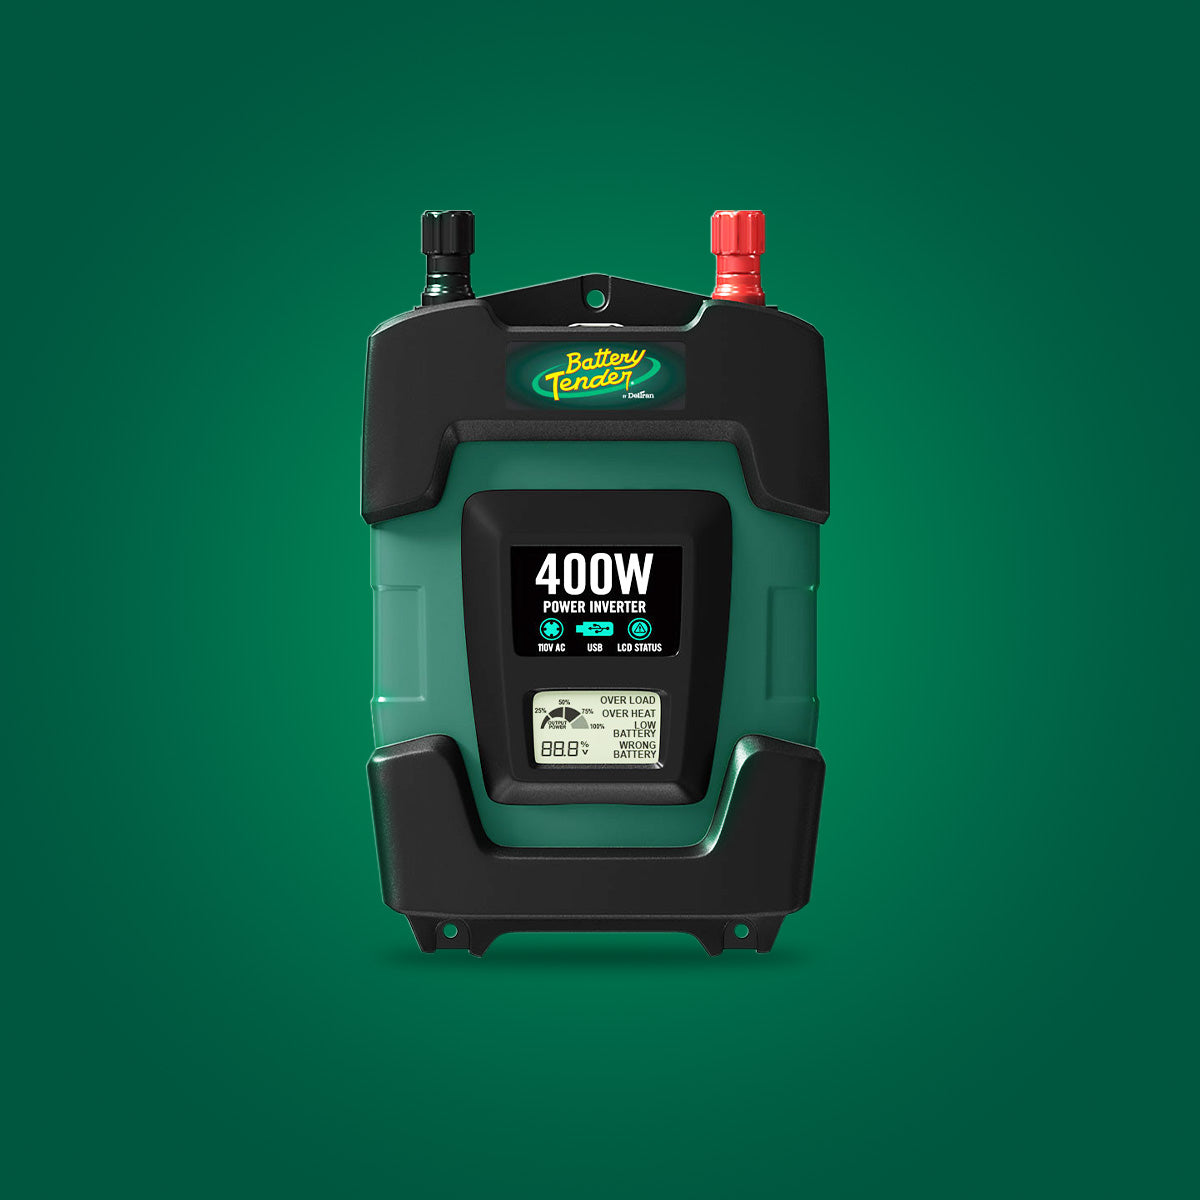
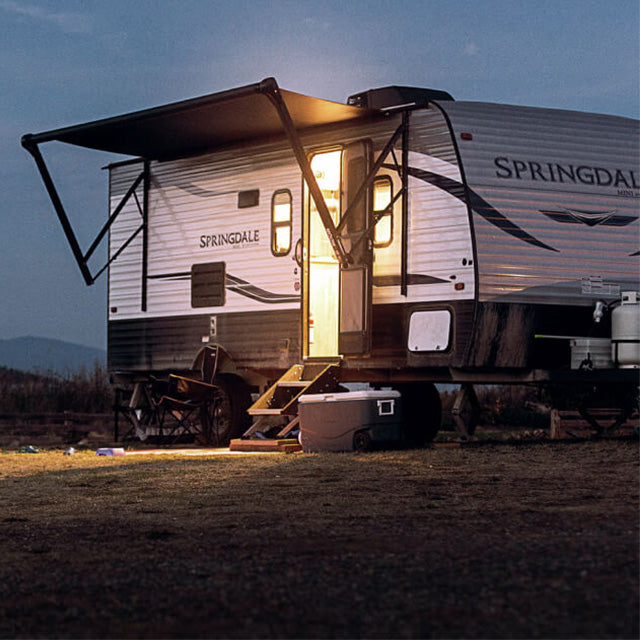
Démarreurs d'appoint Battery Tender : Parcourez notre collection de démarreurs d'appoint pour des solutions d'urgence portables avec des fonctions de sécurité intégrées. Collection de démarreurs d'appoint | Tous les démarreurs d'appoint
Sécurité de stockage des démarreurs d'appoint portables
Stockage approprié
- Maintenir chargé (vérifier mensuellement)
- Stocker à température ambiante (40–80°F)
- Éviter la chaleur extrême (ne pas laisser dans un coffre de voiture chaud)
- À l'écart des matériaux inflammables
- Dans un étui de protection (si fourni)
Dangers des démarreurs d'appoint au lithium
- Les batteries au lithium endommagées peuvent prendre feu
- Ne pas faire tomber ou percer
- Ne pas exposer à l'eau
- Remplacer si gonflé, endommagé ou chaud
- Ne pas charger en dessous de 32°F (si au lithium)
Signes de démarreur d'appoint dangereux
- Boîtier gonflé ou bombant
- Chaleur excessive pendant la charge/l'utilisation
- Odeur de brûlé
- Étincelles ou arcs électriques
- Capacité réduite (ne tient pas la charge)
Si le démarreur d'appoint est endommagé : Éliminer correctement dans un centre de recyclage de batteries. Ne pas jeter à la poubelle (risque d'incendie).
Procédures d'intervention d'urgence
Intervention en cas d'explosion de batterie
Si une explosion se produit
- Évacuer immédiatement la zone (les fumées acides sont dangereuses)
- Appeler les services d'urgence si blessures
- Ne PAS toucher le visage avant de se laver les mains (contamination acide)
- Retirer les vêtements contaminés
- Rincer les zones affectées à l'eau (15+ minutes)
Acide dans les yeux
- Rincer immédiatement à l'eau (15+ minutes)
- Appeler les services d'urgence (cécité potentielle)
- Continuer le rinçage en attendant l'aide
- Ne PAS frotter les yeux
- Retirer les lentilles de contact si possible
Acide sur la peau
- Rincer à l'eau (15+ minutes)
- Retirer les vêtements contaminés
- Neutraliser avec une solution de bicarbonate de soude (si disponible)
- Consulter un médecin pour les brûlures
- Ne pas appliquer d'huiles ou de crèmes
Acide sur les vêtements
- Retirer immédiatement (l'acide traverse le tissu)
- Rincer la peau affectée en dessous
- Neutraliser avec du bicarbonate de soude
- Les vêtements sont probablement ruinés (l'acide dissout le tissu)
Intervention en cas de choc électrique
Si un choc se produit
- Couper la source d'alimentation (déconnecter immédiatement les câbles)
- Ne PAS toucher la victime si elle est toujours en contact avec l'alimentation
- Appeler les services d'urgence
- Vérifier la respiration et le pouls
- Commencer la RCR si nécessaire et formé
Choc mineur (Picotements, Étonnement)
- Généralement pas dangereux avec les systèmes 12V
- Surveiller les effets
- Laver la zone affectée
- Consulter un médecin si l'engourdissement persiste
Choc majeur (Inconscience, Brûlures)
- Appeler immédiatement les services d'urgence
- Ne pas déplacer la victime sauf si nécessaire
- Couvrir les brûlures avec un chiffon propre et sec
- Surveiller la respiration et le pouls
- Commencer la RCR si nécessaire
Intervention en cas d'incendie
Si un incendie se déclare
- Évacuer immédiatement
- Appeler les services d'urgence
- Ne PAS utiliser d'eau sur les feux électriques (propagent le carburant/l'huile en feu)
- Utiliser un extincteur si disponible (type ABC pour tous les feux)
- Fermer le capot si possible (prive le feu d'oxygène)
Ne pas tenter de lutter contre l'incendie si
- Le feu est plus grand qu'une poubelle
- La fumée obstrue la vision
- Vous n'avez pas l'extincteur approprié
- Le feu est près du réservoir de carburant
- Des explosions sont possibles (batterie)
Démarrage d'appoint de différents types de batteries
Batteries AGM et Gel
Démarrage d'appoint des batteries scellées
- Généralement plus sûr (pas de ventilation d'hydrogène)
- Utiliser quand même la procédure de connexion appropriée
- Vérifier que la batterie n'est pas endommagée avant de la démarrer
- Ne peut pas inspecter les cellules en interne
Avantages AGM
- Pas de risque de déversement d'acide
- Moins de production d'hydrogène
- Meilleures performances par temps froid
- Plus tolérantes au démarrage d'appoint
Batteries au lithium
Démarrage d'appoint des batteries au lithium (LiFePO4)
- NE PAS démarrer d'appoint avec un équipement conventionnel
- Le lithium nécessite des profils de tension spécifiques
- Le BMS (Battery Management System) peut empêcher le démarrage
- NE PEUT PAS charger en dessous de 32°F (protection BMS)
- Utiliser plutôt un chargeur compatible lithium
Si la batterie au lithium est déchargée
- Réchauffer la batterie à 50°F+ si elle est froide
- Utiliser un chargeur compatible lithium
- Ne pas démarrer d'appoint avec des méthodes conventionnelles
- Consulter le manuel du propriétaire pour la procédure
Solutions lithium Battery Tender : Chargeurs de batterie compatibles lithium
Systèmes 24V et 48V
- Risque accru de choc électrique
- Nécessitent des câbles et des équipements correctement calibrés
- Mêmes principes de procédure de connexion
- Assistance professionnelle recommandée
Ne jamais mélanger les tensions
- Ne pas démarrer un 24V avec un 12V
- Ne pas démarrer un 12V avec un 24V
Prévention : Éviter le besoin de démarrer par le biais de câbles
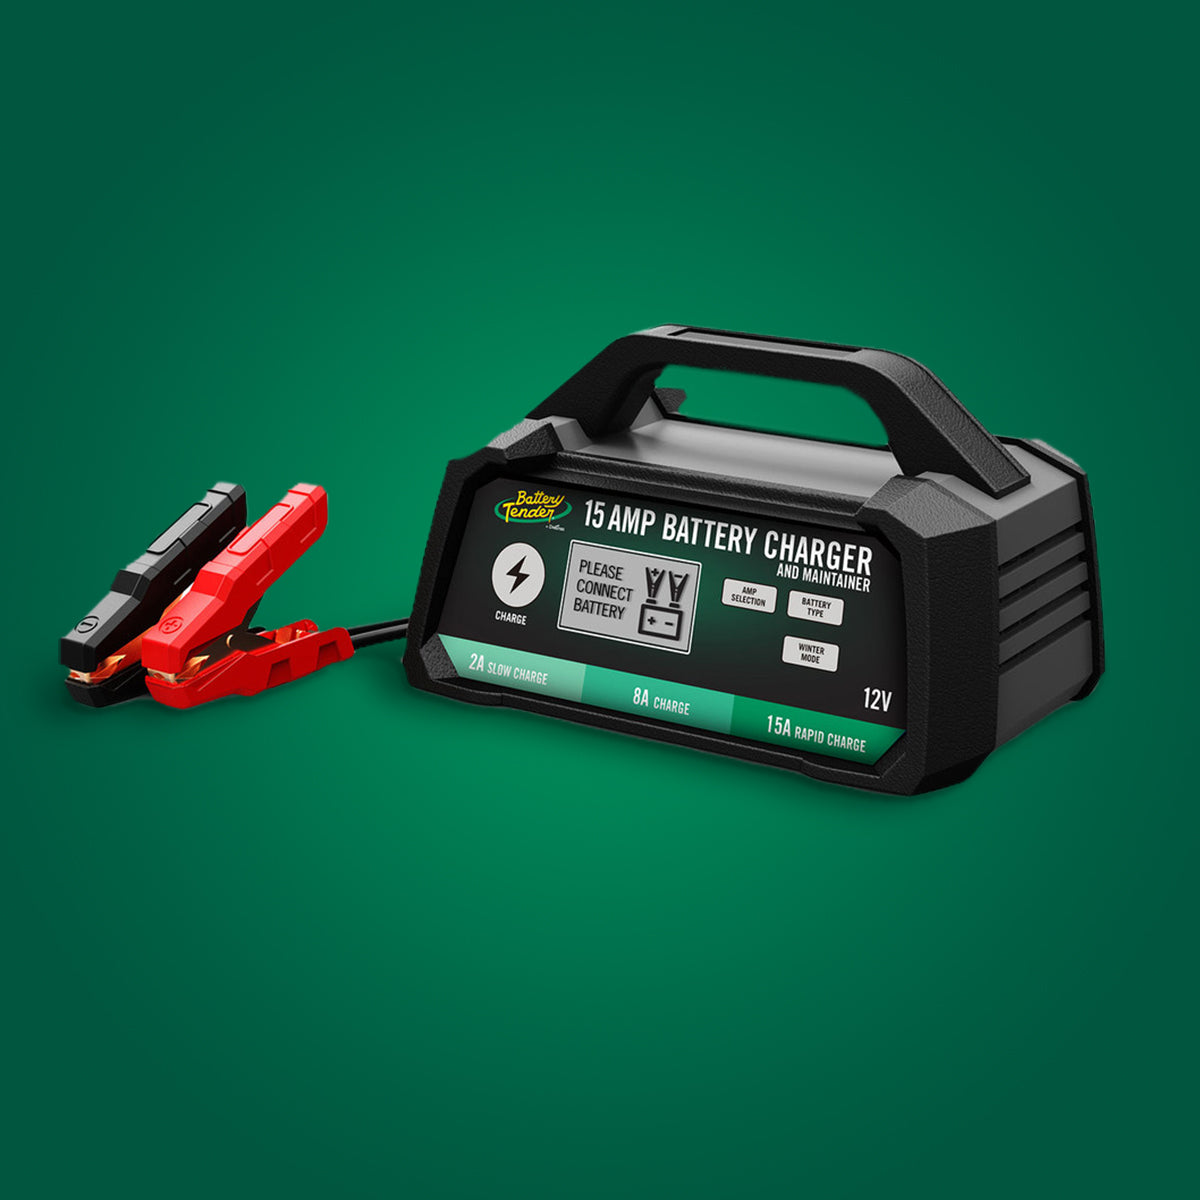
Bonnes pratiques d'entretien de la batterie
Prévenir les batteries à plat
Stockage hivernal
- Les chargeurs Battery Tender maintiennent la charge
- La technologie ISM prévient la sulfatation
- Connexion continue sûre
- Pionnier de la charge intelligente en 1989
Véhicules à usage régulier
- Conduire 20 minutes et plus par semaine au minimum
- Faire tester la batterie annuellement
- Remplacer préventivement après 5 ans
- Nettoyer régulièrement les bornes
Préparation avant l'hiver
- Test de la batterie (septembre-octobre)
- Remplacer si marginale
- Nettoyer les bornes
- Vérifier le fonctionnement du système de charge
En savoir plus : Technologie ISM expliquée
Aide professionnelle en cas de besoin
Appeler un professionnel si
- Batterie gelée
- Plus de 3 tentatives de démarrage infructueuses
- Dommages visibles à la batterie
- Fumée électrique ou odeur de brûlé
- Incertitude sur la procédure appropriée
- Tension de la batterie de 0V ou inférieure à 10.5V
Avantages professionnels
- Équipement et formation appropriés
- Peut diagnostiquer les problèmes sous-jacents
- Service mobile disponible
- Plus sûr pour les situations complexes
FAQ
Q : 12V suffisent-ils pour causer des blessures ?
R : La tension seule ne causera pas de choc électrique, mais un courant élevé d'une batterie 12V peut provoquer de graves brûlures, surtout à travers les bijoux. Les explosions de batterie et les projections d'acide sont de réels dangers.
Q : Puis-je démarrer par le biais de câbles sous la pluie ?
R : Oui, avec prudence. L'eau n'augmente pas significativement le risque de choc 12V. Assurez de bonnes connexions de pinces. Ne vous tenez pas dans les flaques d'eau. Les principaux risques (explosion, acide) existent quelle que soit la météo.
Q : Comment savoir si la batterie est trop endommagée pour démarrer par le biais de câbles ?
R : Signes d'une batterie dangereuse : Boîtier gonflé, fissures, lecture de 0V, gelée, forte odeur d'hydrogène, fuite importante d'acide. En cas de doute, ne tentez pas de démarrer par le biais de câbles.
Q : Pourquoi certaines personnes mettent-elles la masse sur le négatif de la batterie au lieu du bloc moteur ?
R : Ancienne pratique, non sûre. La dernière étincelle doit se produire loin de la batterie (risque d'hydrogène). La mise à la masse sur le bloc moteur est la procédure de sécurité standard de l'industrie.
Q : Les ordinateurs des voitures modernes peuvent-ils être endommagés par le démarrage par le biais de câbles ?
R : Une procédure correcte (polarité correcte, bonnes connexions, véhicule donneur approprié) est sûre. Une polarité inversée, des pics de tension dus à de mauvaises connexions, ou un démarrage avec un véhicule donneur en marche peuvent endommager l'électronique. Suivez attentivement la procédure.
Q : Dois-je débrancher la batterie de ma voiture avant de démarrer celle de quelqu'un d'autre ?
R : Non. La déconnexion n'apporte aucun avantage et ajoute des complications. L'ordre de connexion correct des câbles offre la protection nécessaire. Gardez la batterie connectée et suivez la procédure.
Conclusion
Le démarrage par le biais de câbles combine un courant élevé, de l'hydrogène explosif, de l'acide corrosif et des risques électriques. Des procédures de sécurité appropriées — séquence de connexion des câbles correcte, inspection approfondie avant le démarrage, équipement de protection individuelle et opération contrôlée — transforment cette procédure d'urgence dangereuse en une opération gérable et sûre.
Battery Tender, pionnier des chargeurs intelligents grand public depuis 1989, recommande la prévention par un entretien approprié de la batterie. Nos chargeurs de batterie éliminent les urgences de batterie à plat grâce à un maintien de charge continu. Parcourir les chargeurs de batterie
Lorsque le démarrage par le biais de câbles devient nécessaire, suivez ces procédures de sécurité sans exception. Votre vision, votre peau et l'électronique de votre véhicule dépendent d'une technique appropriée.
En savoir plus : Démarreurs d'appoint


