


Un chargeur de batterie posé sur une étagère de garage vous oblige à ouvrir le capot, à sortir le chargeur, à connecter les pinces, puis à faire le chemin inverse une fois l'opération terminée. Cette contrainte – aussi minime qu'elle puisse paraître – est précisément la raison pour laquelle la plupart des gens n'entretiennent pas leurs batteries de manière constante. Le conducteur qui protège réellement la durée de vie de sa batterie est celui pour qui la connexion du chargeur prend 10 secondes : il suffit de brancher un connecteur rapide sur le câble déjà installé sur la batterie, et celle-ci se charge.
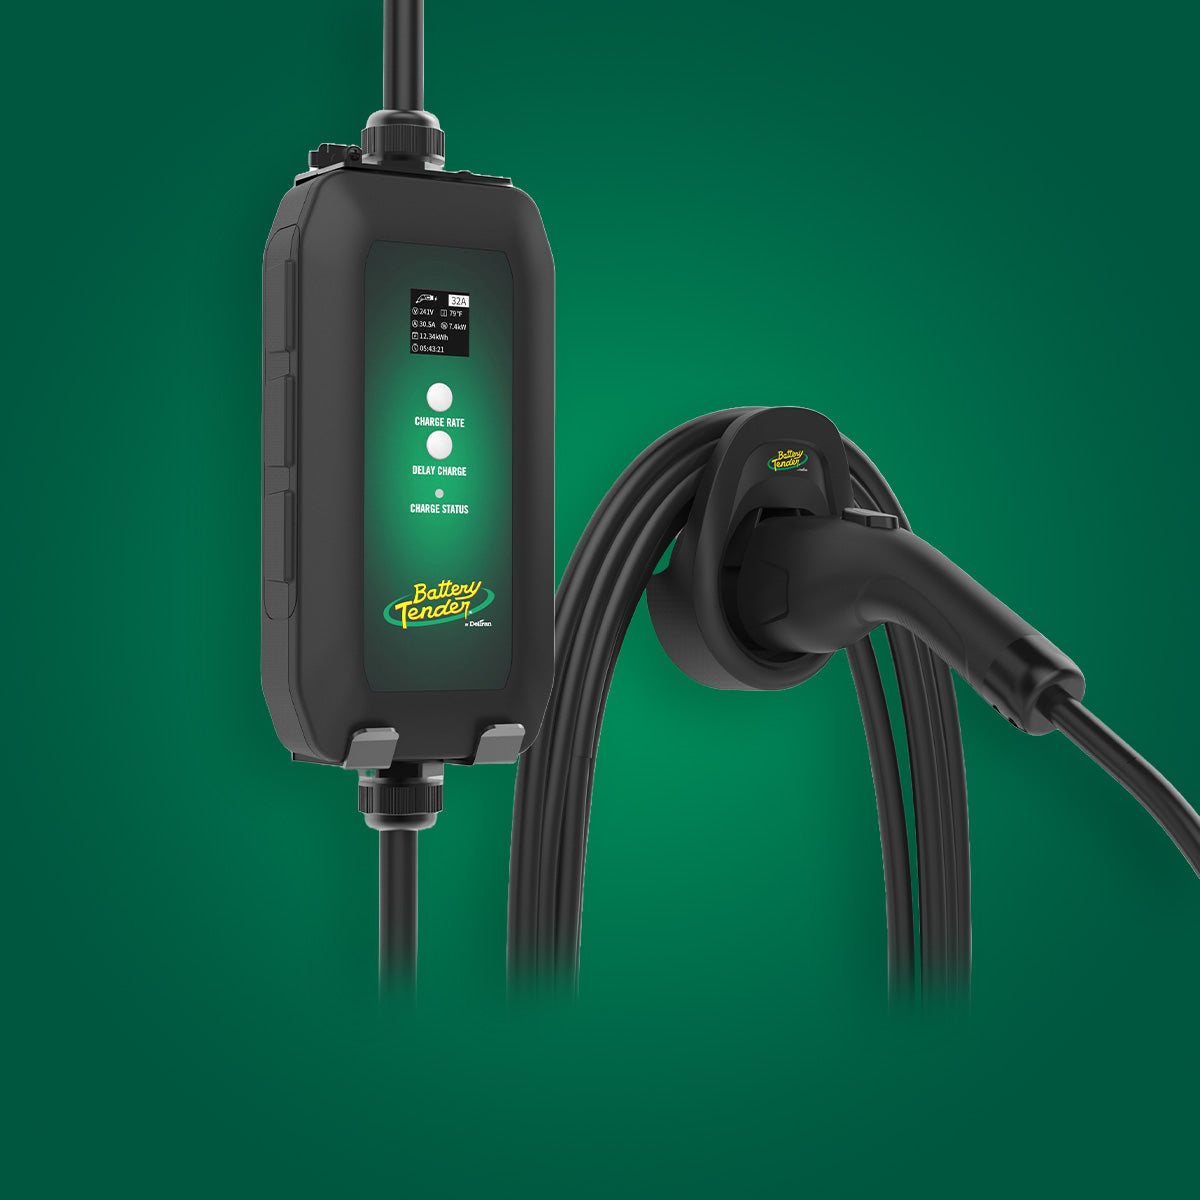
Battery Tender® est un pionnier de la technologie de charge intelligente depuis plus de 60 ans, et une installation correcte du chargeur – qu'il s'agisse d'un simple câble à œillet sur une batterie de voiture ou d'un système WaveCharge entièrement intégré sur un bateau – est essentielle pour rendre cette technologie utile. Ce guide couvre les options d'installation, de la plus simple à la plus complète.
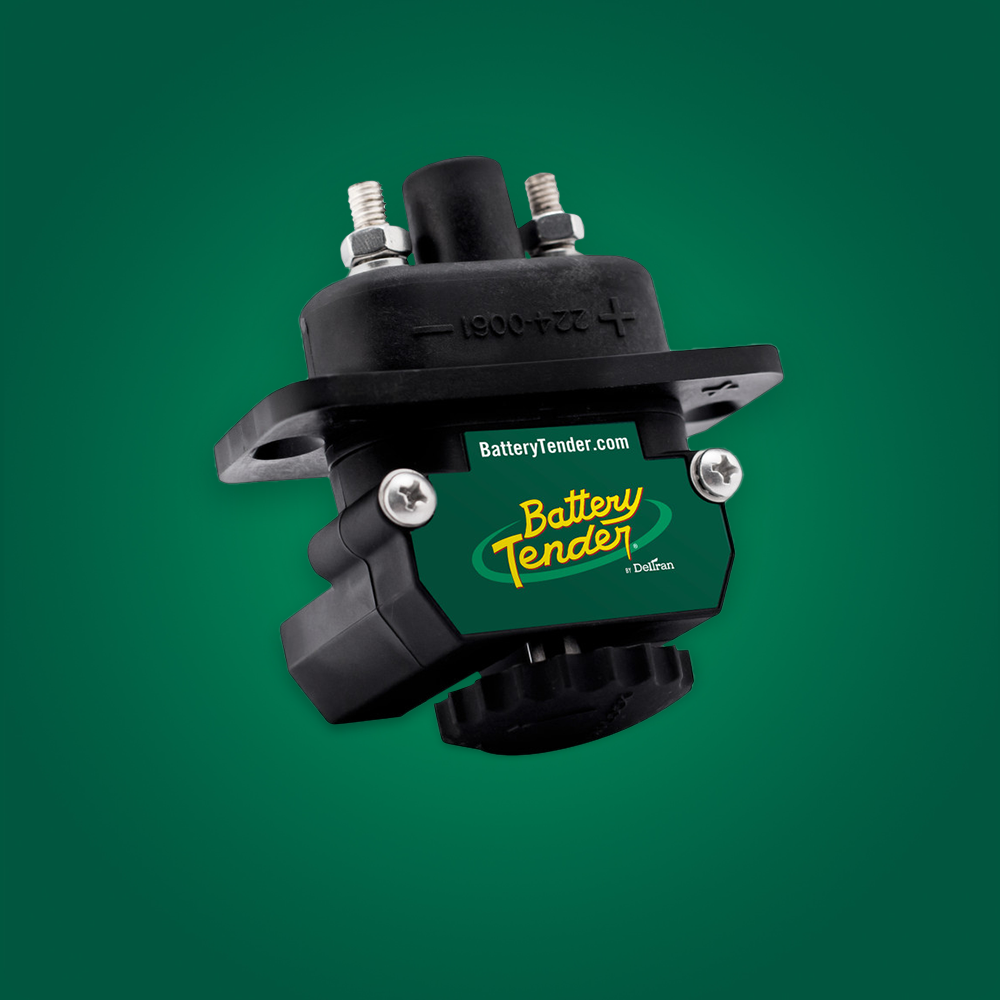
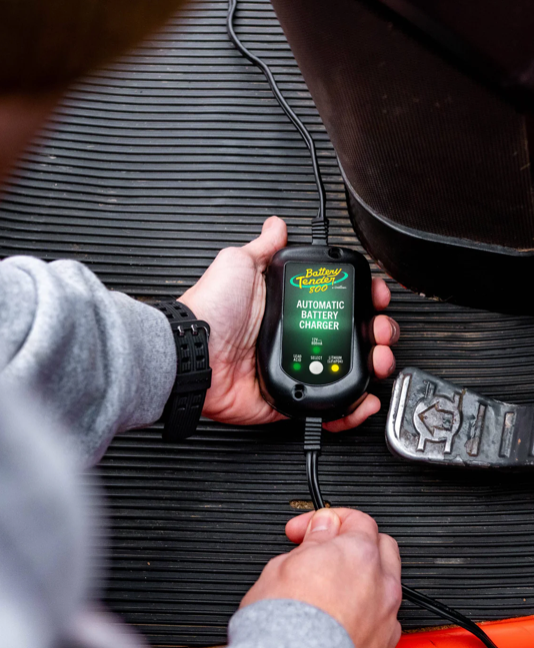
Option d'installation 1 : Le câble à œillet à déconnexion rapide
C'est l'installation la plus populaire pour les voitures, les motos, les VTT et tout véhicule dont la batterie est accessible. Elle prend 10 minutes et ne nécessite que des outils de base.
Ce dont vous avez besoin
- Câble accessoire à œillet Battery Tender ou câble à déconnexion rapide
- Clés de 8 mm et 10 mm ou jeu de douilles (pour les boulons des bornes de batterie)
- Graisse diélectrique
Étapes d'installation
- Identifiez les bornes positive (+) et négative (-) de la batterie. La borne positive aura un couvercle rouge ou un signe plus (+); la borne négative aura un couvercle noir ou un signe moins (-).
- Desserrez, mais ne retirez pas complètement, le boulon de la borne positive. Faites glisser l'œillet rouge du câble sur la borne, sous la pince de câble de batterie existante.
- Serrez le boulon de la borne positive, fixant ainsi le câble existant et l'œillet rouge ensemble.
- Répétez l'opération pour la borne négative avec l'œillet noir du câble.
- Appliquez une petite quantité de graisse diélectrique sur les bornes avant de remonter pour ralentir la corrosion future.
- Acheminez le câble vers un endroit pratique et protégé — sous le capot, à travers un passe-fil en caoutchouc, ou vers un endroit accessible où la prise de déconnexion rapide sera facile à atteindre.
- Rangez et fixez tout câble excédentaire avec des attaches de câble, en le gardant à l'écart des pièces mobiles et des surfaces chaudes.
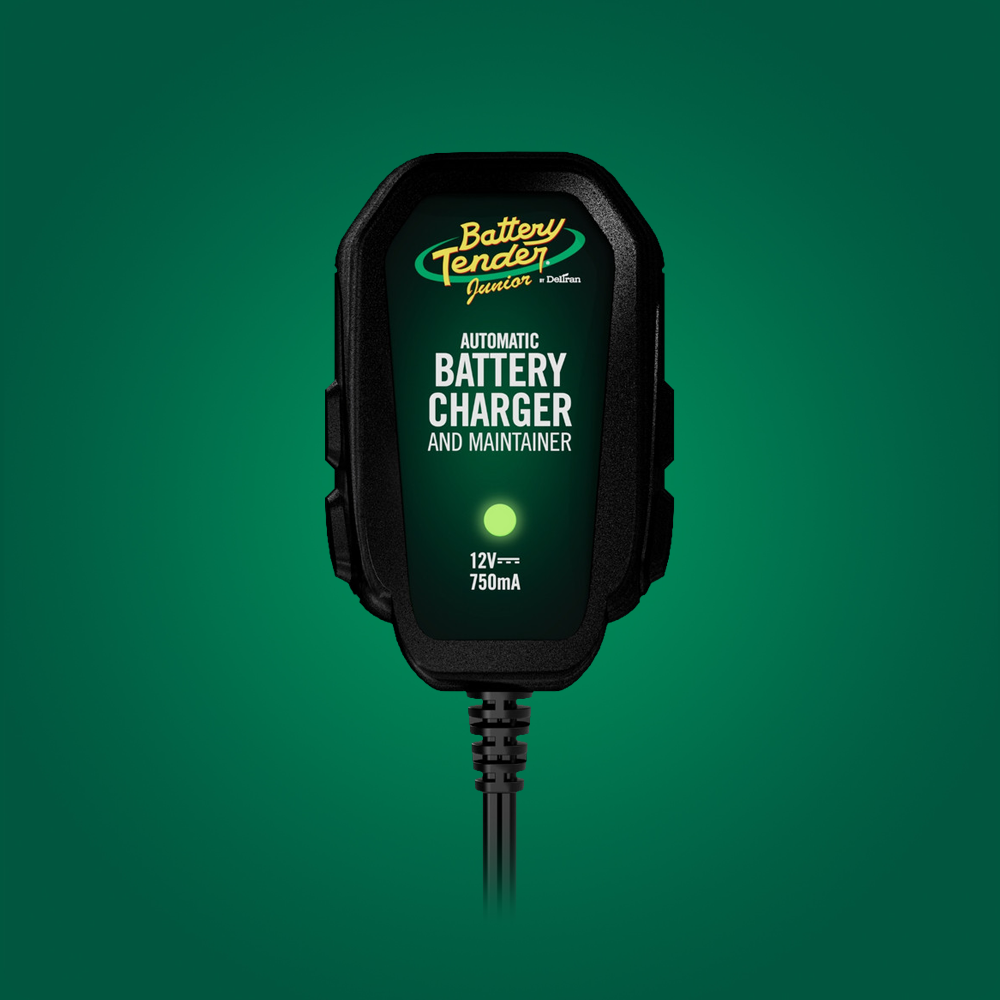
L'extrémité à déconnexion rapide du câble se connecte directement au connecteur du chargeur Battery Tender – il suffit de brancher et de charger. Le câble peut rester installé en permanence; il ne consomme aucun courant lorsque le chargeur est débranché.
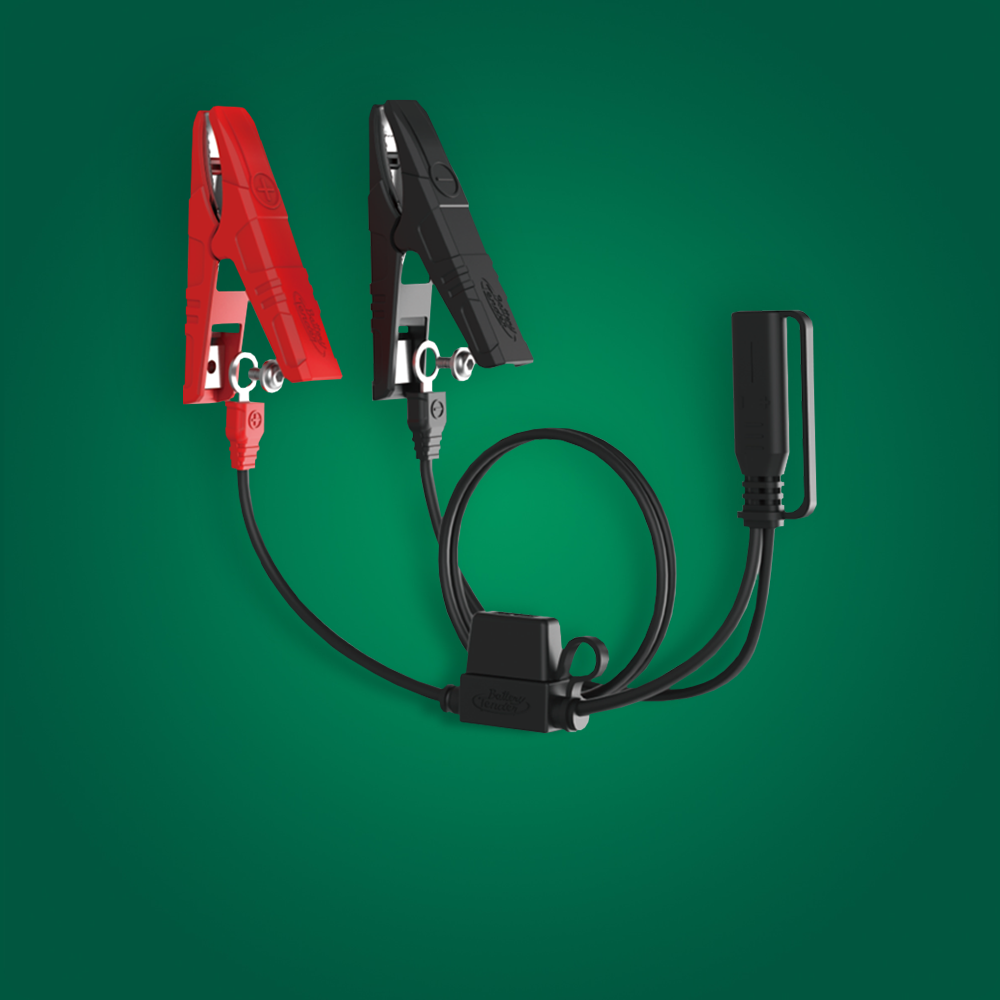
Achetez le Combo Pince crocodile et Borne à œillet avec déconnexion rapide (UGS : 081-0180) — inclut les deux méthodes de connexion.
Option d'installation 2 : Borne à œillet étendue pour les batteries difficiles d'accès
De nombreux véhicules modernes, en particulier les berlines européennes et les voitures de performance, placent la batterie dans le coffre, sous la banquette arrière, ou dans un endroit qui rend l'accès aux bornes difficile ou impraticable pendant la charge. Pour ces véhicules, un câble à œillet étendu achemine la prise de déconnexion rapide vers un emplacement plus accessible — généralement sous le capot, près des bornes de démarrage rapide que la plupart des constructeurs fournissent.
Installation pour les véhicules avec batteries sous le siège ou dans le coffre
- Installez les bornes à œillet sur la batterie comme décrit ci-dessus.
- Utilisez le câble de 1,20 m de long pour acheminer le câble de la batterie à une ouverture de panneau, sous la moquette, ou à travers des chemins de câbles existants pour atteindre le compartiment moteur.
- Fixez le cheminement du câble avec des attaches de câble tous les 30 à 45 cm.
- Terminez la prise à déconnexion rapide dans un emplacement accessible — généralement clipsée à un faisceau de câbles existant près des bornes de démarrage rapide ou de la coupelle d'amortisseur.
- Étiquetez l'emplacement de la prise afin de la retrouver facilement lors de la prochaine session de charge.
Le câble d'extension de 1,20 m Battery Tender avec déconnexion rapide (UGS : 081-0148-12) étend la portée depuis les emplacements de batterie difficiles.
Option d'installation 3 : Chargeur marin embarqué (WaveCharge ou WaveCharge Pro)
L'installation d'un chargeur marin embarqué est la plus complexe des trois options : le chargeur se monte de manière permanente dans le bateau et se connecte de manière permanente au système de batterie, l'alimentation CA étant fournie par une prise de quai étanche. Une fois installé, la charge est aussi simple que de connecter un seul cordon d'alimentation de quai au port.
Ce dont vous avez besoin
- Chargeur marin multibanc WaveCharge ou WaveCharge Pro
- Prise de quai (si non déjà installée)
- Câblage CC de calibre approprié (généralement 10 AWG pour des parcours de moins de 3 mètres vers chaque banc)
- Cosses à œillet de qualité marine et raccords bout à bout thermorétractables
- Porte-fusibles en ligne et fusibles de calibre approprié pour chaque banc
- Attaches de câble et conduit pour la gestion des fils
- Perceuse et scie cloche pour le montage
Considérations relatives à l'emplacement de montage du chargeur
- Monter dans un compartiment sec et ventilé — jamais dans la cale où il pourrait être en contact avec de l'eau stagnante (bien que les unités WaveCharge classées IP67 tolèrent les éclaboussures).
- Minimiser la longueur du câble CC vers chaque batterie — chaque mètre de câble ajoute de la résistance et réduit l'efficacité de charge.
- S'assurer que la surface de montage est structurellement adéquate pour le poids du chargeur plus les charges de vibration.
- Prévoir un dégagement suffisant autour du chargeur pour la circulation de l'air — au moins 5 cm de tous les côtés.
Câblage CC de chaque banc
- Faites passer les fils positif et négatif de la sortie du chargeur vers chaque banc de batteries indépendamment.
- Installez un fusible en ligne approprié sur le fil positif à moins de 45 cm de chaque batterie — généralement 15 A pour un chargeur de banc de 6 A.
- Terminez toutes les connexions avec des bornes à œillet de qualité marine — les connexions serties sont plus fiables que les soudures simples dans les environnements marins vibrants.
- Appliquez une gaine thermorétractable à toutes les connexions pour la protection contre l'humidité.
- Vérifiez la polarité (positif à positif, négatif à négatif) avant de connecter à la batterie.
Câblage CA de l'alimentation de quai
Le câblage CA pour une prise d'alimentation de quai doit être géré par un électricien marin certifié si vous n'êtes pas expérimenté avec les systèmes CA marins. Le câblage CA marin implique des normes spécifiques pour le cheminement des câbles, les méthodes de connexion et les équipements de sécurité qui diffèrent des travaux électriques résidentiels.
Achetez les gammes WaveCharge et WaveCharge Pro pour les systèmes de bateaux multibatteries.
Questions fréquemment posées
Puis-je laisser un câble à œillet installé en permanence sur ma voiture ?
Oui — les câbles à œillet installés en permanence avec la prise à déconnexion rapide pendante ne consomment aucun courant et ne causent aucun dommage. La commodité qu'ils offrent l'emporte largement sur toute préoccupation esthétique. De nombreux passionnés les installent le jour même où ils achètent le véhicule.
Est-il sûr de charger via le câble à œillet lorsque le véhicule est allumé ?
Les chargeurs intelligents Battery Tender peuvent rester connectés pendant que le véhicule est allumé sans dommage. La technologie intelligente du chargeur surveille l'état de la batterie et ajuste la sortie en conséquence. Pour des raisons de sécurité, il est préférable de charger avec le véhicule éteint.
Ai-je besoin d'un professionnel pour installer un chargeur embarqué WaveCharge ?
Le côté CC d'une installation WaveCharge est à la portée de tout bricoleur compétent et à l'aise avec le câblage 12V. La prise et le câblage d'alimentation CA de quai doivent être manipulés par un électricien marin certifié. De nombreux propriétaires installent eux-mêmes le chargeur et le câblage CC et ne font appel à un électricien que pour la partie alimentation de quai.
Quel calibre de fil dois-je utiliser pour un câble à œillet ?
Les câbles à œillet OEM Battery Tender utilisent du fil de calibre 16-18 AWG, adapté au courant de sortie du chargeur. Pour les applications automobiles et de sports motorisés, cela est approprié. Pour le câblage CC d'une installation marine embarquée gérant plus de 6 ampères par banc sur de plus longues distances, utilisez du 10-12 AWG pour minimiser la chute de tension.
Conclusion
Le meilleur chargeur de batterie est celui qui est réellement utilisé — et l'installation permanente d'un câble à œillet ou d'un système de charge embarqué élimine toute barrière à un entretien cohérent. L'investissement de 10 minutes dans un simple câble à œillet permet des années d'entretien de batterie sans effort et une batterie qui dure sensiblement plus longtemps qu'une batterie qui n'est chargée que de manière réactive.
Pour les propriétaires de bateaux, un système WaveCharge embarqué transforme la connexion au quai en une solution complète d'entretien de la batterie pour chaque batterie du système simultanément.
Achetez les accessoires de chargeur et le matériel d'installation Battery Tender sur batterytender.com.