


Winter mornings bring dead battery emergencies. Temperatures below 32°F reduce battery capacity by 35%. At 0°F, capacity drops to 60% of rated performance. Simultaneously, cold oil increases engine cranking requirements by 2-3x. This perfect storm of reduced power and increased demand leaves millions stranded annually.
Battery Tender® has spent 60 years engineering battery charging solutions since pioneering consumer smart chargers in 1989. This guide shares proven cold-weather jump starting techniques that prevent damage, ensure safety, and restore starting capability in extreme conditions.
Understanding Cold Weather Battery Failure
Why Batteries Fail in Cold
Electrochemical Slowdown:
- Chemical reactions slow exponentially in cold
- Arrhenius equation predicts reaction rate changes
- At 0°F: 50% slower reactions than 80°F
- At -20°F: 75% slower reactions than 80°F
Capacity Reduction:
- 80°F (26°C): 100% capacity (baseline)
- 32°F (0°C): 80% capacity
- 0°F (-18°C): 60% capacity
- -20°F (-29°C): 40% capacity
Increased Internal Resistance:
- Cold temperatures increase resistance
- More voltage drop under load
- Less available cranking power
- Voltage sag appears worse than reality
Engine Cranking Demand Increase:
- Cold oil viscosity increases
- 0W-20 oil at -20°F: ~200x viscosity of 80°F
- Higher friction throughout engine
- 2-3x more current required for cranking
Result: Battery delivering 40% of normal capacity trying to crank engine requiring 300% normal current = dead battery failure.
Frozen Battery Risks
Freezing Point by State of Charge:
Fully Charged (12.6V+):
- Freezing point: -76°F
- Electrolyte specific gravity: 1.265
- Nearly impossible to freeze in normal conditions
50% Charged (12.2V):
- Freezing point: -10°F
- Electrolyte specific gravity: 1.200
- Can freeze in severe winter weather
Discharged (11.9V or below):
- Freezing point: 20°F
- Electrolyte specific gravity: 1.150
- Freezes easily in normal winter temperatures
Danger of Frozen Battery:
- Ice expansion cracks battery case
- Plates damaged by ice formation
- Irreversible damage occurs
- Explosion risk if jump starting attempted
- NEVER attempt to jump start frozen battery
How to Identify Frozen Battery:
- Case bulging or cracked
- Ice visible in cells (if removable caps)
- Battery feels solid when tapped
- No voltage reading
- Extremely cold to touch
If Battery Frozen:
1. Do NOT attempt jump start (explosion risk)
2. Move battery to heated location (40°F+)
3. Allow 24+ hours for complete thaw
4. Inspect for cracks after thaw
5. Charge fully before use
6. Replace if case damaged
Pre-Jump Starting Safety Inspection
Visual Battery Inspection
Critical Safety Checks:
Case Integrity:
- Check for cracks or bulges
- Look for electrolyte leakage
- Verify no ice formation
- Inspect for physical damage
Terminal Condition:
- Heavy corrosion (white/blue/green deposits)
- Loose connections
- Damaged cables
- Corroded cable ends
Hydrogen Venting (Lead-Acid Only):
- Batteries emit hydrogen during charging
- Hydrogen is explosive (4-75% concentration in air)
- Check for hydrogen smell near battery
- Avoid sparks near battery at all times
Battery Age:
- Batteries 5+ years old have higher failure risk
- Check date code on battery (if visible)
- Old batteries may have internal damage
Dead Battery Voltage Testing (If Possible)
Safe Voltage Ranges:
- 12.0V+: Safe to jump start
- 10.5-11.9V: Deeply discharged, proceed carefully
- Below 10.5V: Likely internal damage, high risk
- 0V: Do NOT jump start (internal short or frozen)
If Below 10.5V:
- Risk of explosion increases
- May have shorted cell
- Consider professional assistance
- Slow charging preferred over jump starting
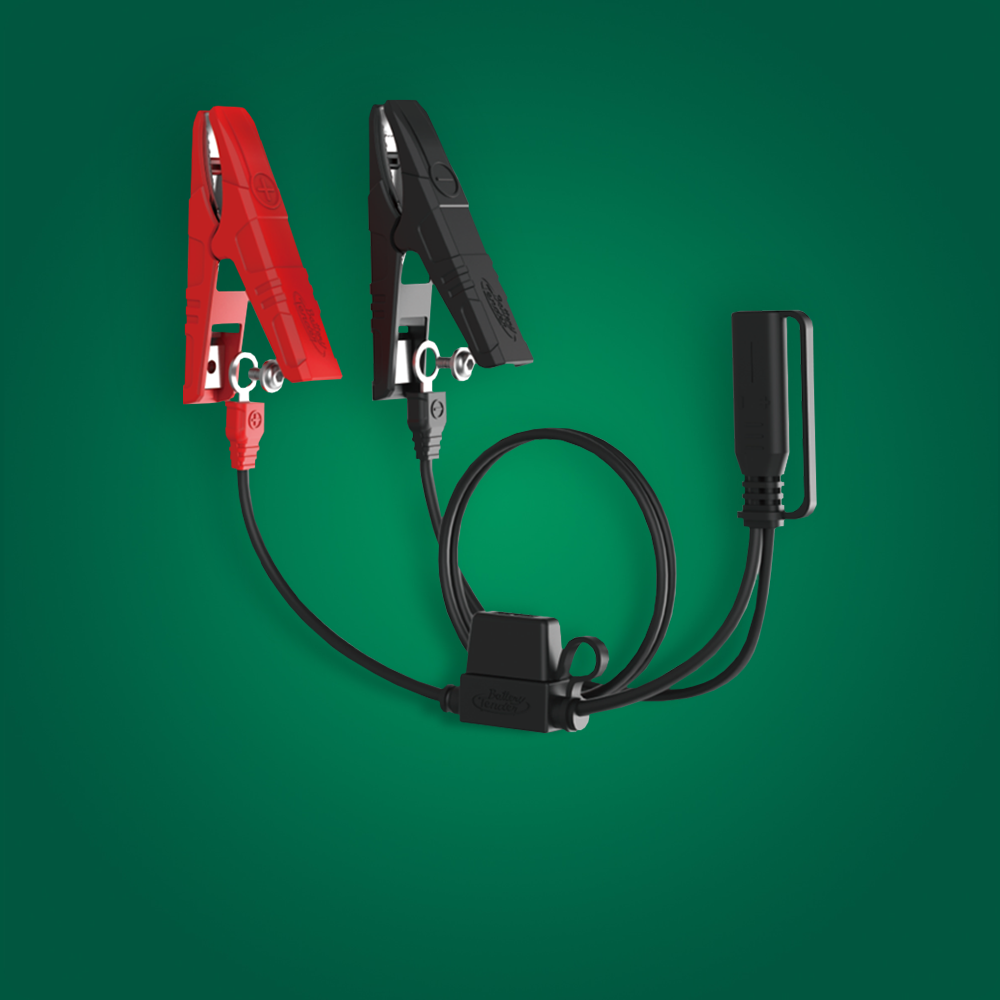
Jump Starting with Jumper Cables
Required Equipment
Proper Jumper Cables:
- Minimum 4-gauge wire (2-gauge better for cold)
- 16-20 feet length minimum
- Heavy-duty clamps with good teeth
- Insulated handles
- Copper (not aluminum) conductors
Why Cable Gauge Matters in Cold:
- Thinner cables = higher resistance
- Resistance increases in cold
- Voltage drop reduces starting power
- 4-gauge minimum for winter use
- 2-gauge recommended for diesels or extreme cold
Good (Donor) Vehicle Requirements
Ideal Donor Vehicle:
- Engine size similar or larger than dead vehicle
- Battery in good condition (12.6V+)
- Running engine (alternator provides additional current)
- Will be running during jump attempt
Marginal Donor Situations:
- Small car jumping large truck (may not work)
- Old battery in donor vehicle (reduced capacity)
- Donor battery partially discharged
Proper Cable Connection Procedure
Step-by-Step (CRITICAL—Order Matters):
Preparation:
1. Position vehicles close (cables reach) but NOT touching
2. Set parking brakes on both vehicles
3. Turn off all accessories in both vehicles
4. Transmission in Park or Neutral
5. Remove metal jewelry (rings, watches, bracelets)
Connection Sequence (THIS ORDER EXACTLY):
1. Connect RED positive (+) cable to DEAD battery positive (+) terminal
- Identify positive terminal (red, + symbol, larger diameter)
- Ensure good metal-to-metal contact
- Clamp firmly to terminal post
2. Connect other RED positive (+) cable to GOOD battery positive (+) terminal
- Again ensure good contact
- Clamp firmly to terminal post
3. Connect BLACK negative (-) cable to GOOD battery negative (-) terminal
- Identify negative terminal (black, - symbol, smaller diameter)
- Ensure good contact
4. Connect other BLACK negative (-) cable to DEAD vehicle GROUND
- CRITICAL: Do NOT connect to dead battery negative terminal
- Connect to unpainted metal on engine block or frame
- Away from battery (12+ inches if possible)
- NOT to fuel lines, moving parts, or rusty surfaces
- This step prevents sparks near battery (hydrogen explosion risk)
Why Ground Connection Order Matters:
- Final connection creates spark
- Spark near battery can ignite hydrogen
- Engine block connection keeps spark away from battery
- Grounding to engine is safer than battery terminal
Starting Procedure
Warm-Up Period (Critical in Cold):
1. Start donor vehicle
2. Rev engine to 1500-2000 RPM (not redline!)
3. Let run for 3-5 minutes (10 minutes in extreme cold below 0°F)
4. This charges dead battery slightly
5. Warming reduces internal resistance
Starting Attempts:
1. Turn key in dead vehicle
2. Crank for maximum 10 seconds
3. If doesn't start, STOP immediately
4. Wait 30 seconds between attempts (starter motor cooling)
5. Try 2-3 attempts maximum
6. If unsuccessful after 3 attempts, need professional help
Why Limit Cranking Time:
- Starter motors overheat quickly
- Continuous cranking damages starter
- 30-second pause allows cooling
- Protects both electrical systems
After Successful Start:
1. Let both engines run for 2-3 minutes
2. Turn on heater blower in jumped vehicle (load regulator)
3. Rev jumped vehicle engine slightly (1500 RPM)
4. Helps stabilize charging system
5. Prepare to disconnect
Proper Cable Disconnection
Reverse Order (THIS IS CRITICAL):
1. Remove BLACK negative (-) from jumped vehicle ground (engine block)
2. Remove BLACK negative (-) from good vehicle battery
3. Remove RED positive (+) from good vehicle battery
4. Remove RED positive (+) from jumped vehicle battery
Why Reverse Order:
- Prevents accidental shorts during removal
- Keeps spark risk away from battery
- Final connection to remove is safest
Post-Jump Driving:
- Drive jumped vehicle 20-30 minutes minimum
- Highway speeds preferred (higher alternator output)
- Don't turn off engine immediately
- Monitor voltage gauge if equipped
- Have battery tested at auto parts store
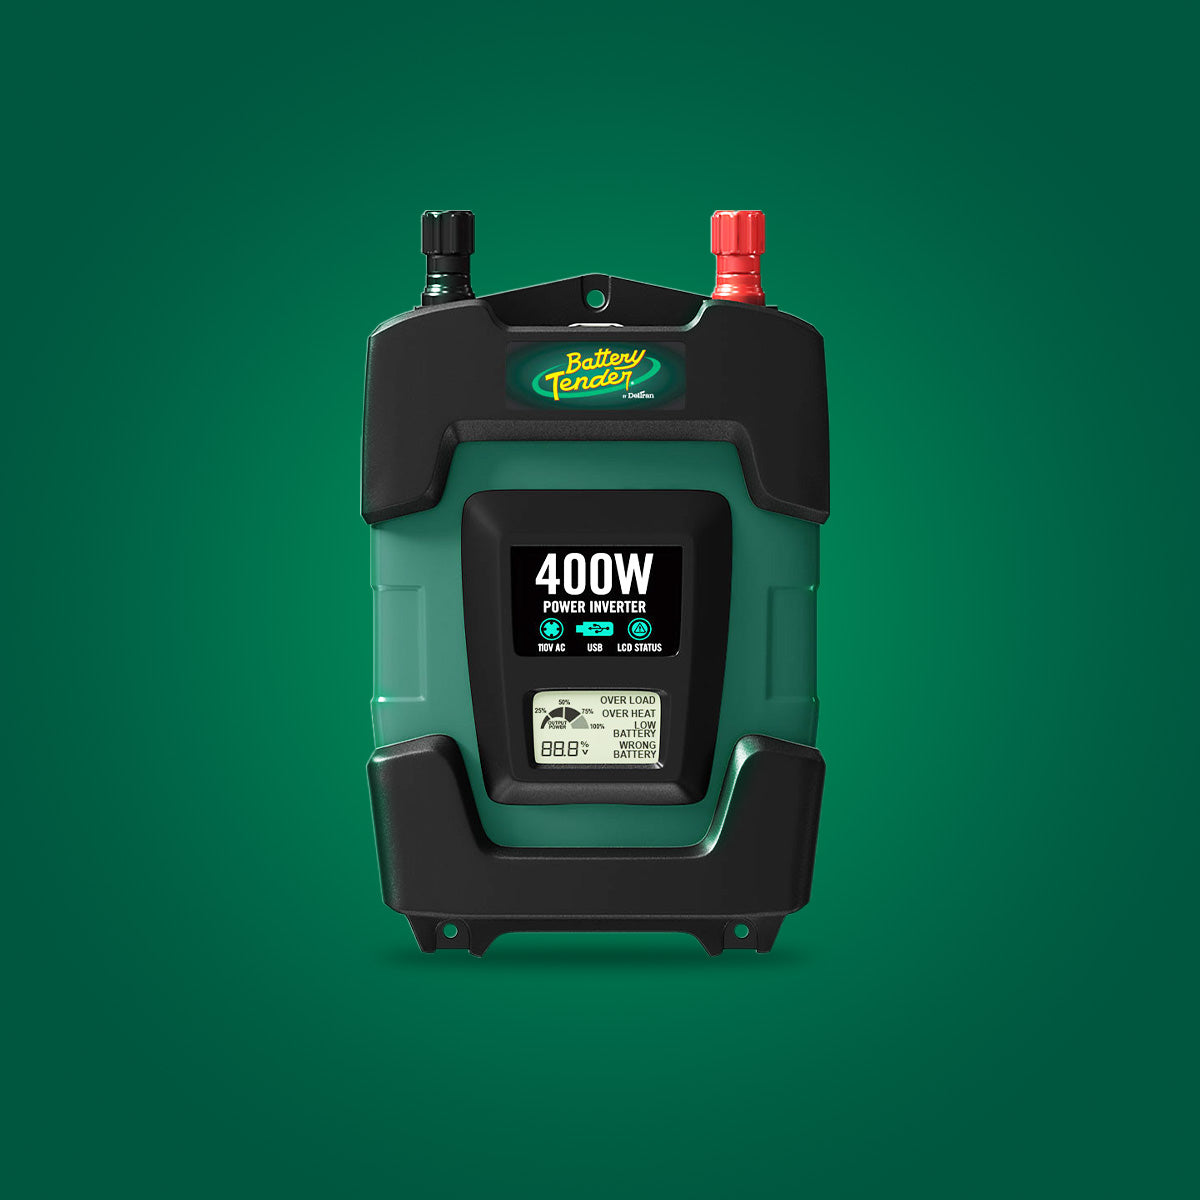
Jump Starting with Portable Jump Starter
Portable Jump Starter Advantages
Benefits Over Jumper Cables:
- No donor vehicle needed
- Safer (no risk of donor battery damage)
- Easier cable management
- USB charging for other devices
- Compact emergency kit storage
Cold Weather Advantages:
- Can be warmed indoors before use
- Lithium models work better in cold than lead-acid
- No donor vehicle electrical system involvement
- Multiple attempts possible
Limitations:
- Requires charged unit (check monthly)
- Limited capacity (may not work on larger engines)
- Lithium models can't charge below 32°F (keep warm)
- More expensive than jumper cables
Using Portable Jump Starter
Preparation:
1. Warm jump starter if stored in cold vehicle (bring indoors 30 minutes)
2. Verify jump starter charged (check indicator)
3. Turn off all accessories in vehicle
4. Set parking brake
Connection Procedure:
1. Connect RED clamp to dead battery positive (+)
2. Connect BLACK clamp to engine ground (NOT battery negative)
3. Turn on jump starter (if required by model)
4. Wait 30 seconds (allows small charge transfer)
5. Attempt start
Starting:
- Crank for maximum 3-5 seconds
- If unsuccessful, wait 30 seconds
- Try 2-3 attempts maximum
- Recharge jump starter after use
Disconnection:
1. Turn off jump starter
2. Remove BLACK clamp from ground
3. Remove RED clamp from battery positive
4. Recharge jump starter immediately
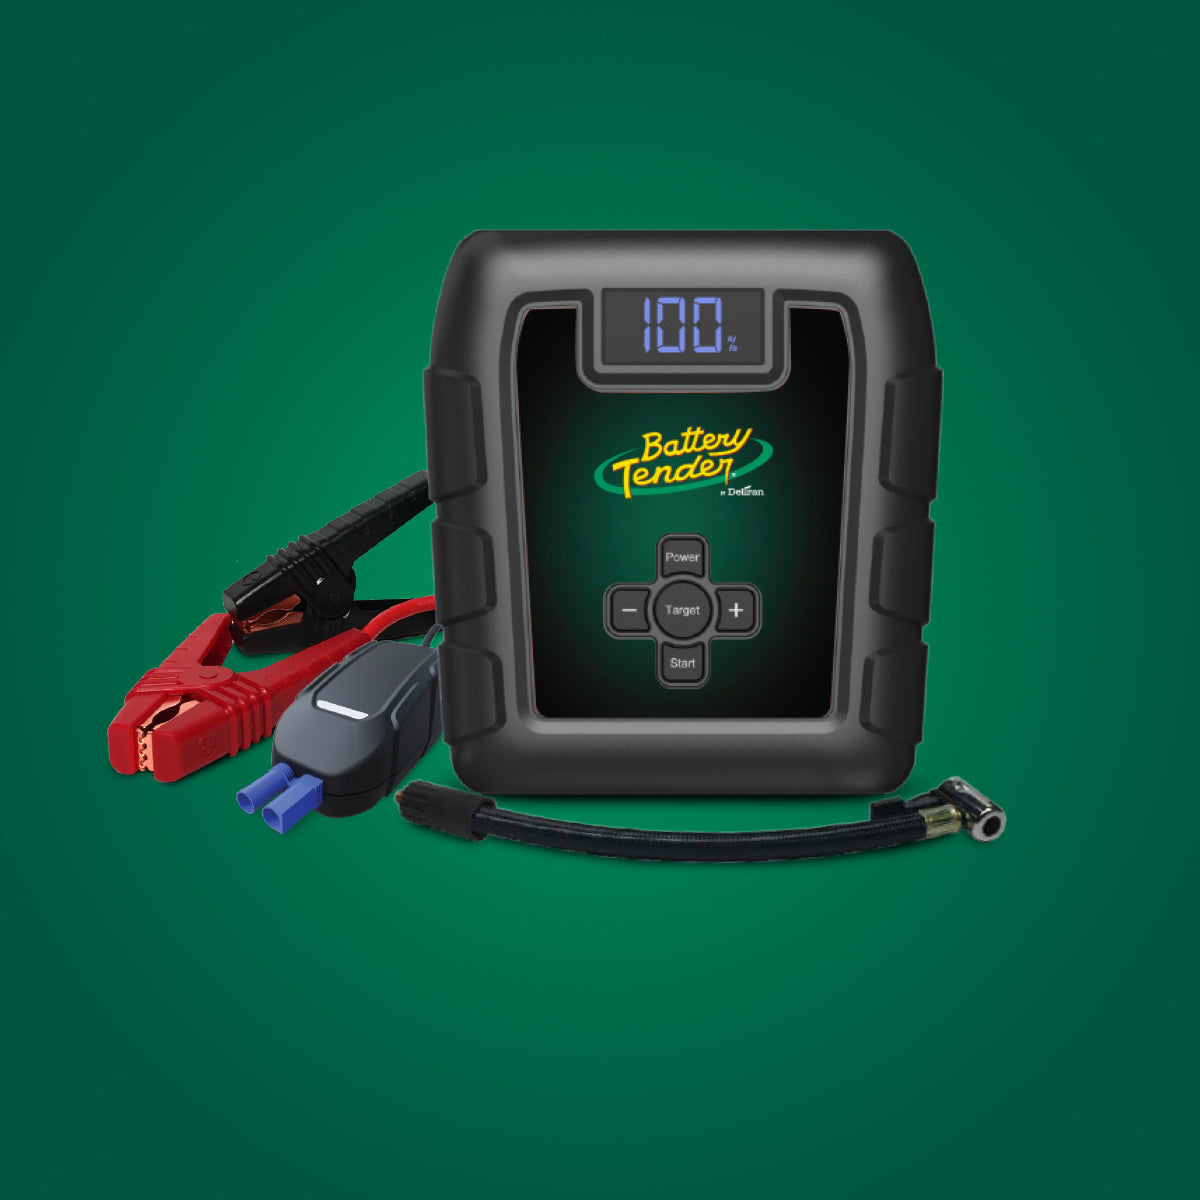
Battery Tender Jump Starters:
Explore our jump starter collection for portable emergency power solutions.
Special Cold Weather Considerations
Extreme Cold Procedures (Below 0°F)
Enhanced Warm-Up:
- Donor vehicle runs 10+ minutes before attempt
- Jumped vehicle heater on to warm engine compartment slightly
- Multiple warm-up attempts may be needed
- Consider battery warmer or blanket
Alternative: Battery Warming:
1. Remove battery (if accessible)
2. Bring indoors for 30-60 minutes
3. Warm to 40-50°F (NOT hot - just above freezing)
4. Reinstall and attempt start
5. Even 20°F warmer dramatically improves capacity
Diesel Engine Special Requirements
Higher Cranking Requirements:
- Compression ratios 2x gasoline engines
- Require 2-3x cranking amps
- Glow plug pre-heating essential
- Cold oil exceptionally thick
Glow Plug Protocol:
1. Turn key to ON (not START)
2. Wait for glow plug light to extinguish (30-60 seconds)
3. Repeat glow plug cycle 2-3 times
4. THEN attempt cranking
5. Reduces battery load significantly
Jump Starting Diesels:
- 2-gauge jumper cables minimum
- Larger donor vehicle strongly recommended
- Extended warm-up period (10+ minutes)
- Consider Block heater if available
- Professional help if repeatedly unsuccessful
Alternator Considerations
Post-Jump Charging System:
- Alternator must recharge battery
- 30-45 minute drive minimum
- Highway speeds increase charging rate
- Monitor for warning lights
Warning Signs of Charging Problems:
- Battery light on dashboard
- Voltage gauge showing low (below 13.5V)
- Dimming lights at idle
- Repeated jump start needs
Action Required:
- Have battery tested (auto parts stores test free)
- Have alternator tested simultaneously
- May need battery replacement
- May need alternator repair
Common Mistakes to Avoid
Mistake 1: Wrong Cable Connection Order
Wrong Approach:
- Connecting both positive cables first, then both negative
- Connecting negative to dead battery terminal
Consequence:
- Spark near battery (hydrogen explosion risk)
- Risk of shorting connections
- Potential injury
Correct Approach:
- Follow exact sequence: Dead positive, good positive, good negative, dead ground
Mistake 2: Insufficient Warm-Up Time
Wrong Approach:
- Connecting cables and immediately attempting start
- Not running donor vehicle
Consequence:
- Starter overload
- Insufficient power transfer
- Rapid donor battery drain
- Damage to both electrical systems
Correct Approach:
- 5-minute warm-up minimum
- 10-minute warm-up in extreme cold
- Donor vehicle running at elevated RPM
Mistake 3: Continuous Cranking
Wrong Approach:
- Cranking starter motor continuously for 30+ seconds
- Repeated attempts with no pause
Consequence:
- Starter motor overheating
- Starter motor damage
- Battery damage
- Electrical system damage
Correct Approach:
- 10-second maximum cranking time
- 30-second minimum pause between attempts
- 3 attempts maximum before seeking help
Mistake 4: Jump Starting Frozen Battery
Wrong Approach:
- Attempting jump start on frozen battery
- Ignoring bulging case or ice
Consequence:
- Battery explosion (shrapnel and acid spray)
- Severe injury potential
- Vehicle damage
Correct Approach:
- Inspect battery before jump starting
- Thaw frozen battery before use
- Replace if case damaged
After Jump Starting: Next Steps
Immediate Actions
First 30 Minutes:
1. Drive vehicle continuously (no stopping)
2. Highway speeds preferred
3. Minimize electrical load initially
4. Monitor gauges for problems
First Day:
1. Drive 30-45 minutes minimum
2. Have battery tested at auto parts store (free)
3. Have charging system tested simultaneously
4. Address any identified problems
Battery Testing and Diagnosis
Professional Battery Test Shows:
- Actual capacity remaining (CCA)
- State of charge
- Internal resistance
- Recommendations for replacement
Test Results:
- Good: Passes load test at rated CCA
- Marginal: 75-80% of rated CCA (replace soon)
- Failed: Below 75% rated CCA (replace immediately)
Charging System Test Shows:
- Alternator output voltage (should be 13.5-14.5V)
- Alternator amperage capacity
- Voltage regulator function
- Belt condition and tension
When to Replace Battery
Replace If:
- Failed load test (below 75% rated CCA)
- Age 5+ years (proactive replacement)
- Repeated jump starts needed
- Case damaged or bulging
- Terminals corroded beyond cleaning
Don't Wait:
- Battery failure is progressive
- Worn battery strains alternator
- Stranded situation risks increase
- Cold weather reveals weakness
Prevention: Avoiding Future Jump Starts
Winter Battery Maintenance
Pre-Winter Preparation:
1. Have battery tested (September-October)
2. Replace if marginal (don't risk winter failure)
3. Clean terminals thoroughly
4. Apply terminal protector
5. Verify charging system function
Storage Vehicle Maintenance:
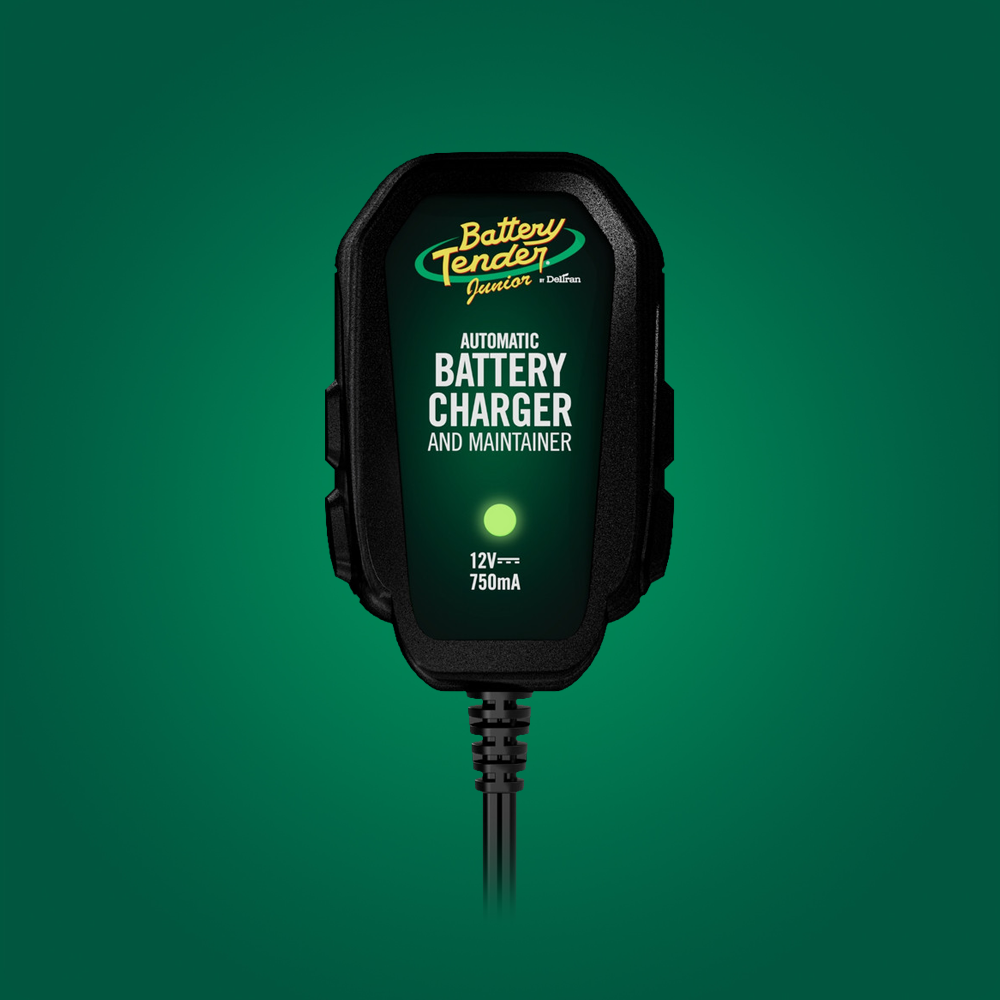
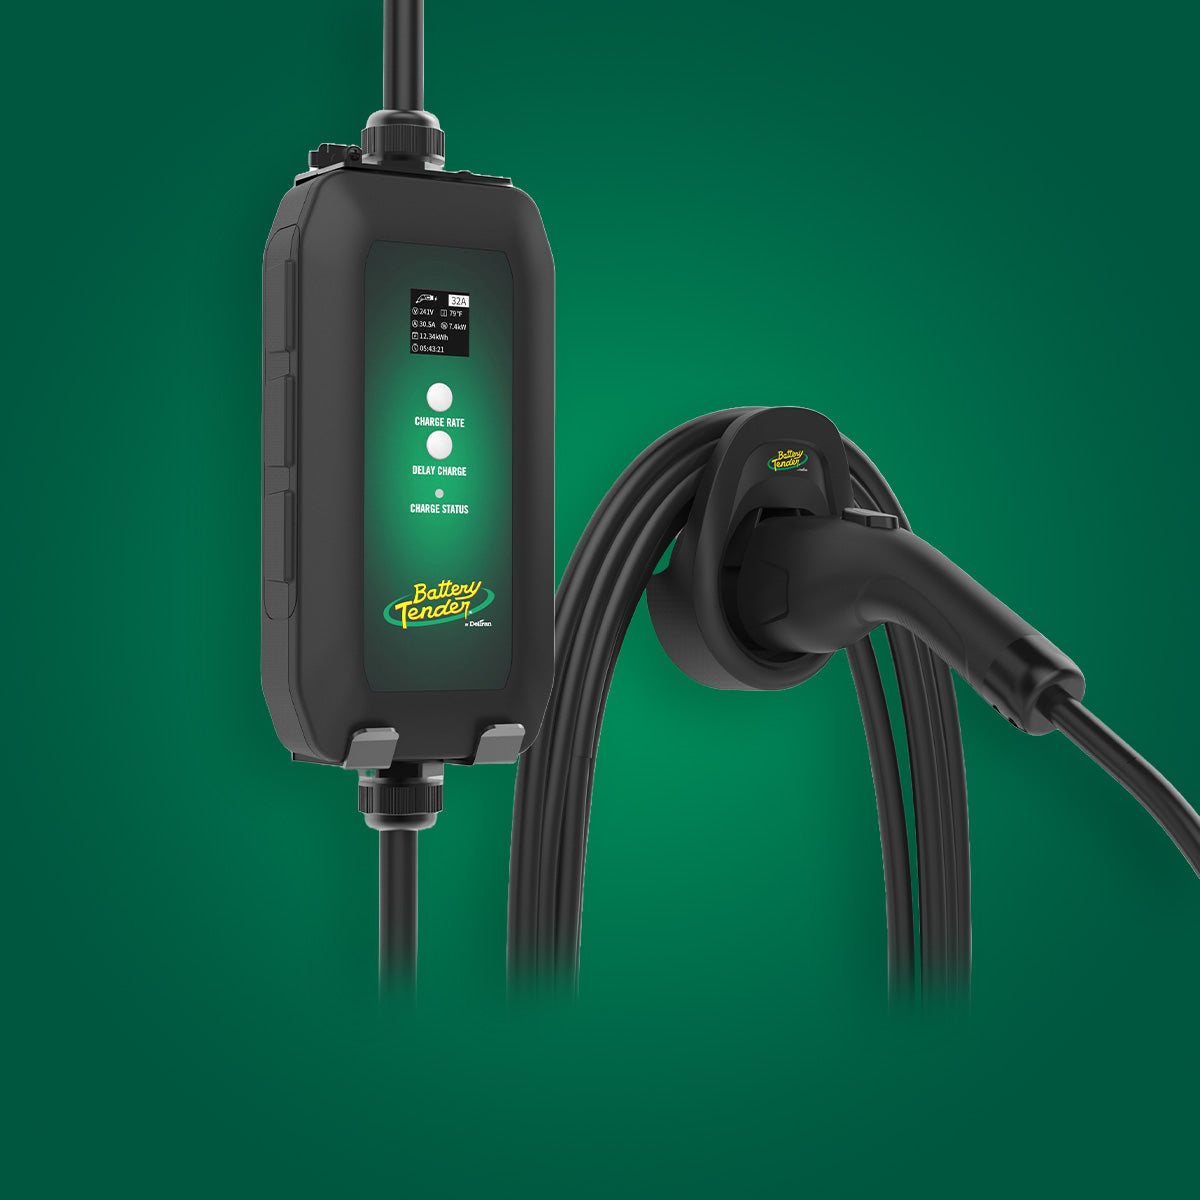
 Battery Tender® Plus
- Maintain perfect charge through winter
- ISM technology prevents sulfation
- Safe for continuous connection
- Pioneered smart charging in 1989
- Vehicle always ready to start
Monthly Maintenance (Non-Stored Vehicles):
- Check battery voltage (12.6V+ when cold)
- Clean terminals if corrosion appears
- Start vehicle and drive 20+ minutes
- Don't let sit 2+ weeks without starting
Block Heater Benefits
For Extreme Cold Climates:
- Engine block heaters warm oil
- Reduces cranking load 50-70%
- Protects engine from cold-start wear
- Battery lasts longer
- Faster cabin heating
Investment: $50-150 installed
Payback: 1-2 winters of avoided problems
FAQ
Q: Can I jump start in the rain or snow?
A: Yes, but use caution. Keep connections clean. Ensure clamps make good contact. Avoid standing in puddles. Rain/snow don't prevent jump starting if done carefully.
Q: How long should I drive after jump starting?
A: Minimum 30 minutes, preferably 45 minutes. Highway speeds better than city driving. Longer drives for deeply discharged batteries.
Q: Can I damage my car by jump starting another vehicle?
A: Minimal risk if done correctly. Don't exceed 3 jump attempts. Don't jump significantly larger engines (small car to large truck). Modern vehicles have electrical protection.
Q: Should I disconnect my car's battery before jump starting?
A: No. Leave connected. Disconnecting doesn't provide benefit and adds complication. Proper cable connection order provides protection.
Q: Can I jump start with different battery sizes?
A: Yes, within reason. Similar or larger donor battery recommended. Small motorcycle battery can't jump car. Car battery can jump motorcycle. Truck battery can jump car.
Q: Will jump starting hurt my alternator?
A: Proper procedure (warm-up period, proper connections) protects alternator. Continuous cranking or immediate high electrical load can damage alternator. Follow 5-minute warm-up and gradual load increase.
Conclusion
Cold weather jump starting demands proper technique and safety awareness. Understanding battery behavior in freezing temperatures, following correct cable connection procedures, and avoiding common mistakes prevents injury and equipment damage.
Battery Tender, pioneer of consumer smart chargers since 1989, recommends prevention over jump starting. Our battery chargers maintain optimal charge through winter storage, eliminating cold-morning emergencies entirely.
For vehicles facing cold weather, proper jump starting knowledge provides critical emergency capability. Master these techniques and winter battery failures become manageable rather than catastrophic.
Browse our battery chargers for winter maintenance solutions.