


Snowmobiles operate in conditions that would destroy automotive batteries in hours. Subzero temperatures, extreme vibration, deep powder immersion, and high-amperage starting demands create the harshest battery environment imaginable. A failed battery 20 miles into backcountry terrain isn't just inconvenient—it's potentially dangerous.
Battery Tender® pioneered consumer smart chargers in 1989 and has spent 60 years engineering charging solutions for extreme conditions. This guide shares proven techniques for maintaining snowmobile batteries through brutal winter operation and proper off-season storage.
Snowmobile Battery Requirements
Operating Conditions
Extreme Cold Challenges:
- Starting temperatures: -40°F to 20°F typical
- Electrochemical reactions slow dramatically (50% capacity loss at 0°F)
- Internal resistance increases (reduced cranking power)
- Electrolyte can freeze if battery discharged (lead-acid)
- Extended high-amperage cranking required
Vibration and Impact:
- Continuous vibration from track and suspension
- Impacts from rough terrain
- Powder immersion (moisture exposure)
- Extended periods at high RPM
Electrical Demands:
- Electric start systems: 150-300 CCA typical
- Heated grips and shields (continuous draw)
- GPS and communication systems
- High-output lighting systems
Lead-Acid: The Traditional Choice
Why Lead-Acid Dominates Snowmobiles:
Cold-Temperature Charging:
- Can charge down to 0°F (critical advantage)
- Alternator charges while riding
- No temperature restrictions in field use
- Proven reliability in extreme cold
AGM Construction (Most Common):
- Sealed, maintenance-free design
- Superior vibration resistance
- Can mount in any position
- No spillage if tipped in powder
- 3-5 year lifespan typical
- Cost: $80-150
Cold Cranking Performance:
- High CCA ratings available (200-300 typical)
- Designed for extreme cold starting
- Accepts charge at low temperatures
- Well-matched to snowmobile charging systems
Lithium: The Emerging Alternative
Limited Snowmobile Adoption:
Lithium batteries offer dramatic weight savings (60-70% lighter) but face critical limitations for snowmobile use:
The Cold-Charging Problem:
- CANNOT charge below 32°F
- Most snowmobile operation is below 32°F
- Alternator charges while riding
- Lithium BMS blocks charging in field conditions
- This makes lithium impractical for most snowmobile applications
Where Lithium Might Work:
- Southern/warmer climate riding (rare subzero operation)
- Sleds with engine heat near battery
- Competition racing (every pound matters, careful management)
- Short-duration use with warm garage storage
Lithium Advantages (When Applicable):
- Dramatic weight reduction (8-12 lbs lighter)
- Excellent cold-cranking performance (voltage doesn't sag)
- Long lifespan (8-10 years if properly managed)
- No sulfation concerns
Lithium Reality Check:
For most snowmobilers in traditional snowbelt regions, lead-acid AGM remains the superior choice due to cold-charging capability. Lithium works for niche applications but isn't practical for mainstream use.
Battery Tender Position:
We previously manufactured lithium batteries and are launching a new lithium battery line in summer 2026 specifically for powersports, with enhanced cold-weather BMS optimization. However, lead-acid remains our recommendation for traditional snowmobile applications.
Pre-Season Battery Preparation
Fall Inspection and Testing
Visual Assessment:
- Check for cracks or case damage
- Inspect terminals for corrosion
- Verify hold-down security
- Examine cables for damage from summer storage
- Clean any corrosion or oxidation
Voltage Testing:
Lead-Acid:
- 12.6-12.8V: Fully charged, ready
- 12.4-12.6V: Acceptable, charge before use
- 12.2-12.4V: Partially discharged, charge immediately
- Below 12.2V: Deeply discharged, may need replacement
Load Testing:
- Professional load test reveals cold-cranking capacity
- Critical for batteries 3+ years old
- Replace batteries showing weakness
- Don't risk season opener with questionable battery
Installation Check
Electrical System Verification:
- Test charging system (13.5-14.5V while running)
- Verify all lights functioning
- Check heated accessories operation
- Test GPS/communication systems
- Confirm emergency stop switch function
Cable and Connection Inspection:
- Terminals tight (prevent voltage drop)
- Cables properly routed (no chafing)
- No corrosion at connections
- Apply dielectric grease to terminals
- Secure hold-down firmly
Extreme Cold Starting Procedures
Pre-Start Preparation
Battery Warming Techniques:
- Park in heated garage overnight (ideal)
- Use battery blanket or wrap (available accessory)
- Bring battery indoors overnight if possible
- Allow engine compartment to warm (sun exposure)
Even 20°F warmer makes dramatic difference:
- Battery at -20°F: ~40% capacity
- Battery at 0°F: ~55% capacity
- Battery at 20°F: ~75% capacity
- Battery at 40°F: ~90% capacity
System Optimization:
- Turn off all accessories (lights, heated grips)
- Ensure choke properly set
- Verify kill switch in run position
- Check throttle operation
Cold Starting Technique
Proper Starting Procedure:
1. Turn key to on (pause for fuel pump)
2. Set choke fully (cold start enrichment)
3. Press start button firmly
4. Hold starter 3-5 seconds maximum
5. Release and wait 30 seconds if doesn't start
6. Repeat as needed
Why the Pause Matters:
- Extended cranking heats starter motor
- Starter can overheat and fail
- 30-second pause allows motor cooling
- Also allows battery voltage recovery
- Prevents starter damage in extreme cold
After Successful Start:
1. Let idle 2-3 minutes (warm engine oil)
2. Don't increase RPM immediately
3. Allow coolant to warm
4. Turn on heated accessories gradually
5. Monitor battery voltage (should show charging)
Trail-Side Emergency Procedures
Dead Battery Diagnosis
Symptoms:
- Slow cranking (labored start)
- Click only (no cranking)
- Dim lights
- No electrical response
Quick Tests:
- Headlight brightness test (dim = low voltage)
- Attempt restart after 5-minute wait
- Check for loose connections
- Verify kill switch position
Jump Starting in the Field
Jump Start from Another Sled:
Equipment Needed:
- Jumper cables (carry in pack always)
- Running snowmobile
- Level terrain (both sleds stable)
Procedure:
1. Position sleds close (cables reach)
2. Turn off both sleds
3. Connect positive to dead battery positive
4. Connect positive to good battery positive
5. Connect negative to good battery negative
6. Connect negative to dead battery negative (or engine ground)
7. Start good sled, let run 2-3 minutes
8. Attempt to start dead sled
9. Once started, disconnect in reverse order
10. Keep dead sled running (charge battery)
Jump Start Safety:
- Never allow cable clamps to touch each other
- Ensure secure connections (vibration can dislodge)
- Don't rev engine excessively during jump
- Monitor for sparks or smoke
Alternative Emergency Solutions
Hand Starting (If Equipped):
- Some vintage sleds have recoil start backup
- Requires significant effort in cold
- Follow manufacturer's procedure
- May be only option in remote areas
Battery Warming:
- Place battery inside jacket for 15 minutes (body heat)
- Build small fire and place battery near (not too close!)
- Place battery in sun for 30+ minutes
- Even slight warming improves capacity
Group Riding Protocol:
- Never ride alone in extreme cold
- Carry jumper cables always
- Know location of nearest shelter
- Have communication device
- Tell someone your route and return time
Winter Riding Battery Maintenance
During-Season Care
Daily Pre-Ride:
- Check battery terminals tight
- Verify charging system function
- Test all electrical accessories
- Confirm emergency stop working
Weekly Inspection:
- Clean any snow/ice accumulation
- Check for corrosion
- Verify battery hold-down secure
- Test voltage with multimeter
Post-Ride Procedures:
1. Let sled idle 2-3 minutes (charge battery)
2. Turn off all accessories before shutdown
3. Park in heated garage if available
4. Consider battery disconnect if storing multi-day
5. Connect Battery Tender charger if extended storage
Charging System Monitoring
Healthy Charging System:
- Voltage at idle: 13.5-14.0V
- Voltage at 3000 RPM: 13.8-14.5V
- Voltage stable (not fluctuating)
- Battery charges over 30-minute ride
Warning Signs:
- Voltage below 13.5V while running
- Voltage drops under electrical load
- Lights dimming at idle
- Battery not maintaining charge
Action Required:
- Test stator output
- Check voltage regulator function
- Inspect connections for corrosion
- Replace faulty components immediately
Between-Ride Storage (During Season)
Short-Term Storage (Days)
For 1-7 Days Between Rides:
Heated Garage Storage:
- Battery Tender charger connection ideal
- Maintains perfect charge
- Prevents deep discharge
- Ready for next ride
Unheated Storage:
- Disconnect negative cable (prevent parasitic draw)
- Battery retains charge better in cold (slower self-discharge)
- Reconnect and check voltage before next ride
- Consider bringing battery indoors if below 0°F
Cold Soak Impact:
- Battery at 70°F: 100% capacity
- Battery at 32°F: 80% capacity
- Battery at 0°F: 55% capacity
- Battery at -20°F: 40% capacity
Pre-Ride After Storage:
- Warm battery if possible (30+ minutes in warmth)
- Check voltage before attempting start
- Follow cold starting procedures
- Allow extra time for successful start
Extended Storage (Weeks)
For 2+ Weeks Between Rides:

Battery Tender Connection (Best):
- Battery Tender® Plus 1.25A
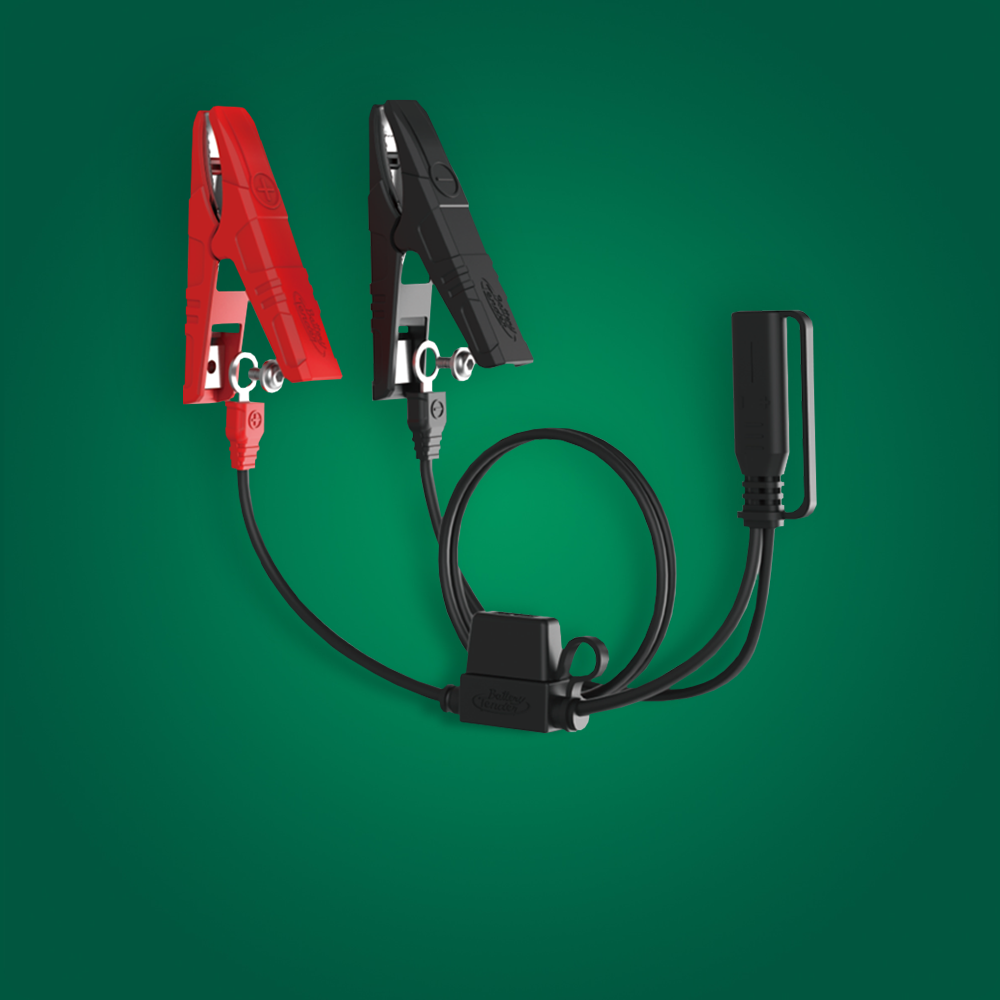
- Install ring terminal harness
- Connect in heated garage
- Maintains perfect charge level
- Battery ready for immediate use
Battery Removal Option:
- Disconnect and remove battery
- Store in heated location (40-70°F)
- Connect Battery Tender charger during storage
- Reinstall before next ride
- Warm battery before reinstalling if stored cold
Off-Season Storage (Summer)
End-of-Season Preparation
Final Ride Protocol:
1. Take extended final ride (charge battery fully)
2. Return to heated garage if possible
3. Let sled idle 5 minutes after return
4. Turn off all accessories
5. Shut down engine
Battery Decision:
Option 1: Leave Installed with Battery Tender charger
- Best if heated storage available
- Install ring terminal harness
- Connect Battery Tender charger for summer
- Zero maintenance required
- Battery perfect for fall
Option 2: Remove for Storage
- Best if unheated storage
- Remove battery carefully
- Store in heated location
- Connect Battery Tender charger in storage location
- Reinstall in fall
Storage Procedures
Lead-Acid Battery Storage:
Charging Protocol:
1. Charge to 100% (12.6-12.8V)
2. Verify voltage stabilizes
3. Connect Battery Tender charger continuously OR
4. Check voltage monthly, recharge if below 12.4V
Storage Location:
- Temperature: 40-70°F optimal
- Cool temperatures slow self-discharge
- Avoid extreme heat (accelerates aging)
- Good ventilation (hydrogen venting)

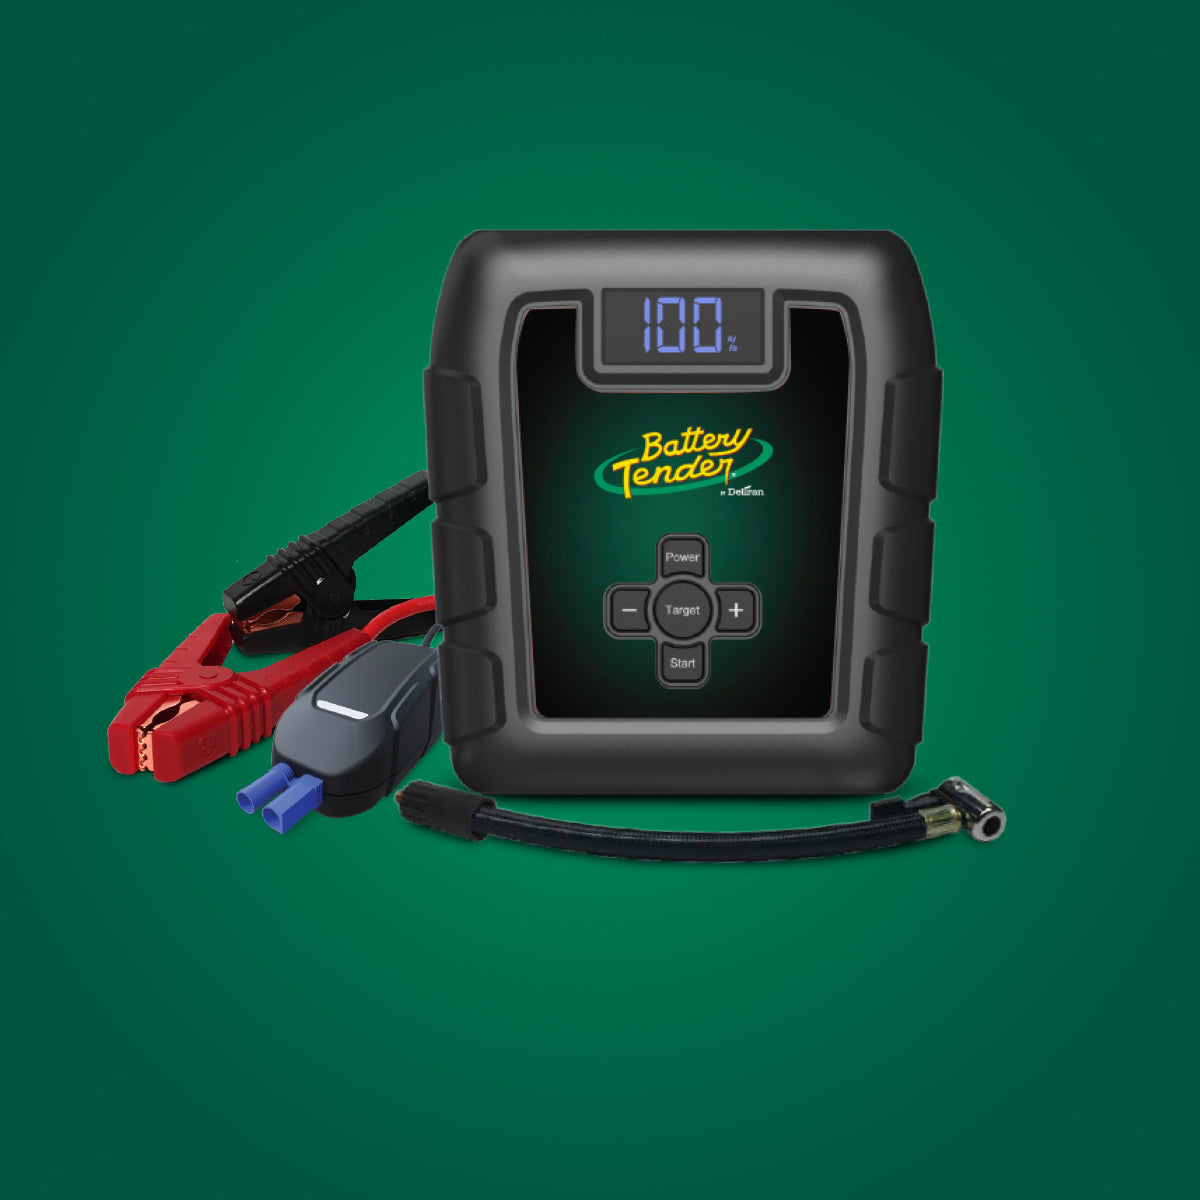
Battery Tender® Charge N Start 1120
- Float mode prevents overcharge
- Safe for a 6-month continuous connection
- Provides jump starting capabilities for dead battery
- Proven technology since 1989
- Eliminates summer maintenance
Fall Recommissioning
Pre-Season Checks:
1. Test voltage (12.6-12.8V if maintained)
2. Load test for capacity verification
3. Clean any summer dust/corrosion
4. Inspect terminals and cables
5. Verify hold-down hardware
Reinstallation (If Removed):
1. Clean battery tray
2. Position battery correctly
3. Connect positive cable first
4. Connect negative cable second
5. Secure hold-down
6. Apply terminal protector
7. Test all electrical systems
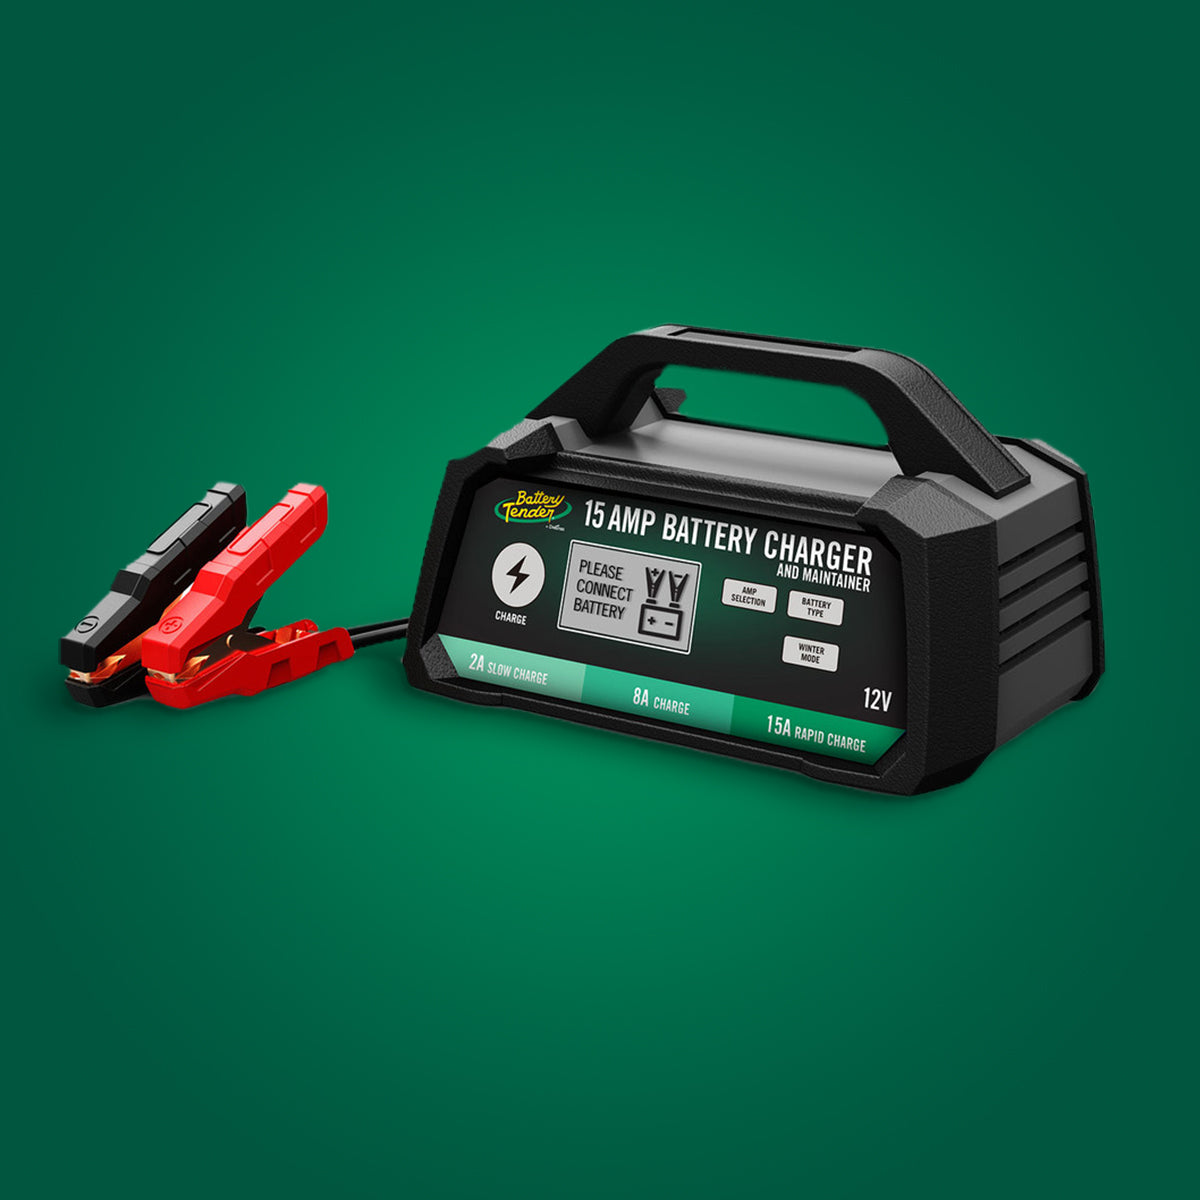
Lead-Acid Best Practices for Snowmobiles
Why Lead-Acid Excels:
- Can charge in subzero temperatures (alternator works)
- Proven reliability in extreme conditions
- Lower initial cost ($80-150)
- Available everywhere (trail-side replacement possible)
- No cold-charging limitations
Maximizing Lead-Acid Lifespan:
- Battery Tender charger during off-season (doubles lifespan)
- Keep terminals clean and tight
- Avoid deep discharge (shut off accessories if starting problems)
- Test charging system annually
- Replace proactively at 4-5 years
Expected Performance:
- Without maintenance: 2-3 years
- With Battery Tender charger: 4-6 years
- Proper care saves $80-150 per replacement cycle
Lithium Considerations for Snowmobiles
When Lithium Makes Sense:
- Warmer climate operation (minimal subzero riding)
- Racing applications (weight critical, careful management)
- Short rides returning to warm storage
- Sled with battery near engine heat source
When Lithium Doesn't Work:
- Traditional snowbelt riding (extended subzero operation)
- Backcountry/remote riding (alternator charging critical)
- Multi-day trips (no warm storage available)
- Casual riders (complexity not worth weight savings)
If Using Lithium:
- Verify BMS has cold-temperature charging protection
- Monitor carefully during cold operation
- Have lead-acid backup for cold weather
- Understand charging limitations completely
- 10 AMP Selectable Chemistry required for off-season
FAQ
Q: Why does my battery die faster in extreme cold?
A: Chemical reactions slow dramatically in cold. At -20°F, battery capacity drops to 40% of rated capacity. Internal resistance increases, making starting even harder. This is normal battery chemistry physics.
Q: Can I use a lithium battery in my snowmobile?
A: Generally not recommended. Lithium cannot charge below 32°F, but snowmobiles operate and charge in colder temperatures. Lead-acid's cold-charging capability makes it superior for snowmobile use. Lithium only makes sense in niche applications.
Q: Should I bring my battery indoors between rides?
A: If storing multiple days in extreme cold (below 0°F), yes. The effort is worth it for reliable starting. Connect Battery Tender charger during indoor storage for perfect charge maintenance.
Q: How long should I let my sled idle to charge the battery?
A: Minimum 5 minutes after any difficult start. Better: take a 20-30 minute ride. Idling charges slowly; riding at varied RPM charges much faster.
Q: Can I jump start from a car?
A: Not recommended. Car alternators produce much higher amperage that can damage snowmobile electrical systems. Use another snowmobile or portable jump starter designed for powersports.
Q: Do I need Battery Tender chargers for summer storage?
A: Strongly recommended. Sulfation destroys batteries during 6-month storage. Battery Tender chargers prevent this completely. Most snowmobilers report 2-3x longer battery life with proper summer maintenance.
Conclusion
Snowmobile batteries face the harshest conditions imaginable. Lead-acid AGM batteries remain the superior choice for traditional snowmobile applications due to their cold-charging capability—critical when the alternator charges during subzero operation. While lithium offers weight advantages, the cold-charging limitation makes it impractical for most snowmobilers.
Battery Tender, pioneer of consumer smart chargers in 1989, provides proven charging technology for off-season storage. Proper summer maintenance with a Battery Tender charger doubles battery lifespan, ensuring reliable starts when powder conditions are perfect.
Don't let battery failure ruin your season or compromise safety in remote terrain. Implement proper storage procedures and carry jumper cables always.
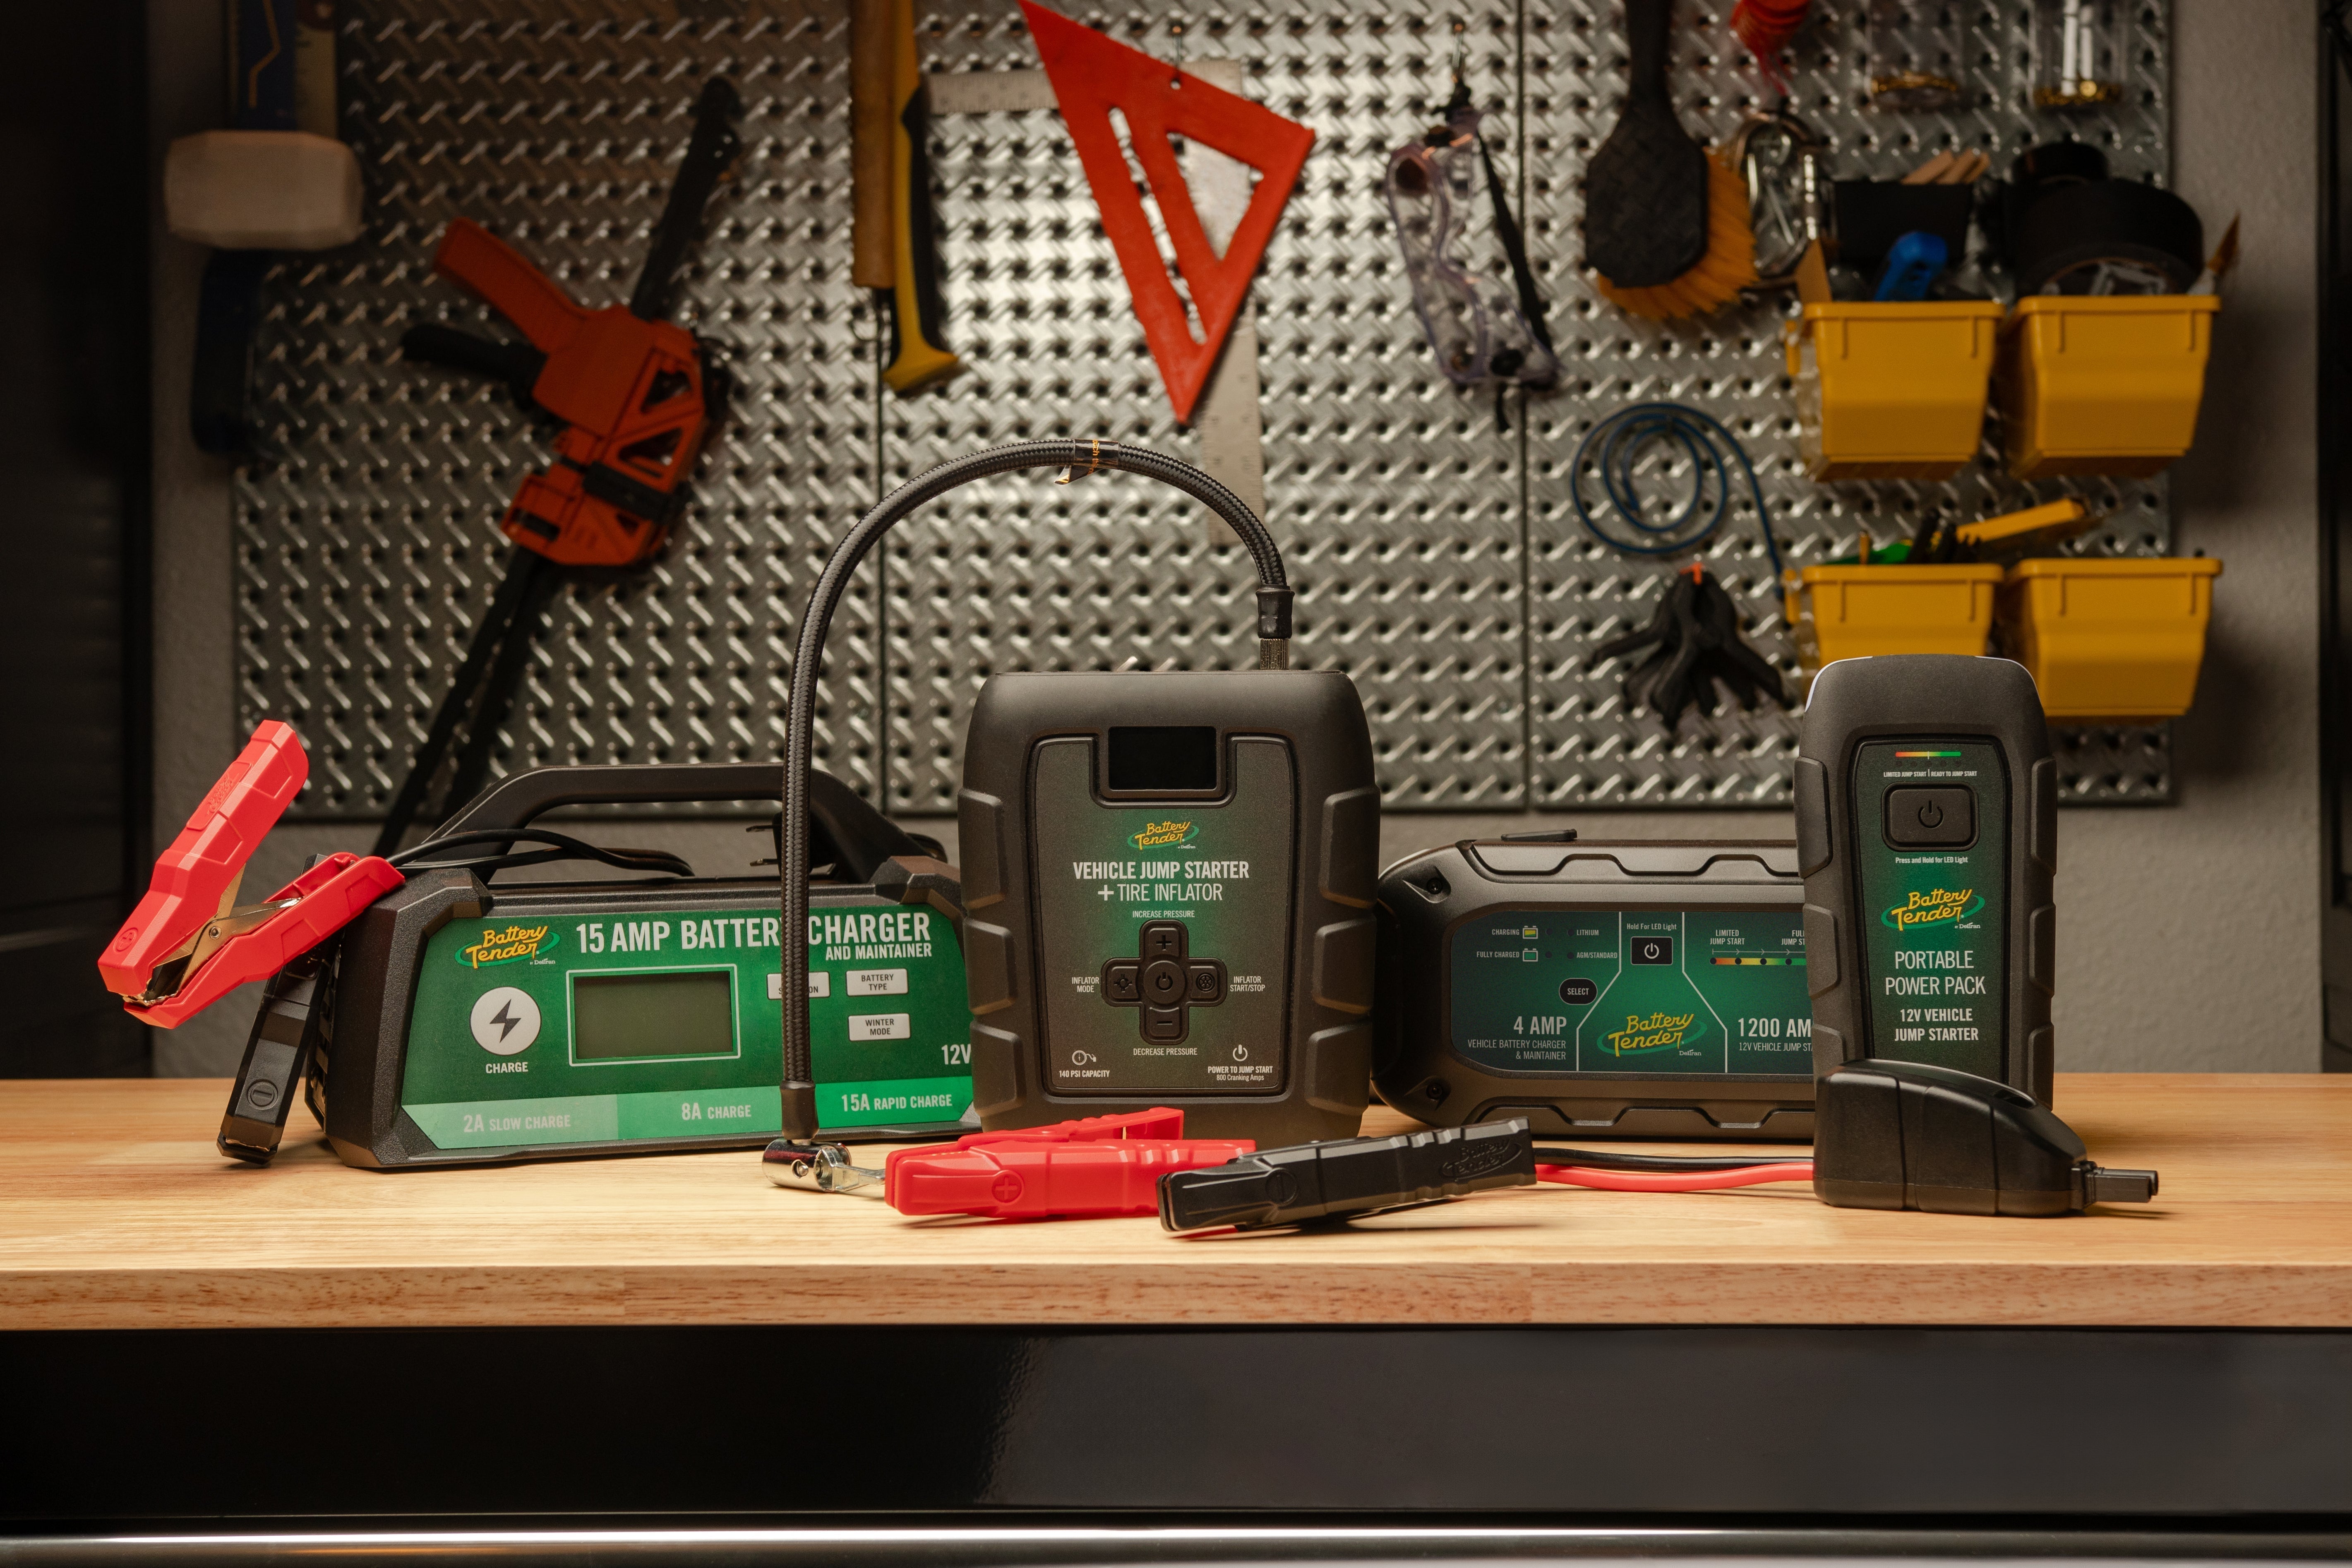
Browse our powersports battery chargers and accessories.