


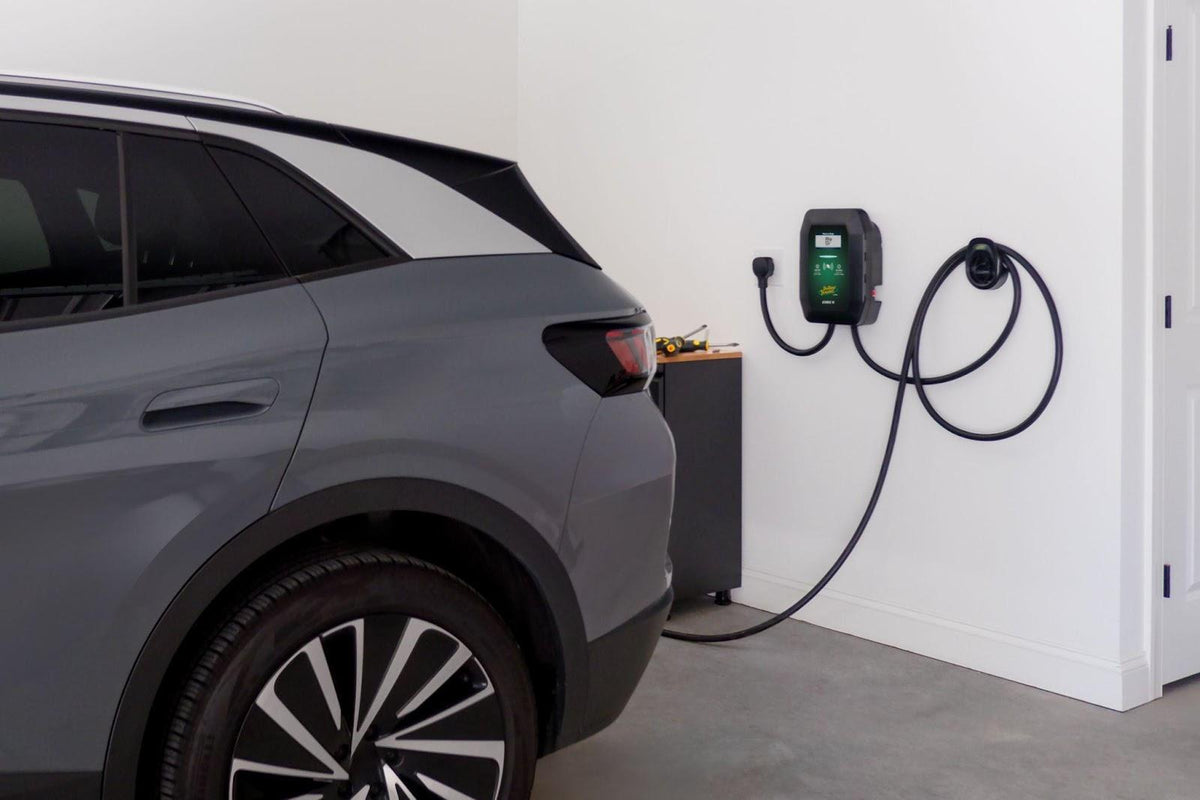
EV Charger Installation Guide (2026): Panel Load, Breaker Sizing, and Wiring
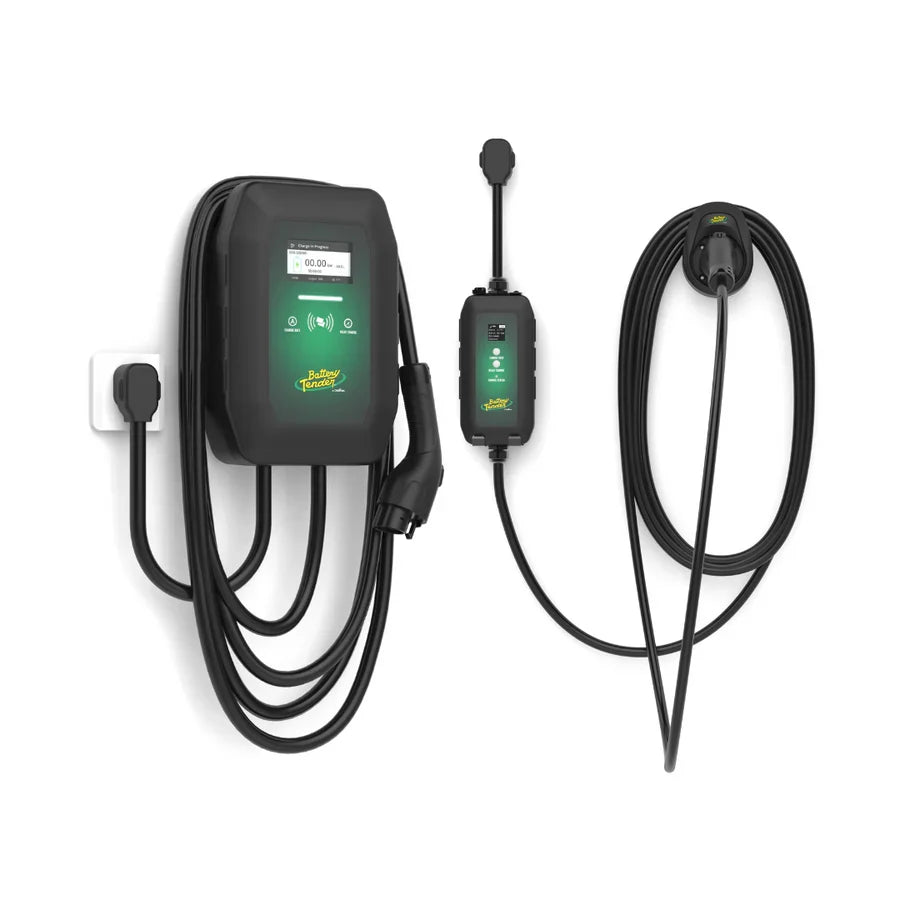
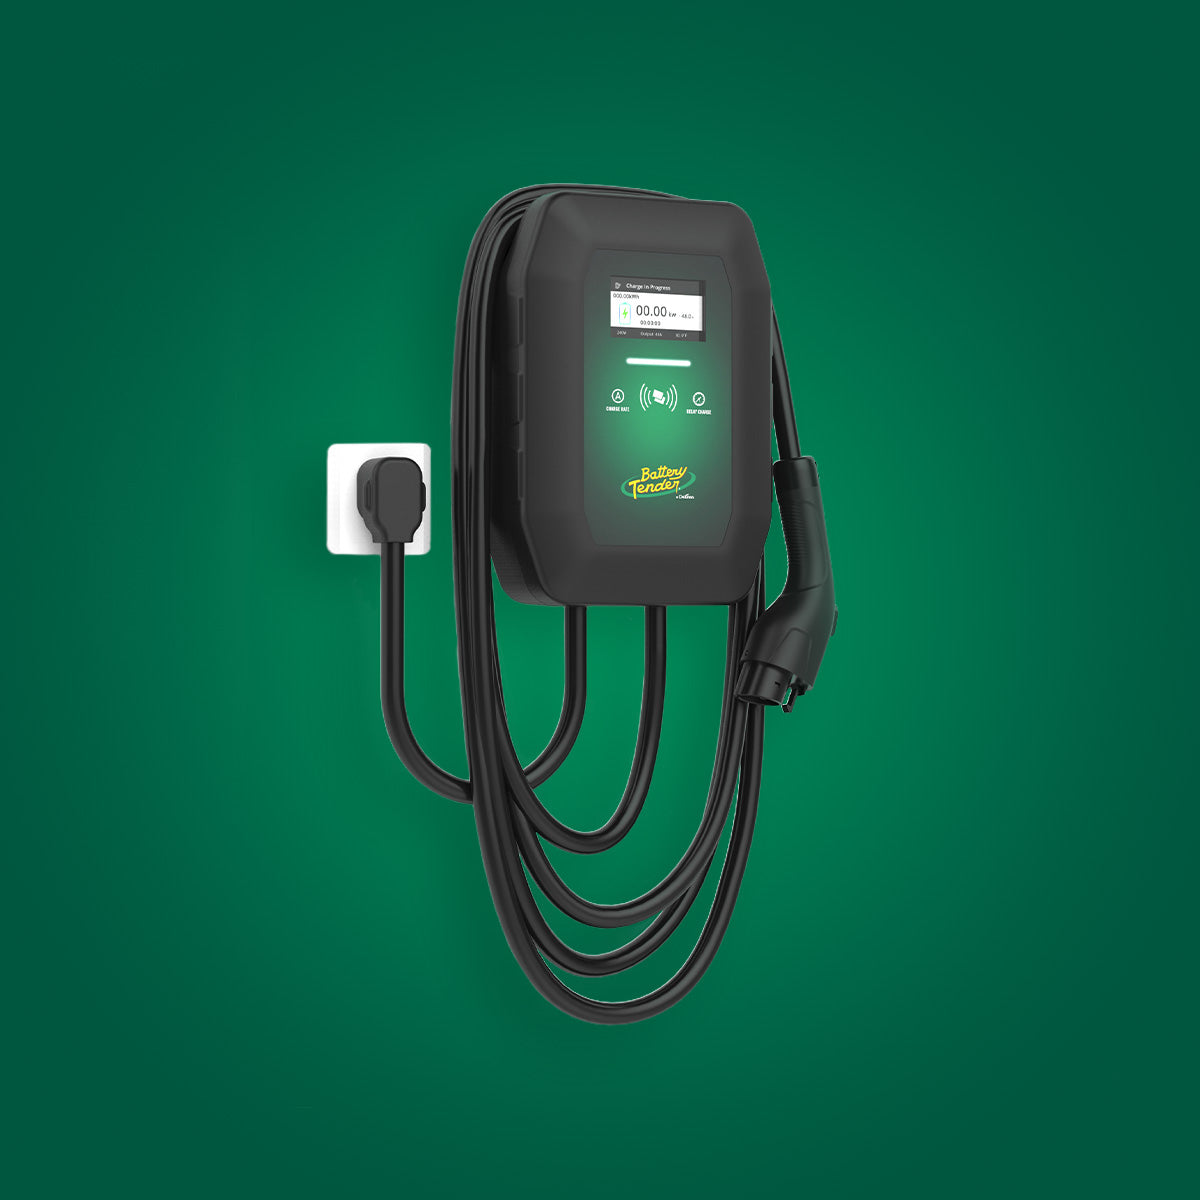
EV charger installation starts with your electrical panel, not the charger. A licensed electrician must confirm spare capacity, then run a dedicated circuit rated at 125% of the charger's continuous current, such as a 50-amp breaker for a 40-amp Level 2 charger. Battery Tender®, the company that invented the smart float maintainer category in 1965, built its Battery Tender eCharge line of home EV chargers on the same principle: match the charger to the electrical system it runs on.
Most delayed or over-budget EV charger installation projects trace back to skipped math. The charger gets bought first and the panel gets checked second. This guide covers the load calculation, circuit sizing, wire gauge, permits, and installation sequence, so you understand an electrician's quote before any work starts.
Key Takeaways
- Size the breaker at 125% of the charger's continuous amps: 20A for 16A, 40A for 32A, 50A for 40A, and 60A for 48A.
- Level 1 charging needs no new wiring only if a dedicated, healthy 20-amp 120V receptacle already exists.
- A 100-amp panel can often carry a 40-amp charger but may fail with a 48-amp charger, as the worked example below shows.
- If the panel falls short, your options are a lower-amperage charger, load management, or a panel upgrade.
- Most jurisdictions require a permit, an inspection, and a licensed electrician for any hardwired or 240V Level 2 EV charger installation.
- The Battery Tender eCharge 32 Amp and Battery Tender eCharge 40 Amp units are both available at Costco.com.
Why Does EV Charger Installation Start With the Electrical Panel?
The panel comes first because a Level 2 charger is a continuous, high-current load. Before any wire is pulled, the panel must prove it can carry that load. NEC Article 625 treats EV charging as a continuous load, which the code defines as current flowing for three hours or more.
A 40-amp charger drawing 9.6 kW is roughly the combined nameplate load of a 5 kW electric dryer and a 4.5 kW water heater, running for hours at a stretch. Many older homes with 100-amp service and electric heat, a pool pump, or a hot tub have little headroom left for that kind of sustained draw. Unlike a dryer, which cycles its heating element, the charger holds near full current until the pack approaches its target state of charge.
Level 1 avoids most of the EV charger installation burden. A standard 120V circuit needs no new wiring, provided the receptacle is dedicated, meaning no other outlets or lights share the circuit. A 20-amp circuit supports 16 amps continuous (80% of 20), which is exactly what a 16-amp portable charger draws. Older garage outlets with backstab connections or worn contacts can overheat under that load, so have an electrician check the receptacle before relying on it.
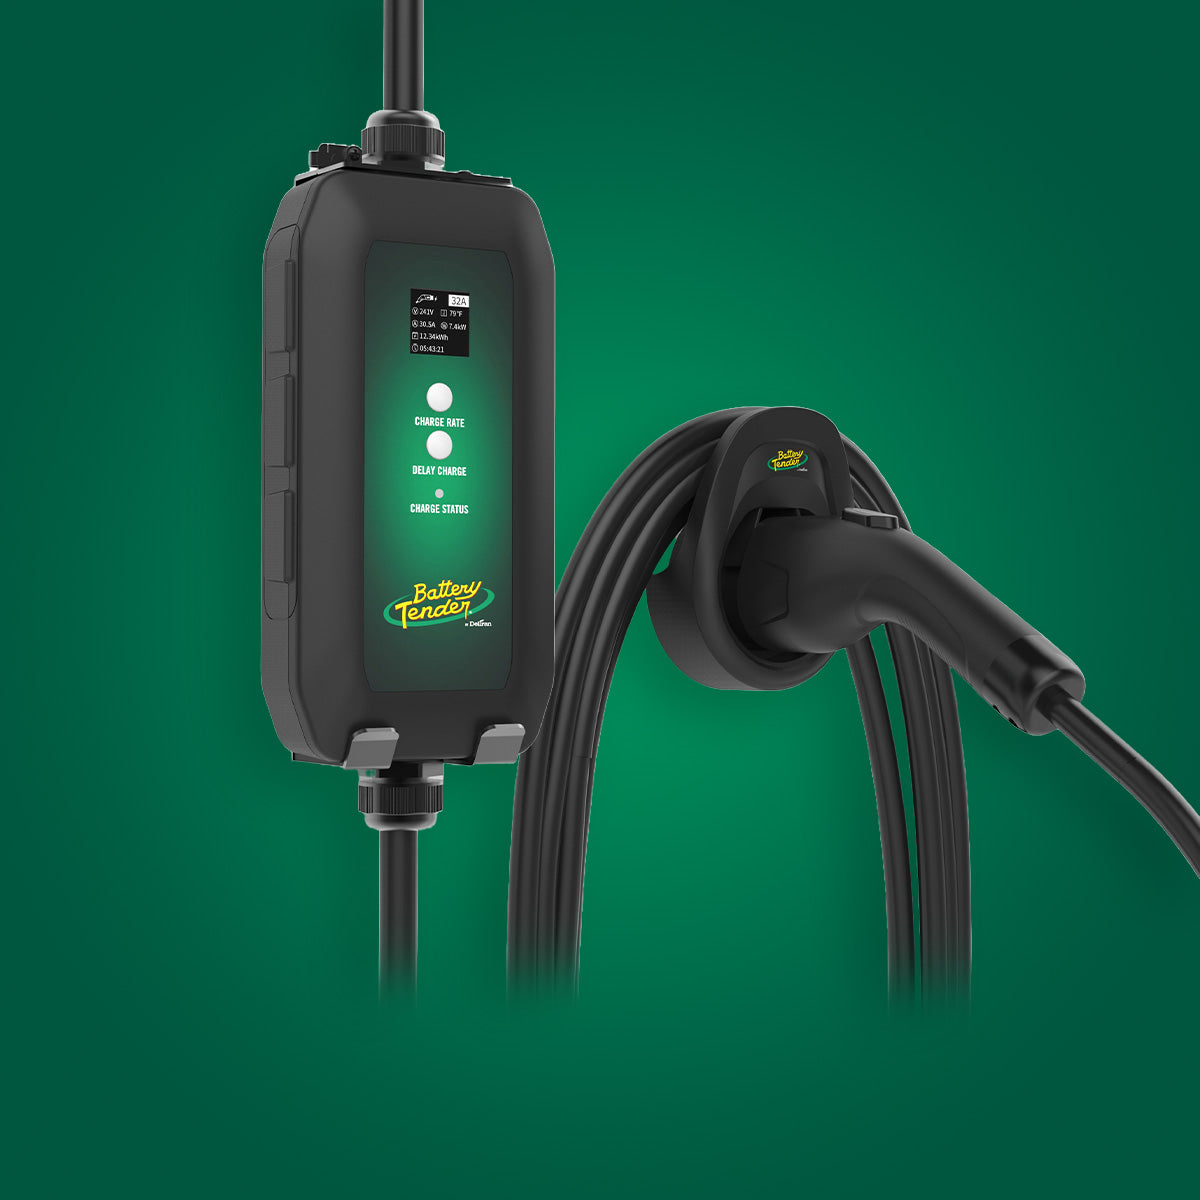
The Battery Tender eCharge 16 Amp Level 1 charger suits renters, condo owners, and anyone with a detached garage that already has a dedicated 20-amp outlet. It delivers about 2 kW, or roughly 7.2 miles of range per hour, with no electrician visit. It also works as a temporary charger while a Level 2 project waits on permits.
Shop Battery Tender eCharge Level 1 and Level 2 EV chargers
For a broader walkthrough of the full home process, see the Electric Vehicle Charging Station Installation Guide: Home Level 2 Complete.
How Do You Size the Circuit for EV Charger Installation?
Multiply the charger's continuous amperage by 1.25 to get the minimum breaker size, then match the conductor to that breaker. This is the 80% rule applied in reverse: the circuit never carries more than 80% of its rating continuously.
| Charger | Voltage | Continuous Draw | Breaker (125%) | Typical Copper Conductor | Power / Range per Hour |
|---|---|---|---|---|---|
| Battery Tender eCharge 16A Level 1 | 120V | 16A | 20A | 12 AWG | 2 kW / 7.2 mi |
| Battery Tender eCharge 32A Level 1+2 | 120/240V | 32A (at 240V) | 40A | 8 AWG | 7.6 kW / 28.5 mi |
| Battery Tender eCharge 40A Level 2 | 240V | 40A | 50A | 6 AWG | 9.6 kW / 36 mi |
| Battery Tender eCharge 48A Level 2 | 240V | 48A | 60A | 6 AWG THHN in conduit (4 AWG if using NM-B cable) | 11 kW / 42.25 mi |
Conductor choice depends on insulation temperature rating, ambient temperature, and run length, so the electrician makes the final call. Distance matters too. At 40 amps, a one-way run longer than about 175 feet pushes 6 AWG copper past the common 3% voltage-drop target, and the electrician may step up to 4 AWG.
Hardwired or Plug-In: Which Wiring Method Fits?
A plug-in setup on a NEMA 14-50 receptacle tops out at 40 amps of continuous charging, because the 50-amp receptacle is subject to the same 80% limit. Any 48-amp charger must be hardwired. Current NEC editions also require GFCI protection for 240V garage and outdoor receptacles. Because a charger carries its own internal ground-fault protection, a GFCI receptacle upstream can cause nuisance tripping. Hardwiring avoids that problem and removes a receptacle that can wear out. Check the charger manual to confirm which connection method your unit supports.
Which Level 2 Amperage Fits Most Homes?
The Battery Tender eCharge 32 Amp Level 1+2 charger is the flexible pick for tight panels. It runs on 120V or 240V, so it can start on an existing dedicated outlet and move to a 40-amp, 240V circuit later. On 240V it delivers 7.6 kW, which adds about 28.5 miles of range per hour.
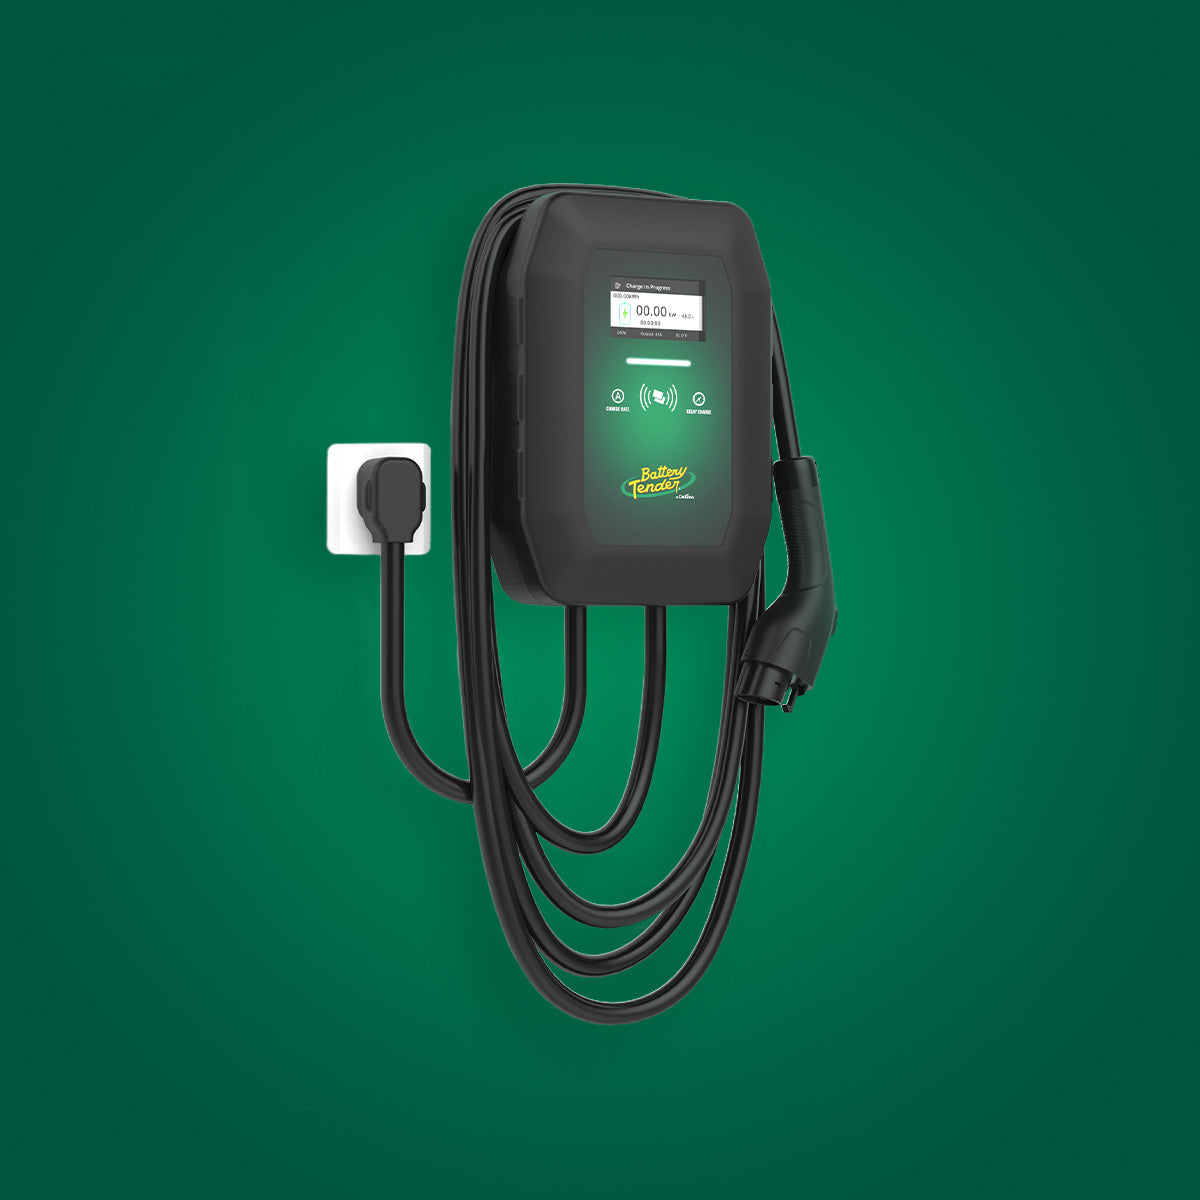
The Battery Tender eCharge 40 Amp Level 2 charger is the practical choice for most 200-amp homes. A 50-amp circuit is the same size many homes already run for an electric range, so the wiring is routine. The 9.6 kW output adds about 36 miles of range per hour and takes most EVs from 20% to 80% overnight. It has a wall-mount design, RFID access control, and an IP66 rating for garage or exterior walls.
The Battery Tender eCharge 48 Amp Level 2 charger fits households with a 200-amp panel, a vehicle that accepts high AC charging rates, and a need to recover range quickly. It outputs 11 kW, or about 42.25 miles of range per hour, and requires a 60-amp breaker, so confirm the panel math first. Check the vehicle's onboard charger rating as well. A car limited to 7.2 kW AC gains nothing from a 48-amp unit.
If the run goes outdoors or to a detached structure, review the Outdoor EV Charger Installation: Weatherproofing and Safety Guide for conduit and GFCI details.
How Do You Run a Load Calculation Before EV Charger Installation?
Take your home's existing peak demand at 125%, add the charger's load at 125%, and confirm the total stays under the main breaker's capacity at 240V. The electrician performs the formal calculation under NEC Article 220 as part of any permitted EV charger installation. Using 12 months of metered demand data falls under the 220.87 method. A homeowner can pre-check the numbers in five steps.
- Read the main breaker rating. It is labeled on the panel door or the main breaker itself, commonly 100A, 150A, or 200A.
- Find peak demand. Use 12 months of utility interval data, or have the electrician calculate it from the home's loads.
- Multiply existing peak demand by 1.25.
- Add the charger load at 125%: amps × 240V × 1.25 ÷ 1,000 = kW.
- Convert the total to amps. Multiply the total kW by 1,000 and divide by 240. The result must be at or below the main breaker rating.
| Scenario | Existing Peak | Existing × 1.25 | Charger Load × 1.25 | Total | Amps at 240V | Result |
|---|---|---|---|---|---|---|
| A: 200A panel, 40A charger | 11 kW | 13.75 kW | 12.0 kW | 25.75 kW | 107.3A | Pass |
| B: 100A panel, 40A charger | 9 kW | 11.25 kW | 12.0 kW | 23.25 kW | 96.9A | Pass (tight) |
| C: 100A panel, 48A charger | 9 kW | 11.25 kW | 14.4 kW | 25.65 kW | 106.9A | Fail |
Scenarios B and C show why amperage selection matters. The same 100-amp panel passes with a 40-amp charger and fails with a 48-amp charger. These figures are illustrations only. The electrician's measured demand and local code amendments decide the real answer.
What Are Your Options When the Panel Cannot Support the Charger?
When the load calculation fails, there are four fixes, listed here from least to most expensive:
- Choose a lower-amperage charger. Dropping from 48A to 40A cuts Scenario C's total by 2.4 kW. Dropping to the 32A unit cuts it by 4.8 kW. This is usually the cheapest way to save an EV charger installation.
- Add load management. Current NEC editions allow energy management systems that cap total demand, so the charger throttles back when the range or dryer runs.
- Upgrade the service or panel. A 200-amp upgrade often involves the utility and can take days to weeks.
- Use Level 1 temporarily. A dedicated 20-amp circuit with a 16-amp charger covers daily commutes under about 40 miles.
Charging time helps you decide how much amperage is enough. Use this formula: hours = kWh needed ÷ (charger kW × 0.90). The 0.90 factor accounts for roughly 10% conversion loss in the onboard charger and battery. For a 60 kWh pack charging from 20% to 80% (36 kWh):
| Charger | Output | Approximate Time, 20% to 80% |
|---|---|---|
| Battery Tender eCharge 16A Level 1 | 2 kW | 20.0 hours |
| Battery Tender eCharge 32A Level 1+2 (240V) | 7.6 kW | 5.3 hours |
| Battery Tender eCharge 40A Level 2 | 9.6 kW | 4.2 hours |
| Battery Tender eCharge 48A Level 2 | 11 kW | 3.6 hours |
The gap between the 40-amp and 48-amp chargers is roughly half an hour. For overnight charging, a lower-amperage charger often works just as well and can avoid a panel upgrade entirely. That trade-off is the most overlooked cost saver in home EV charger installation planning.
Where Can You Buy the 32 Amp and 40 Amp Chargers for Your EV Charger Installation?
The Battery Tender eCharge 32 Amp Level 1+2 charger and the Battery Tender eCharge 40 Amp Level 2 charger are both available at Costco.com, and the full lineup is on batterytender.com. Buying through a warehouse retailer lets homeowners pair membership benefits and return policies with a major home electrical upgrade.
- Battery Tender eCharge 32 Amp Level 1+2: Best for tight 100-amp panels, or for starting on 120V and moving to 240V later. It needs a 40-amp breaker and typically 8 AWG copper, and it delivers 7.6 kW on 240V. Find the 32 Amp EV charger at Costco.com
- Battery Tender eCharge 40 Amp Level 2: Best for most 200-amp homes. It needs a 50-amp breaker and typically 6 AWG copper, and it delivers 9.6 kW. Buy the 40 Amp EV charger at Costco.com
One expert tip applies no matter where you buy. Order the charger after the load calculation, not before. Give the electrician the spec sheet so the breaker, conductor, and mounting height match the unit exactly. Keep the box and receipt until the inspection passes, in case the panel math forces a switch to a different amperage.
Want to compare every option in one place? Browse the complete Battery Tender product lineup.
What Is the Step-by-Step EV Charger Installation Sequence?
A compliant EV charger installation follows seven steps, from quote to inspection. Skipping the permit or inspection can jeopardize insurance coverage and create problems when you sell the home.
- Collect two or three written quotes from licensed electricians. Each quote should include a load calculation.
- Choose the charger location within reach of the vehicle's charge port, ideally close to the panel to shorten the run and limit voltage drop.
- Pull the permit. The electrician usually files it with the local building department.
- Run the dedicated circuit, including the breaker, conductors, conduit, and a disconnect if the local code requires one.
- Mount the charger according to the manual, then connect the terminals and torque them to specification. Under-torqued lugs are a leading cause of heat damage at high continuous current.
- Pass the inspection. The inspector checks breaker size, conductor gauge, GFCI protection, and mounting.
- Test a full charge session and confirm that the vehicle and charger communicate correctly.
Leave all 240V work to a licensed electrician. Never open the panel or splice conductors without professional training.
Match the Connector Before the Wall Is Opened
Battery Tender eCharge Level 2 units use a J1772 connector. Tesla owners should confirm the adapter fits before installation day and check that its amp rating covers the charger's output. The Battery Tender J1772 to Tesla Adapter lets a Tesla charge from a Battery Tender eCharge Level 2 charger with no change to the circuit. It also keeps the household flexible if a non-Tesla EV joins the garage later.
How Do You Protect the 12V Auxiliary Battery During and After EV Charger Installation?
An EV's 12V auxiliary battery runs the computers, door locks, and high-voltage contactors that must close before the traction pack can deliver or accept energy. In most EVs, the DC-DC converter tops it up only while the car is awake or charging. Weeks of parking during a permit delay, a long trip, or seasonal storage let it sag. A dead 12V battery can leave a fully charged EV unable to power on or start a charge session, which is a frustrating way to christen a new Level 2 circuit.
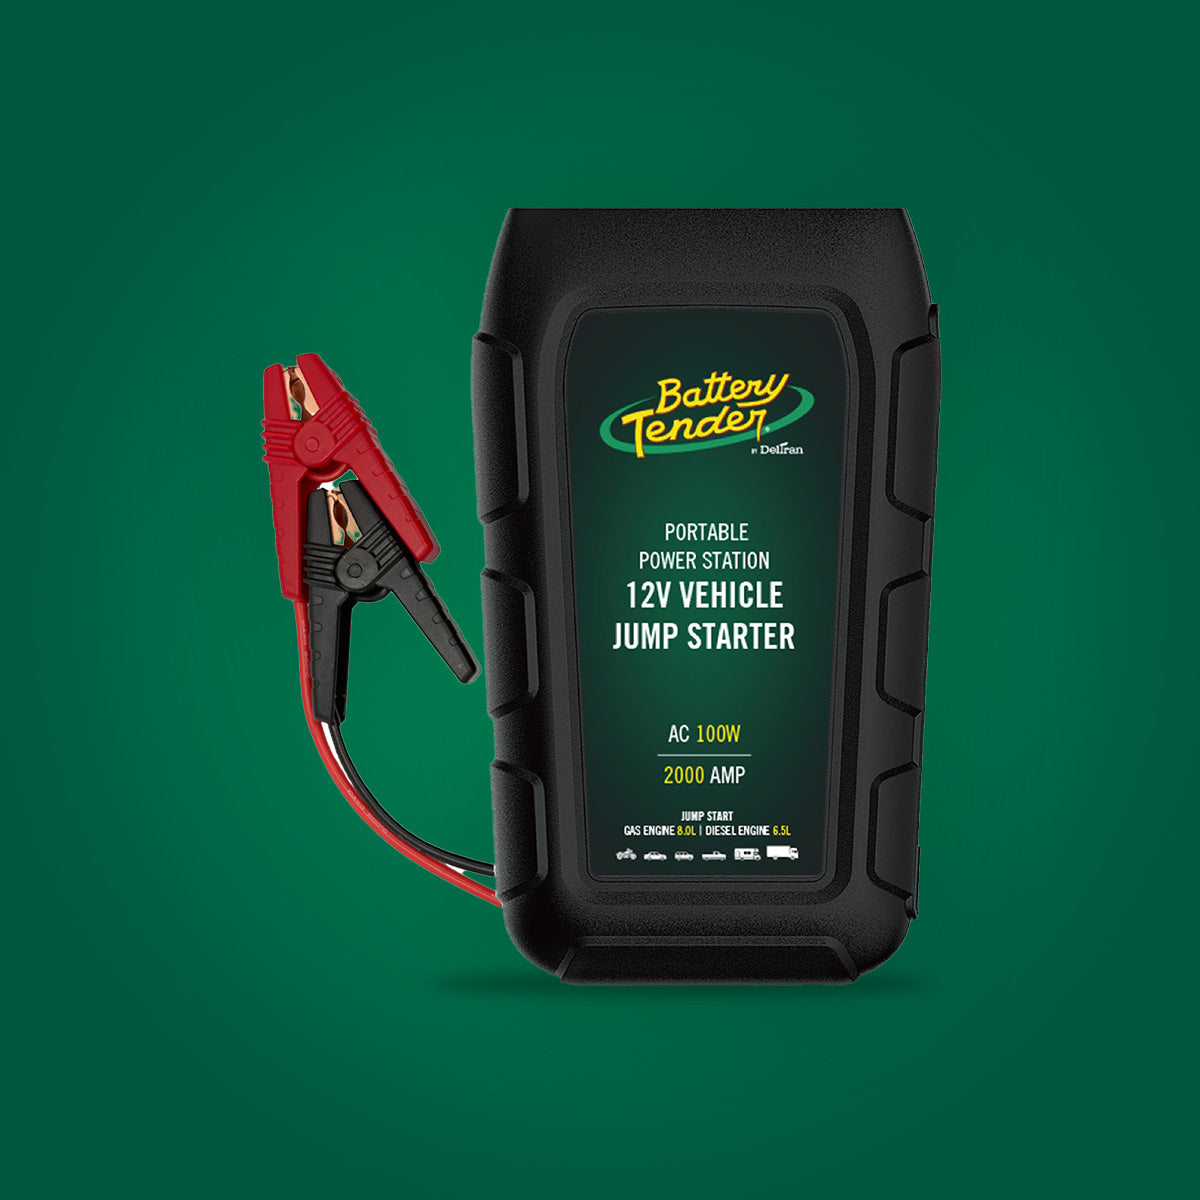
For EVs with a conventional flooded or AGM 12V battery, connect a Battery Tender Plus 1.25 AMP 12V Battery Charger and Maintainer. Its automatic four-step cycle (initialization, bulk, absorption, and float) brings the battery to full charge, then holds it at a safe float voltage for weeks or months without overcharging. For a damp garage or exposed wall, the Battery Tender Plus 1.25 AMP 12V IP65 weather-resistant maintainer adds protection against moisture.
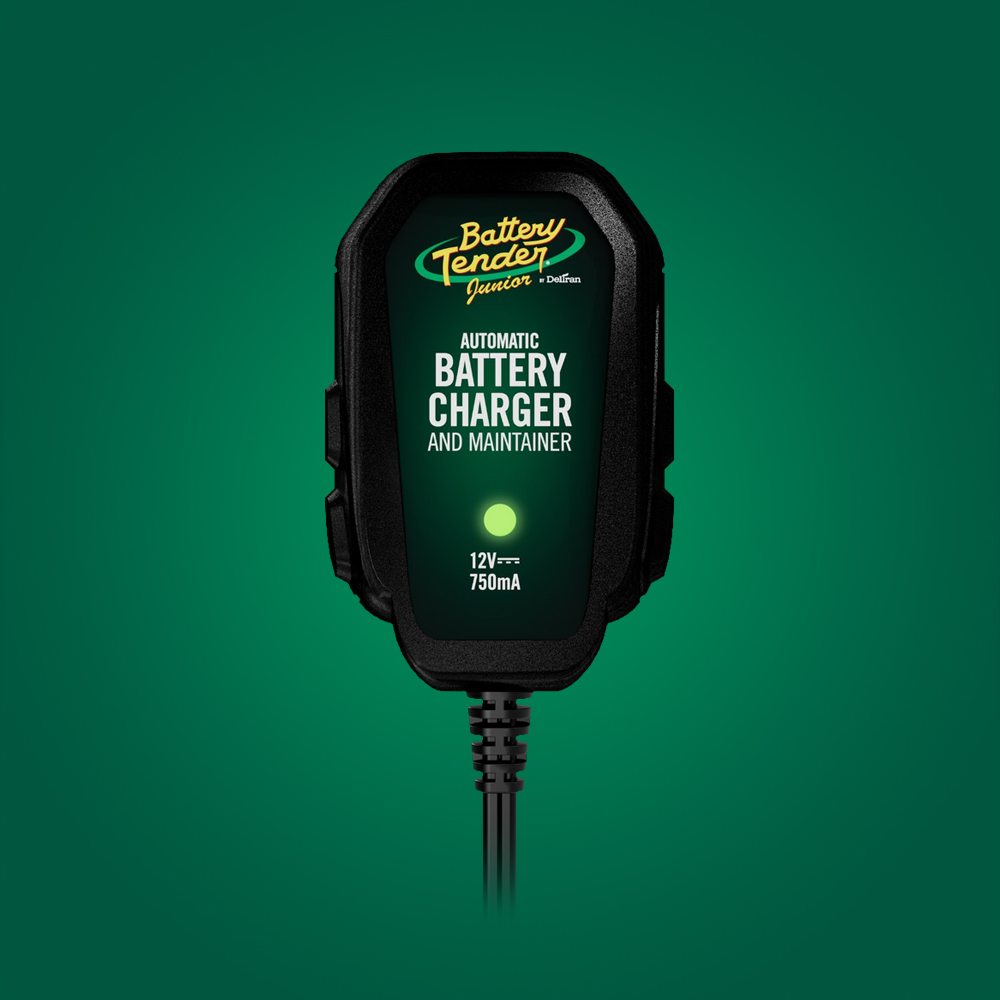
Some newer EVs use lithium 12V batteries, so check the owner's manual first. Certain manufacturers manage their lithium-ion low-voltage batteries internally and do not approve external charging. Where a LiFePO4 12V battery is approved for external charging, use the lithium mode on the Battery Tender Junior Multi-Chemistry 12V 1 Amp Battery Charger and Maintainer. For faster recovery of a deeply discharged AGM or approved lithium battery, step up to the Battery Tender PowerTender® 10 Amp Multi-Chemistry 12V Battery Charger and Maintainer.
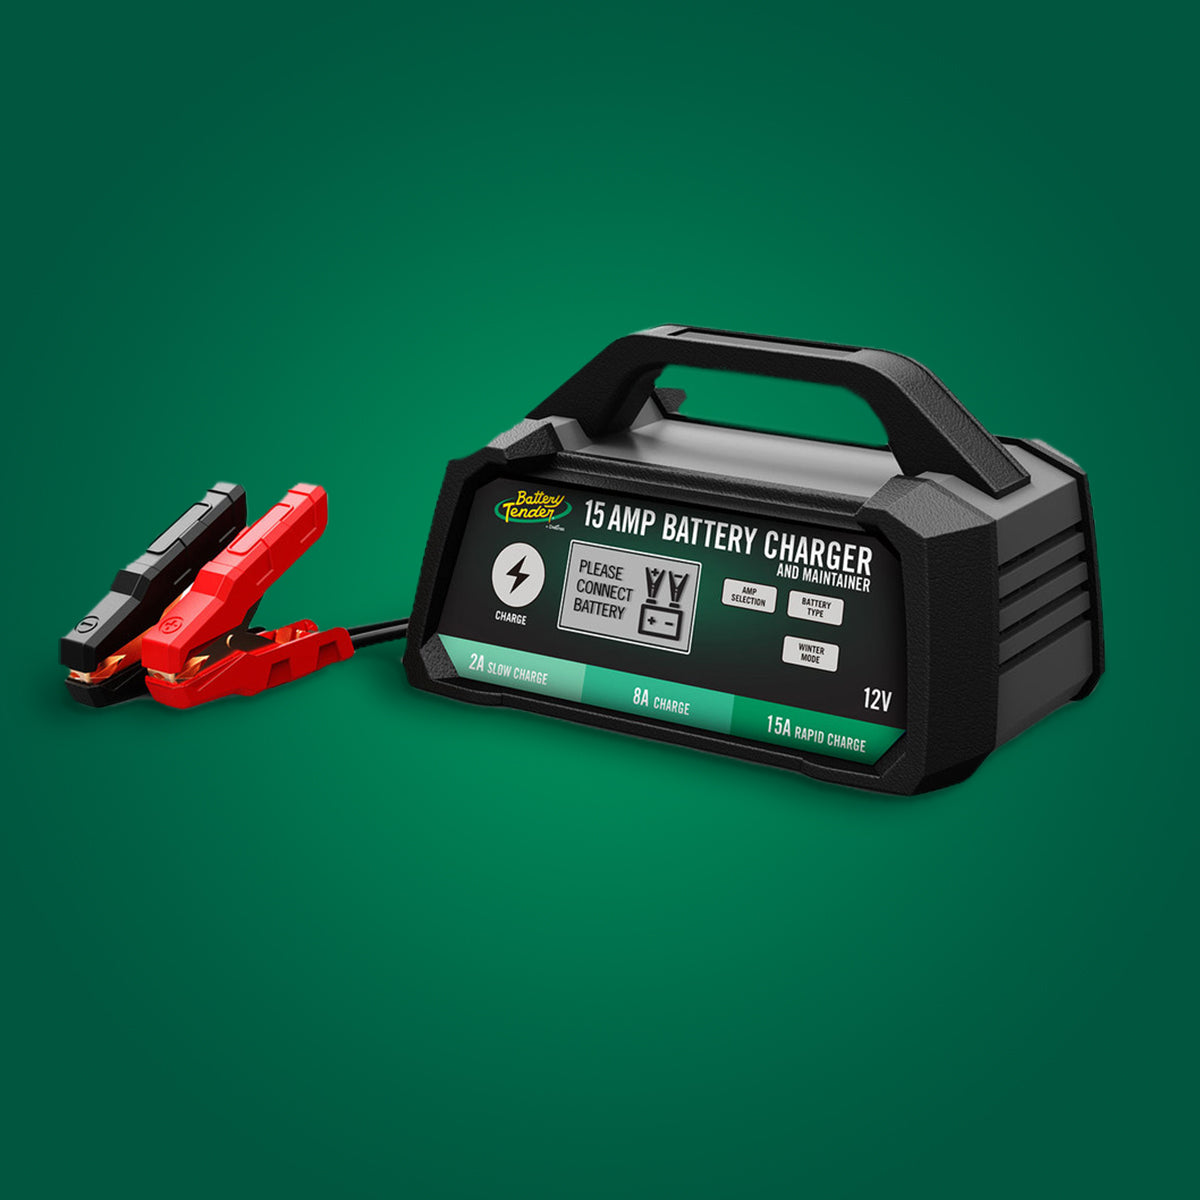
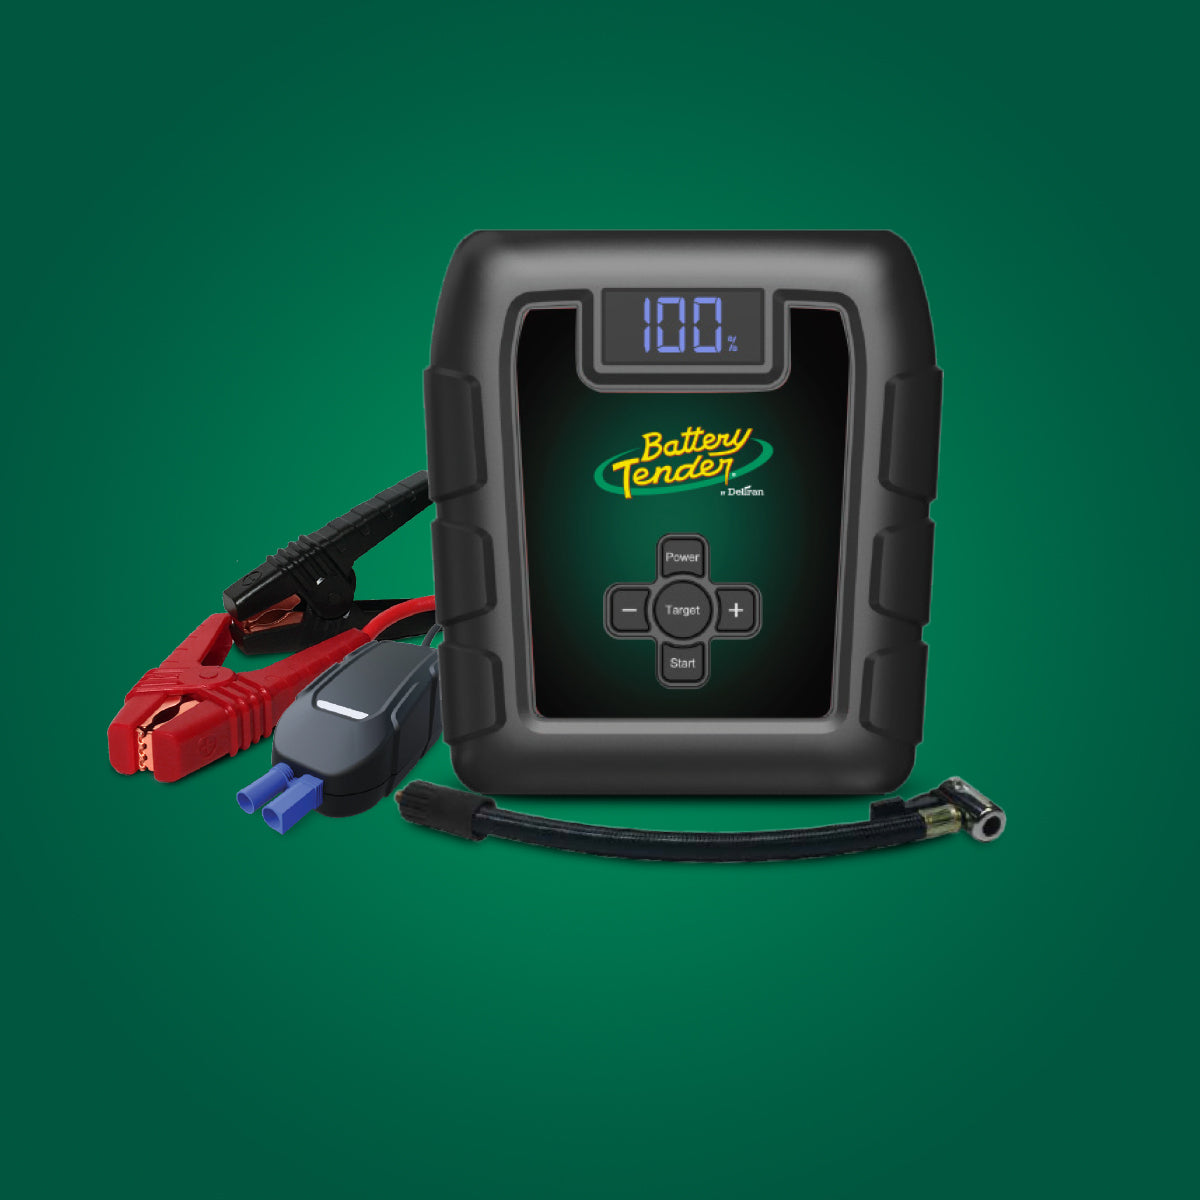
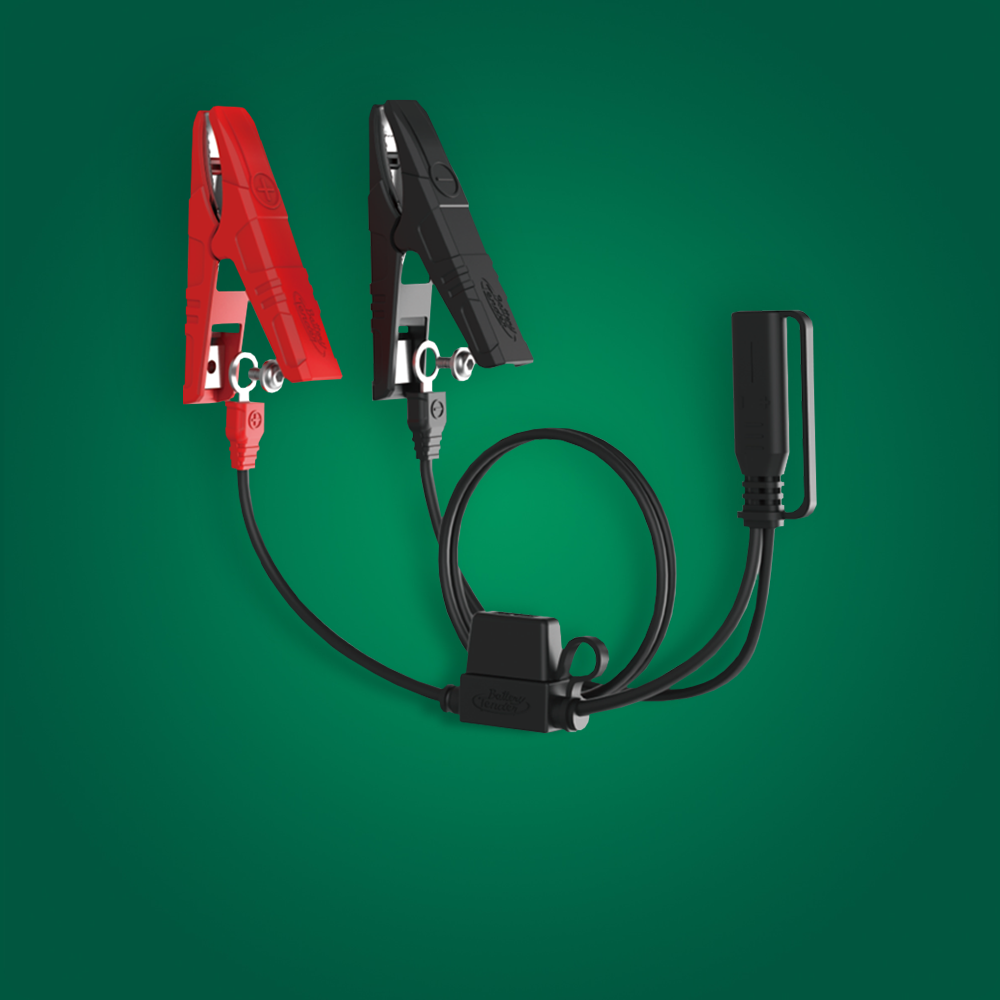
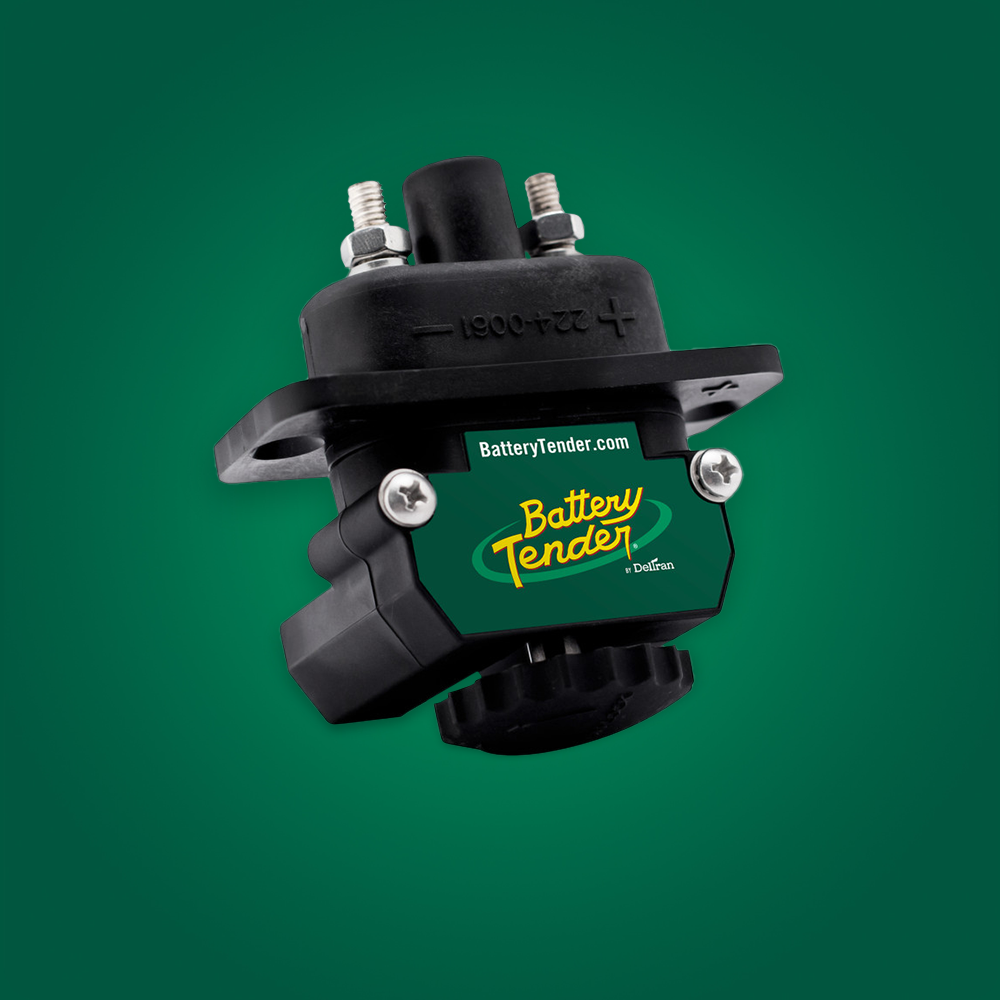
Many EVs hide the 12V battery under a frunk panel or behind trim. The Battery Tender Ring Terminal Harness with Quick Disconnect, the quick-connect system Battery Tender created and the industry later adopted as standard, mounts once and lets you plug in the maintainer in seconds. If the nearest outlet is across the garage, add the Battery Tender 12ft SAE Quick Disconnect Extension Cable. If the 12V battery is already dead, the Battery Tender Charge N Start 4120 4 Amp Battery Charger and 1200 Amp Jump Starter can wake the vehicle through the manufacturer's designated jump points, where the owner's manual permits it. For model-specific guidance, see the Tesla Model 3 and Model Y Battery Maintenance: Auxiliary System Guide.
Frequently Asked Questions
Do I need a licensed electrician for EV charger installation?
Yes. Any 240V Level 2 EV charger installation involves a new dedicated circuit, panel work, and usually a permit and inspection. Licensed electricians know the local code amendments and complete the required NEC Article 220 load calculation. You can skip the electrician for Level 1 charging only if a dedicated, properly wired 20-amp 120V receptacle already exists.
Can a 100-amp panel support a 40-amp EV charger?
Often yes, but only after a load calculation. A 40-amp charger adds 12 kW at 125%. If existing peak demand times 1.25, plus 12 kW, stays under 24 kW (100 amps at 240V), the panel passes. Homes with electric heat or a hot tub frequently fail and may need load management or a 32-amp charger instead.
What size breaker does a 48-amp EV charger need?
A 48-amp charger needs a 60-amp, 240V double-pole breaker, because the circuit must be rated at 125% of continuous current (48 × 1.25 = 60). Conductors are typically 6 AWG copper THHN in conduit. The electrician confirms the gauge based on insulation rating, ambient temperature, and run length. A 48-amp unit must be hardwired.
Does a Level 1 EV charger need a dedicated circuit?
Yes. A Level 1 charger draws up to 16 amps continuously for many hours. Sharing a circuit with lights, a freezer, or other outlets risks overheating and tripped breakers. Use a dedicated 20-amp circuit with a matching receptacle, and have an electrician inspect any older garage outlet before you rely on it for nightly charging.
How long does EV charger installation take?
A straightforward EV charger installation near the panel usually takes a few hours to one day once the permit is approved. Long conduit runs, trenching, or a panel upgrade can stretch the work to several days, and a utility service change can take weeks to schedule. Inspection scheduling adds a few days in busy jurisdictions.
Why does an EV need a 12V battery maintainer?
The 12V auxiliary battery powers the computers, locks, and high-voltage contactors that must wake before the traction pack can charge. If it drops too low, the EV may not power on or accept a charge. A smart battery maintainer such as the Battery Tender Plus 1.25 AMP holds it at full float voltage during storage or long installation delays.
Conclusion
A successful EV charger installation depends on the math you do before you buy. Size the breaker at 125% of the charger's continuous amps, verify existing demand, and choose the amperage your panel can actually support. Your next step is to ask an electrician for a written load calculation, then match the result to a charger. Compare Level 1 and Level 2 options in the Battery Tender product lineup at batterytender.com, or pick up the 32 Amp or the 40 Amp Battery Tender eCharge unit at Costco.com. While you plan your EV charger installation, keep the 12V auxiliary battery healthy with a Battery Tender Plus 1.25 AMP maintainer, so the car is ready the moment the new circuit goes live.