


A dead battery at the worst possible moment is a universal driving experience. A portable jump starter in the vehicle turns that experience from a two-hour roadside wait into a five-minute inconvenience - but only if you know how to use it correctly. Improper use of a jump starter can damage vehicle electronics, damage the jump starter itself, or in rare cases cause safety issues. This guide covers the complete, correct procedure.
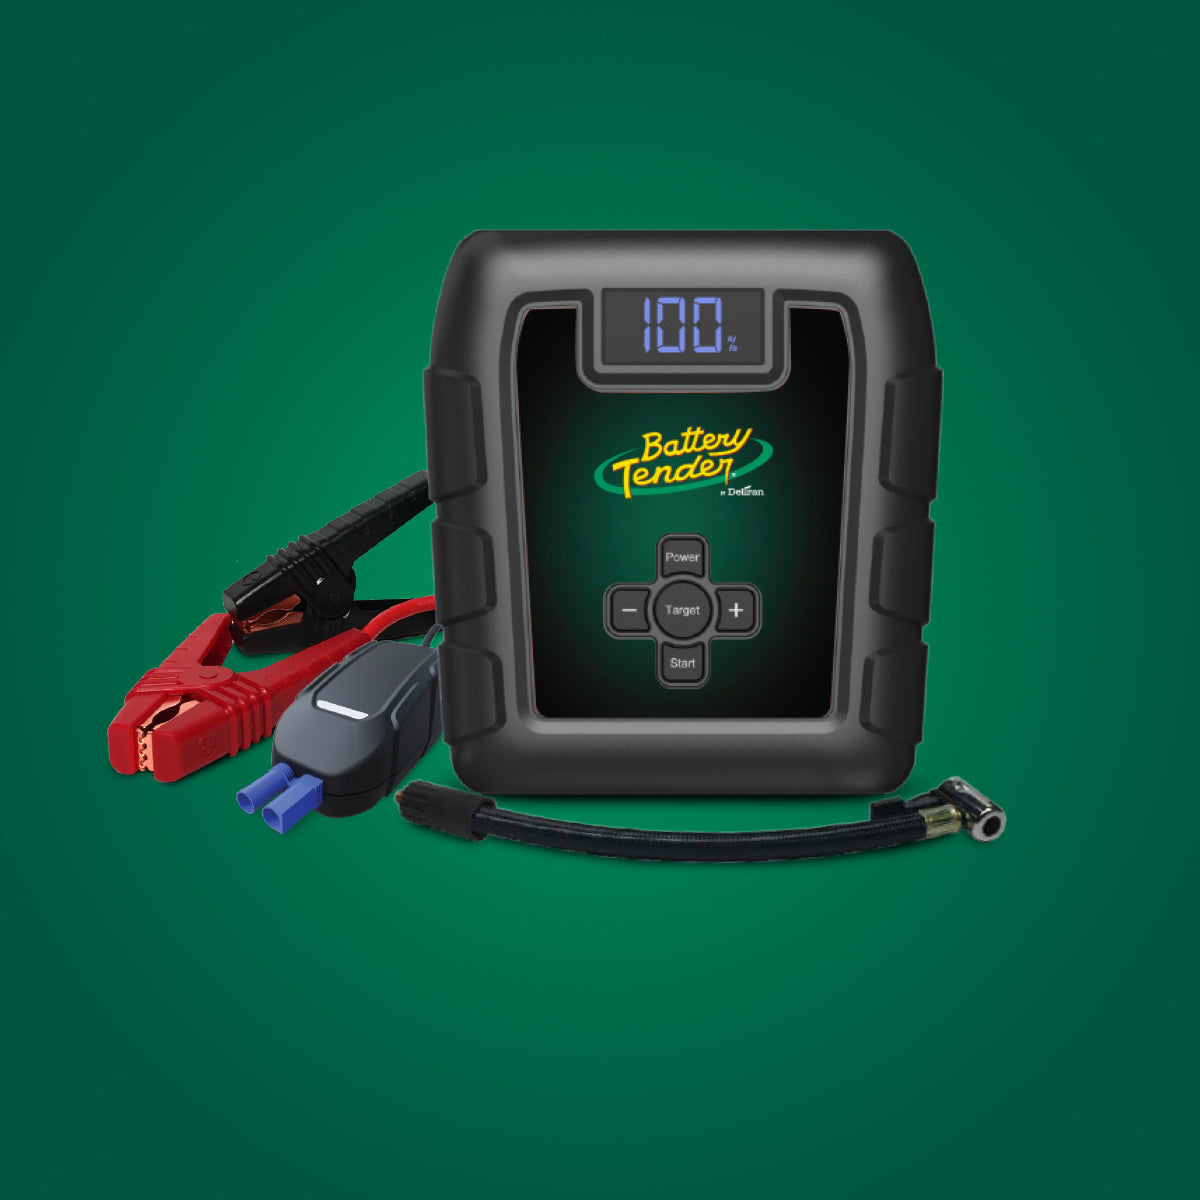
Battery Tender® jump starters - including the Charge N Start series with built-in smart charging - represent the current generation of lithium-based portable starting solutions. The instructions in this guide apply across the lineup, with specific notes for the Charge N Start's unique dual-function capability.
Before You Need It: Pre-Deployment Preparation
The most important step with a portable jump starter happens before any emergency: ensuring it is charged when you need it. A jump starter stored in a glove compartment for 18 months with no maintenance may be too depleted to start anything.
- Check charge status quarterly - most units have LED battery level indicators
- Recharge the jump starter if it shows below 50% charge
- Store at 50-80% charge for longest battery longevity - storing at 100% for extended periods accelerates lithium cell degradation
- Keep the unit at room temperature when possible - temperature extremes reduce available power
The Charge N Start series eliminates this concern for many users: because it doubles as a smart battery charger, it is regularly plugged in and topped off as part of the normal charging routine.
Shop the Charge N Start 1120 - 1 AMP Charger + 1200 AMP Jump Starter (SKU: 030-7012-WH) or the Charge N Start 4120 - 4 AMP Charger + 1200 AMP Jump Starter (SKU: 030-7020-WH) for dual charger/jumper capability.
Step-by-Step Jump Start Procedure
Step 1: Assess the Situation
Before connecting anything, confirm the situation is safe:
- Position the vehicle away from traffic if possible
- Turn off the vehicle's ignition
- Inspect the battery visually - cracked case, leaking acid, or swelling means do not attempt to jump start; call for professional assistance
- Ensure there is no fuel leak or visible fire hazard near the battery
Step 2: Check the Jump Starter
Confirm the jump starter has adequate charge - at least one bar of remaining charge on the LED indicator. Two or more bars indicates strong output capability. If the unit is too depleted to start the vehicle, you will know before connecting rather than during the attempt.
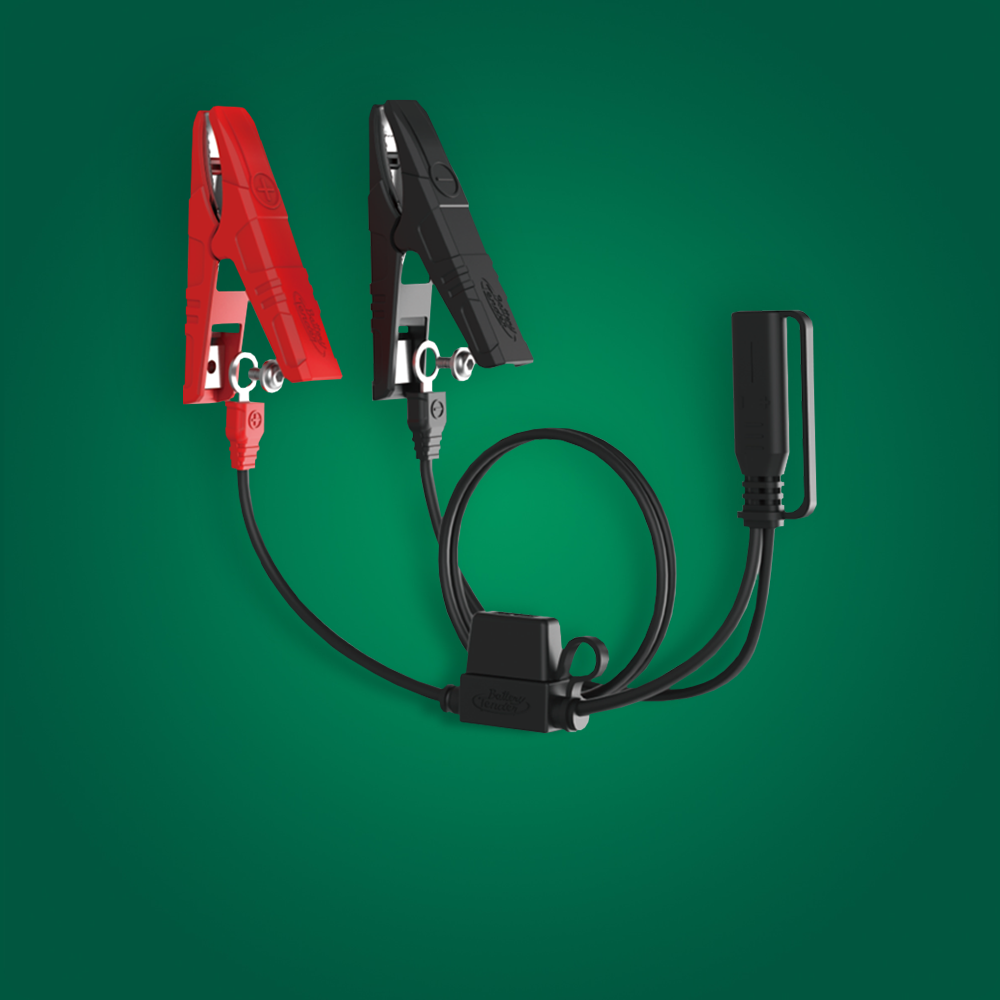
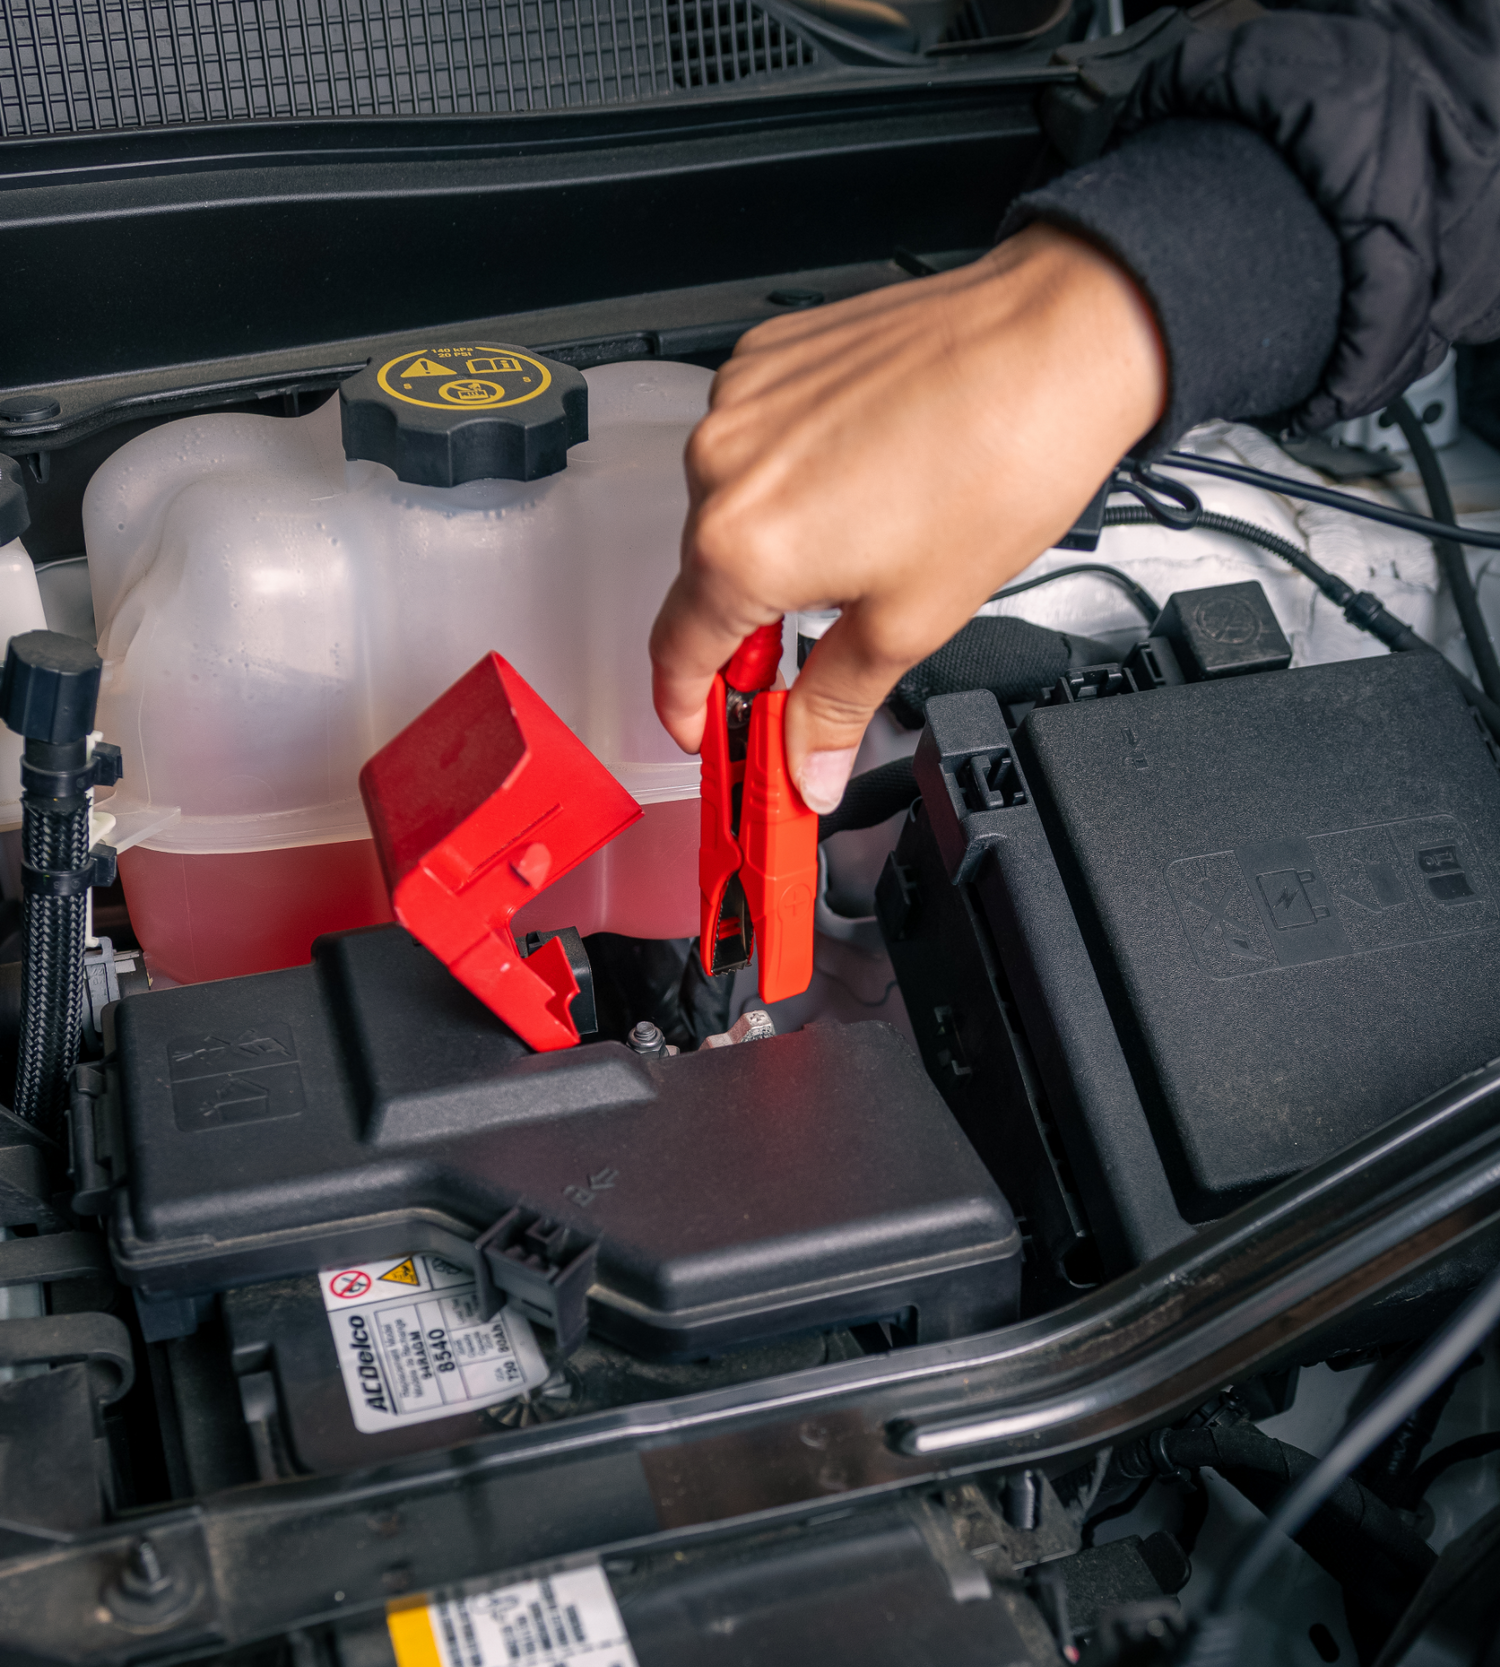
Step 3: Connect the Clamps - Red First
This connection order is critical and must be followed precisely:
- Connect the RED (positive) clamp to the POSITIVE (+) terminal of the dead battery.
- Connect the BLACK (negative) clamp to a metal ground point on the vehicle chassis - NOT to the negative battery terminal directly. A good ground point is an unpainted metal bracket, the engine block, or a dedicated ground bolt away from the battery. This prevents any spark from occurring near the battery, which can produce hydrogen gas.
The specific sequence - red to dead positive, black to chassis ground - minimizes spark risk at the battery and is the industry-standard safe procedure.
Step 4: Allow Recovery Time (If Applicable)
If the battery is deeply discharged (lights were left on overnight), give the jump starter 2-3 minutes connected to the battery before attempting to start. This allows some charge to transfer into the battery and can improve starting reliability.
Step 5: Start the Vehicle
Turn the key or press the start button. Hold the starter for a maximum of 5 seconds - if the engine does not start in 5 seconds, release and wait 30 seconds before trying again. Repeated 5-second attempts allow the starter motor and jump starter to cool between attempts. Most vehicles start on the first or second attempt with a properly charged jump starter.
If the vehicle does not start after 3 attempts: verify clamp connections are solid, verify the jump starter has adequate remaining charge, and consider that the issue may not be a dead battery (starter motor failure, ignition failure, or fuel delivery problem).
Step 6: Disconnect - Reverse Order
With the vehicle running, disconnect in the reverse of the connection order:
- Remove the BLACK (negative) clamp from the chassis ground.
- Remove the RED (positive) clamp from the positive battery terminal.
Disconnecting in reverse order with the vehicle running means any spark occurs at the chassis ground, not at the battery terminal - maintaining the same safety logic as the connection procedure.
Step 7: Allow the Battery to Recharge
A vehicle that has just been jump-started has a significantly depleted battery. The alternator will recharge it during driving, but short trips may not fully recharge it. For the best result, drive at highway speeds for 30-45 minutes, or connect a Battery Tender smart charger when you arrive home for a full charge cycle.
Special Considerations by Vehicle Type
Vehicles with Smart Alternators / Start-Stop Systems
Modern vehicles with battery sensor management or start-stop systems may require specific jump starting procedures outlined in the owner's manual. Some manufacturers require connecting to designated jump start terminals rather than directly to the battery. Consult the owner's manual before proceeding on any vehicle purchased after 2015 that has AGM battery technology.
Motorcycles and Powersports
Use a jump starter rated for motorcycle use - higher-powered units for trucks may overpower small motorcycle electrical systems. The Charge N Start 1100 with 1000A output is appropriate for most powersports applications without risking ECU damage from excess voltage.
Shop the Charge N Start 1100 - 1 AMP Charger + 1000 AMP Jump Starter (SKU: 030-7010-WH) for motorcycles and powersports.
Diesel Engines
Diesel engines require significantly higher cranking current than gasoline engines of the same displacement. Select a jump starter with peak amps rated for diesel use - the Charge N Start 1200-amp units cover most diesel engines up to 3.0L diesel.
Frequently Asked Questions
Is it safe to use a lithium jump starter in cold weather?
Lithium jump starters perform best at temperatures above 32°F. In very cold conditions, the internal lithium cells have reduced output. Most Battery Tender jump starters include a low-temperature LED warning. If the unit feels very cold, warm it inside the vehicle for 10-15 minutes before attempting a jump start.
Can I damage my car's electronics with a jump starter?
Using a properly rated jump starter with correct polarity and procedure poses minimal electronics risk. The greatest risk is reverse polarity connection - connecting red to negative and black to positive. Battery Tender Charge N Start models include reverse polarity protection that prevents output if the clamps are reversed, adding a safety net against the most common connection error.
How many times can I jump start a vehicle from one charge?
Most Battery Tender jump starters provide 20-40 jump starts from a full charge under normal conditions. In cold weather, expected jump starts per charge decreases. The Charge N Start's built-in battery indicator tells you remaining capacity after each use.
Conclusion
A portable jump starter combined with correct technique turns a stressful roadside situation into a manageable inconvenience. The procedure is simple - red to positive, black to chassis ground, engine off, start the car, disconnect in reverse - but getting it right consistently requires knowing it before the emergency. The Charge N Start series adds the dimension of ongoing smart battery maintenance, so the emergency is less likely to occur in the first place.
Explore the full Battery Tender jump starter lineup or learn more about the Charge N Start series.