


How to Charge a Motorcycle Battery Step by Step (2026)
Knowing how to charge a motorcycle battery correctly is the single most important skill for preserving battery life and ensuring reliable starts. Battery Tender® pioneered smart charging technology in 1989 with Infinite Sequential Monitoring (ISM), a proprietary 4-stage process that safely charges and maintains motorcycle batteries without the overcharge risk associated with traditional trickle chargers. Whether a bike has been sitting in the garage for two weeks or six months, following a proper charging procedure protects the battery from sulfation damage, extends its usable lifespan by two to three years, and eliminates the frustration of a dead battery on the first warm riding day.
This step-by-step guide covers every stage of the motorcycle battery charging process — from identifying battery type and selecting the correct charger amperage, to physical connection, monitoring charge progress, and transitioning into long-term float maintenance. Unlike general overviews or product comparisons already available, this article focuses specifically on the hands-on procedure: what to do first, what order to connect cables, how long to wait, and what the indicator lights mean at each stage. The goal is a confident, safe charge every single time.
Step 1: Identify Your Motorcycle Battery Type Before Charging
The first step in how to charge a motorcycle battery is identifying the battery chemistry installed in the bike. Charging a lithium battery on a lead-acid-only setting — or vice versa — can cause permanent damage or create a safety hazard. Most motorcycles manufactured between 2000 and 2020 use AGM (Absorbed Glass Mat) sealed lead-acid batteries, typically ranging from 7 Ah to 20 Ah. Touring motorcycles and large cruisers may use batteries up to 30 Ah.
Lithium-iron-phosphate (LiFePO4) batteries are now mainstream in motorcycle, marine, and powersports applications. These batteries are roughly 60–70% lighter than equivalent AGM units and hold voltage more consistently during discharge. However, they require a charger with a dedicated lithium charging profile that uses a different absorption voltage ceiling — typically 14.4V–14.6V versus 14.7V for standard lead-acid. Check the battery label for chemistry designation: look for "AGM," "GEL," "MF" (maintenance-free), or "LiFePO4" / "lithium" markings.
If the battery label is unreadable, consult the motorcycle owner's manual or the battery manufacturer's website using the part number stamped on the case. Charging with the wrong chemistry profile is the most common cause of premature motorcycle battery failure — and it is entirely preventable.
Step 2: Choose the Right Charger Amperage for Your Motorcycle Battery
Selecting the correct charger amperage is critical. The general rule established by battery industry standards (BCI — Battery Council International) is to charge at a rate no higher than 10–25% of the battery's Ah capacity. For a typical 12 Ah motorcycle battery, this means a charger rated between 1.2A and 3.0A is ideal. Chargers rated at 750mA to 1.25A fall within this safe range for nearly all motorcycle batteries from 7 Ah to 30 Ah, and the slower charge rate produces less heat and more complete sulfate crystal dissolution during the absorption stage.
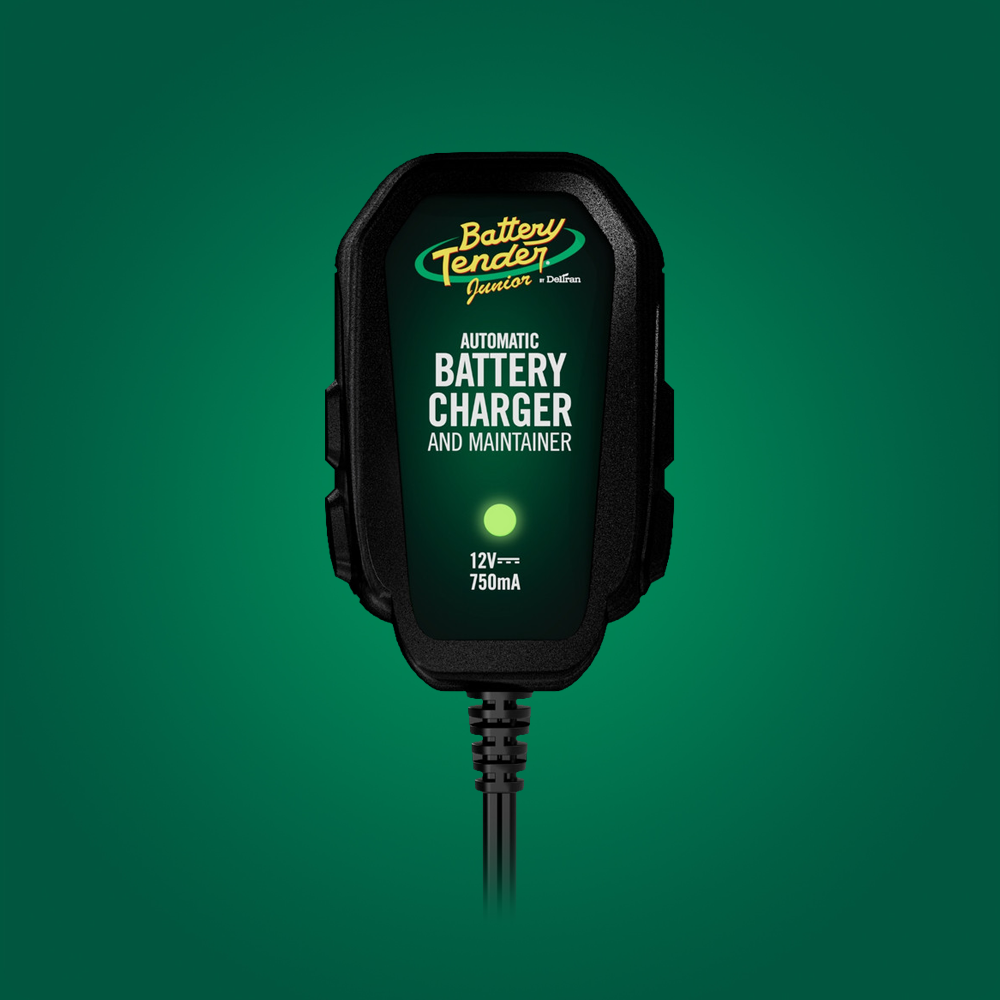
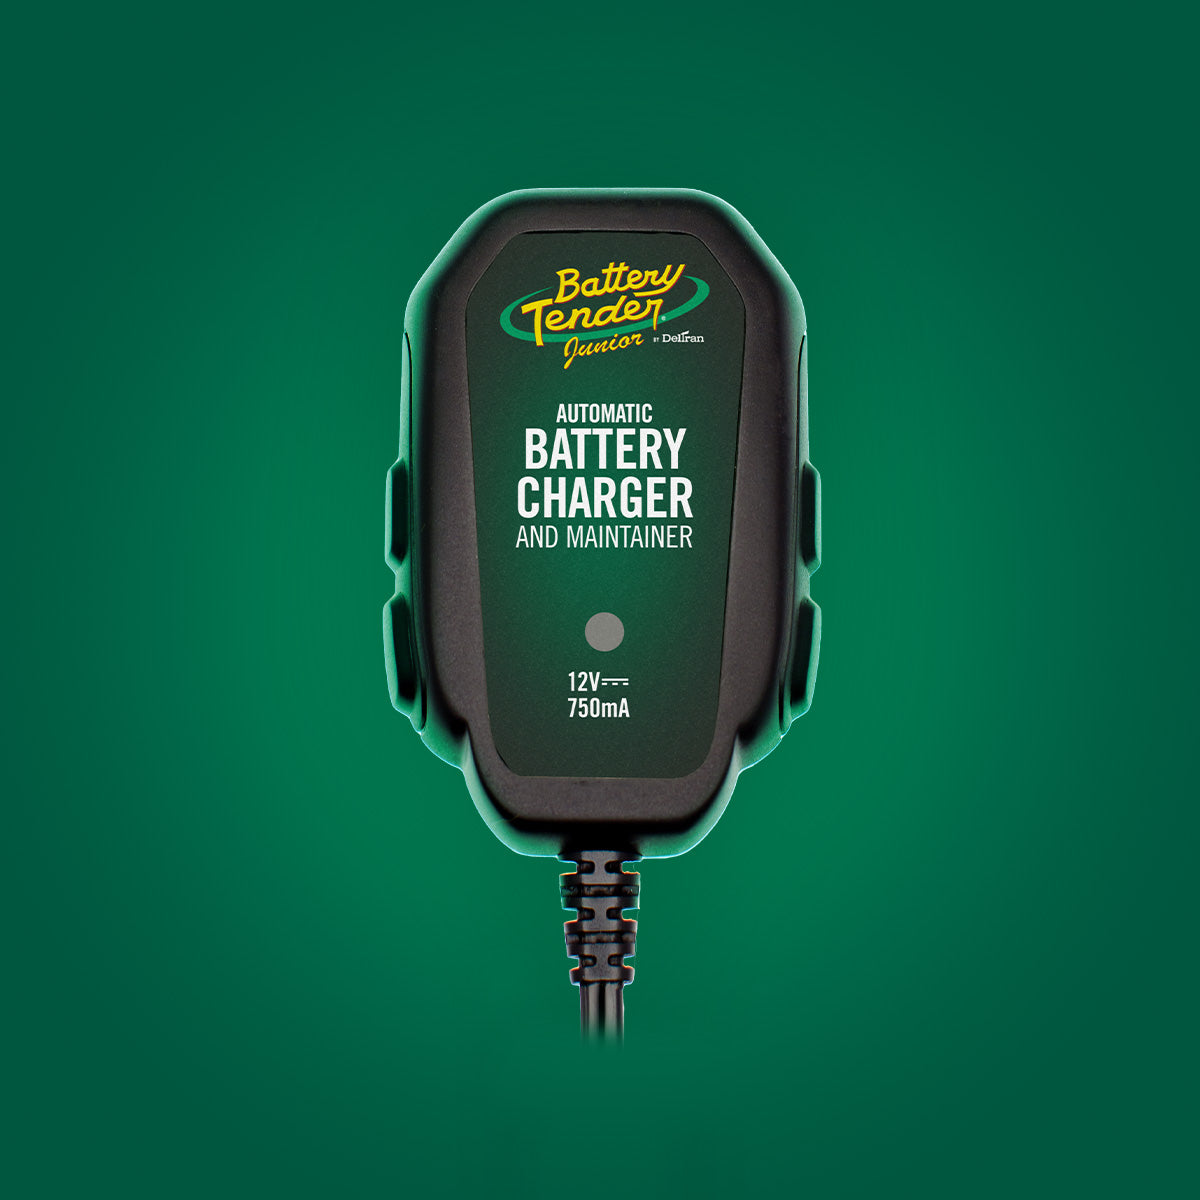
The Battery Tender Junior delivers 750mA (0.75A) of constant current during the bulk charge stage, making it the most popular motorcycle charger in the category. For a fully discharged 12 Ah battery, the approximate charging time is calculated as: (12 Ah × 1.0 depth of discharge) ÷ 0.75A = 16 hours. A partially discharged battery at 50% depth of discharge would require approximately 8 hours.
The Battery Tender Junior is purpose-built for motorcycle and small powersports batteries between 2 Ah and 30 Ah, delivering 750mA through the full ISM 4-stage charging process with automatic float maintenance. Its compact size fits easily inside a tank bag or under a seat.
Battery Tender Junior 12V 750mA Battery Charger
For riders with lithium-equipped motorcycles, the Battery Tender Junior 1A Selectable provides a dedicated lithium charging mode alongside standard lead-acid and AGM profiles. The 1A output charges a 12 Ah lithium battery in approximately 12 hours from full discharge — calculated as (12 Ah × 1.0) ÷ 1.0A = 12 hours.
Battery Tender Junior 1A Selectable 12V Battery Charger
Step 3: How to Charge a Motorcycle Battery — Connection Procedure
Safe connection follows a specific sequence that minimizes spark risk and protects both the charger and the battery. Complete these steps in exact order:
- Power off the charger — Ensure the charger is unplugged from the wall outlet before connecting to the battery.
- Access the battery — Remove the motorcycle seat or side panel to expose battery terminals. On most sportbikes, the battery sits under the seat. Cruisers may house it under a side cover or beneath the frame.
- Inspect terminals — Look for corrosion (white or green powdery buildup), loose connections, or cracked casing. Clean corroded terminals with a baking soda and water solution (1 tablespoon per cup) and a stiff brush before charging.
- Connect the RED positive (+) clamp first — Attach to the positive battery terminal, marked with a "+" symbol.
- Connect the BLACK negative (−) clamp second — Attach to the negative terminal, marked with a "−" symbol. On motorcycles where the battery is difficult to access, attach the negative clamp to an unpainted frame bolt as a ground point.
- Plug the charger into the wall outlet — The ISM initialization stage begins automatically, testing battery voltage and condition before applying charge current.
Important safety note: Never connect or disconnect charger clamps while the unit is plugged in. Doing so can create a spark near battery gases. According to the Occupational Safety and Health Administration (OSHA), lead-acid batteries can emit hydrogen gas during charging, which is flammable at concentrations above 4% in air. Always charge in a well-ventilated space.
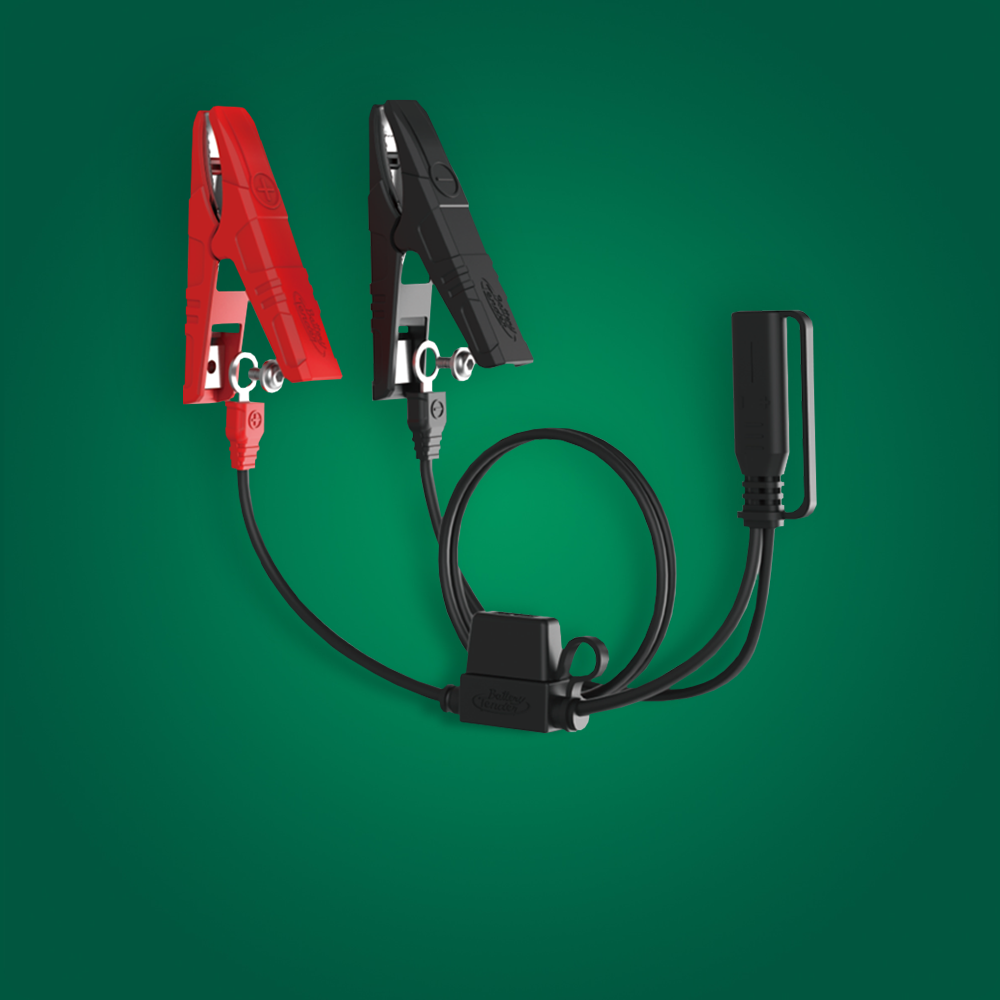
Using a Ring Terminal Harness for Permanent Installation
For riders who charge regularly or store their motorcycle during off-season months, a permanently installed ring terminal harness eliminates the need to remove panels and fumble with alligator clips every time. The harness bolts directly to the battery terminals and routes a quick-disconnect connector to an accessible location — typically near the seat gap or under a side panel. To charge, simply plug the charger's output cable into the quick-disconnect.
Battery Tender Motorcycle Battery Charger Accessories
Step 4: Monitor the Four ISM Charging Stages
Once connected and powered on, a Battery Tender charger progresses through four distinct ISM stages automatically. Understanding what each stage does — and what the indicator lights mean — ensures confidence that the charging process is working correctly.
- Stage 1 — Initialization: The charger tests battery voltage and applies a gentle current to assess condition. The red LED illuminates. If the battery is below a safe threshold (typically under 3V), the charger will not proceed — this indicates a potentially damaged cell.
- Stage 2 — Bulk Charge (Constant Current): Full rated current (750mA for the Battery Tender Junior, 1.25A for the Battery Tender Plus) flows into the battery until it reaches approximately 80% state of charge. The red LED remains steady. This is the longest stage.
- Stage 3 — Absorption (Constant Voltage): The charger holds voltage constant at the target ceiling (14.7V for lead-acid/AGM, 14.4V for lithium) while current tapers gradually. This stage dissolves sulfate crystals that form on lead plates during discharge — the primary mechanism of battery degradation. Red LED continues.
- Stage 4 — Float Maintenance: When the battery reaches full charge, the charger drops to a maintenance voltage (13.2V for lead-acid) and delivers charge pulses only when voltage dips below the threshold. The green LED illuminates, indicating full charge and active maintenance mode.
Green light = fully charged and maintaining. The charger can remain connected indefinitely at this stage. ISM technology continuously monitors voltage and responds with demand-based pulses, unlike trickle chargers that push constant current regardless of battery state — a practice that causes electrolyte boil-off and plate corrosion over time.
Step 5: Disconnection and Post-Charge Verification
When ready to ride, disconnect in reverse order of connection. First, unplug the charger from the wall outlet. Then remove the negative (−) clamp, followed by the positive (+) clamp. If using a ring terminal harness, simply unplug the quick-disconnect — no clamp removal required.
After disconnecting, verify battery health with a multimeter. A fully charged 12V lead-acid or AGM motorcycle battery should read between 12.6V and 12.8V at rest (no load, measured 30 minutes after charger removal). A lithium LiFePO4 battery reads between 13.2V and 13.6V at rest. Any reading below 12.4V on a lead-acid battery after a full charge cycle indicates reduced capacity — the battery may still start the motorcycle but is approaching end of life.
According to a 2023 study published by the Society of Automotive Engineers (SAE J537), a lead-acid battery that consistently rests below 12.4V after charging has lost approximately 40% of its original capacity and should be tested under load or replaced.
How to Charge a Motorcycle Battery During Long-Term Storage
Seasonal storage is where motorcycle batteries face the greatest risk. A fully charged 12V AGM battery self-discharges at a rate of approximately 3–5% per month at 68°F (20°C), according to BCI Technical Manual data. Over a typical 6-month winter storage period, that represents a 18–30% capacity loss — enough to push the battery into the sulfation zone below 12.4V, where lead sulfate crystals harden on the plates and become irreversible.
The solution is straightforward: connect a Battery Tender charger before the bike goes into storage and leave it connected for the entire off-season. The ISM float maintenance stage keeps the battery at optimal voltage without overcharging. This practice consistently delivers a fully charged, healthy battery on the first day of riding season — no jump starts, no emergency replacements.
For touring motorcycles and larger cruisers with batteries above 18 Ah, the Battery Tender Plus provides 1.25A charging current with built-in temperature compensation that adjusts voltage targets based on ambient temperature. This feature is particularly valuable in unheated garages where temperatures fluctuate between 20°F and 60°F over winter months. Note that Battery Tender Junior models do not include temperature compensation — a distinction worth considering for cold-climate storage environments.
Battery Tender Plus 12V 1.25A Battery Charger
Troubleshooting Common Motorcycle Battery Charging Issues
Even with proper equipment, certain situations require additional attention. Below are the most frequent issues encountered when charging motorcycle batteries and their resolutions.
Charger Flashes Red and Green Alternately
An alternating red-green LED pattern on Battery Tender chargers typically indicates a connection problem or a battery with voltage too low for the charger to initialize. Check all connections for tightness and corrosion. If the battery measures below 3V with a multimeter, it may have a dead cell and should be professionally load-tested before further charging attempts.
Battery Charges Fully but Dies Within Days
A battery that reaches green-light status but drains within 48–72 hours when disconnected usually has one of two problems: a parasitic electrical draw on the motorcycle (alarm system, clock, ECU standby) or internal battery degradation. Measure parasitic draw by placing a multimeter in series with the negative cable — anything above 30mA indicates excessive drain. If parasitic draw is normal, the battery likely has sulfated plates and reduced capacity.
Choosing Between On-Bike and Off-Bike Charging
Battery Tender chargers are safe for on-bike charging with the battery still installed in the motorcycle. ISM technology prevents overcharging, and output voltages remain within safe ranges for motorcycle electronics. However, removing the battery is recommended if charging in an enclosed space without ventilation, or if the battery shows signs of swelling, leaking, or excessive heat during charging. Lithium LiFePO4 batteries can safely charge on-bike in all normal conditions.
Emergency Situations: When the Battery Is Already Dead
Prevention is always preferable, but dead batteries happen — especially after unexpected storage extensions or forgotten key-off accessories. For immediate starting capability without waiting for a full charge cycle, a portable jump starter provides the fastest solution.
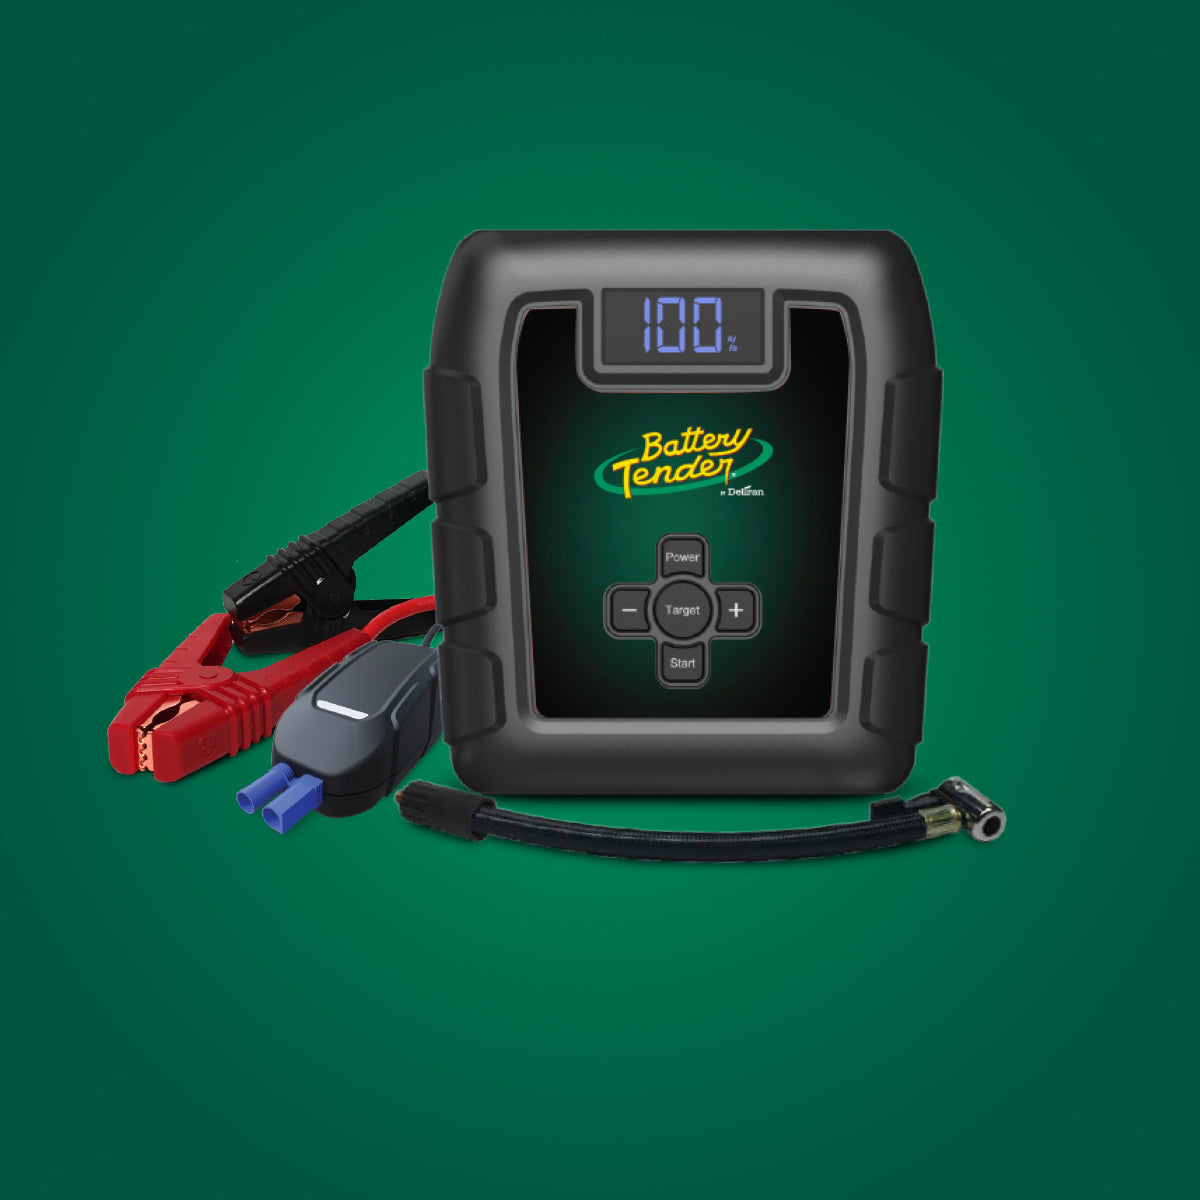
The Battery Tender Charge N Start 1100 combines a 1A ISM charger with a 1,000A lithium-ion jump starter in a single portable unit. This dual-function design handles the immediate need — starting the motorcycle — and the long-term need — properly charging and maintaining the battery. The 1,000A jump start capacity handles engines up to 5.0L gasoline, which covers virtually every production motorcycle. The internal lithium-ion battery uses proprietary Charge N Store technology to maintain its own charge during storage.
Battery Tender Charge N Start 1100 — 1A Charger + 1,000A Jump Starter
Riders who want a compact jump-only solution for roadside emergencies should consider the Battery Tender 600A Jump Starter, which weighs under 1 pound, fits in a jacket pocket, and delivers enough cranking power for motorcycles and small-displacement engines up to 4.0L gasoline.
Battery Tender 600A Portable Jump Starter
Frequently Asked Questions
How long does it take to charge a motorcycle battery?
Charging time depends on battery capacity and charger amperage. Use the formula: (battery Ah × depth of discharge) ÷ charger amps = hours. A fully discharged 12 Ah AGM motorcycle battery on a 750mA Battery Tender Junior charger takes approximately 16 hours. A 50%-discharged battery of the same size takes roughly 8 hours. The green indicator light confirms full charge.
Can a Battery Tender charger stay connected to a motorcycle battery all winter?
Yes. Battery Tender chargers use ISM technology with a demand-responsive float maintenance stage that only delivers charge pulses when battery voltage drops below the optimal threshold. This prevents overcharging and electrolyte damage, making indefinite connection safe. Leaving a Battery Tender charger connected throughout a 6–9 month storage season is the recommended practice for preserving battery health.
Should the motorcycle battery be removed from the bike for charging?
Removing the battery is not required for ISM-based smart charging. Battery Tender chargers operate safely with the battery installed on the motorcycle because output voltage never exceeds levels that could damage onboard electronics. Remove the battery only if charging in a poorly ventilated space, if the battery shows physical damage such as swelling or cracks, or if the motorcycle will undergo other maintenance that requires battery removal.
What is the difference between a smart charger and a trickle charger for motorcycles?
A trickle charger delivers constant current regardless of battery state, which risks overcharging and electrolyte boil-off if left connected. A smart charger like the Battery Tender Junior uses ISM technology — a 4-stage process (Initialization, Bulk, Absorption, Float Maintenance) that automatically adjusts output based on real-time battery voltage. Smart chargers can remain connected indefinitely; trickle chargers cannot.
Conclusion
Learning how to charge a motorcycle battery properly is straightforward when following a systematic approach: identify the battery chemistry, select the correct charger amperage, connect in the right sequence, monitor the ISM charging stages, and disconnect safely. For long-term storage, leaving a Battery Tender charger connected eliminates the self-discharge and sulfation damage that kills more motorcycle batteries than any other cause. Whether the