


The first warm weekend of spring has the same effect on motorcyclists everywhere: the riding jacket comes out, the garage door opens, and the realization sets in that the bike needs attention before it goes back on the road. Motorcycles that have been stored for three to six months are not simply "parked" in any practical sense - they have experienced months of chemical change, slow self-discharge, and fluid settling that require a methodical de-winterization process before riding safely.
The battery is one of the most critical - and most commonly neglected - elements of spring motorcycle prep. Battery Tender® has been maintaining powersports batteries through storage cycles for decades, and this complete de-winterization checklist puts the battery first, where it belongs.
The Battery De-Winterization Process
If You Used a Battery Tender Maintainer During Storage
If you connected a Battery Tender smart charger before storing the motorcycle and left it connected throughout winter, your battery prep is almost complete. Disconnect the charger and verify the resting voltage reads 12.6V or higher. This is the condition a Battery Tender-maintained battery should be in after any storage period. Load test if the bike is more than 3 years old or if there is any uncertainty, then proceed with the rest of the checklist.
This is precisely why storage maintenance is worth every dollar: a maintained battery saves 30 minutes of charging, load testing, and uncertainty on the first spring riding day.
If the Battery Was Stored Without a Charger
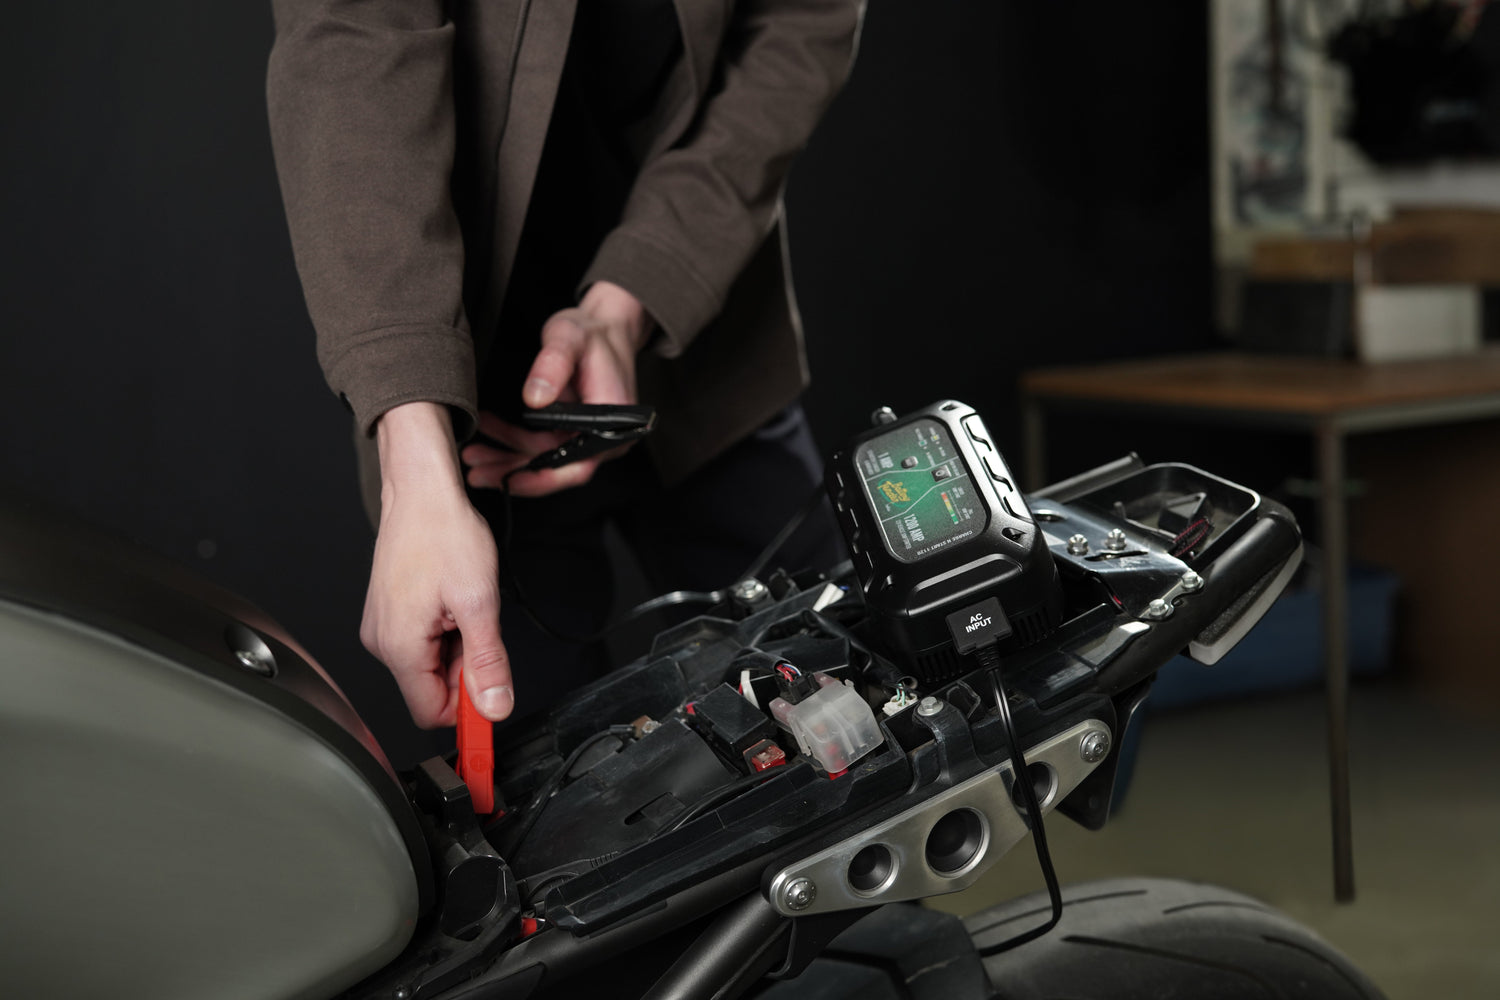
Connect a smart charger immediately and allow a full charge cycle before any testing or starting attempts. Depending on how much self-discharge occurred during storage (typically 3-5% per month), this cycle may take 6-24 hours. Do not attempt to start the motorcycle until the charger has completed a full cycle and the battery has rested for 2 hours post-charge.
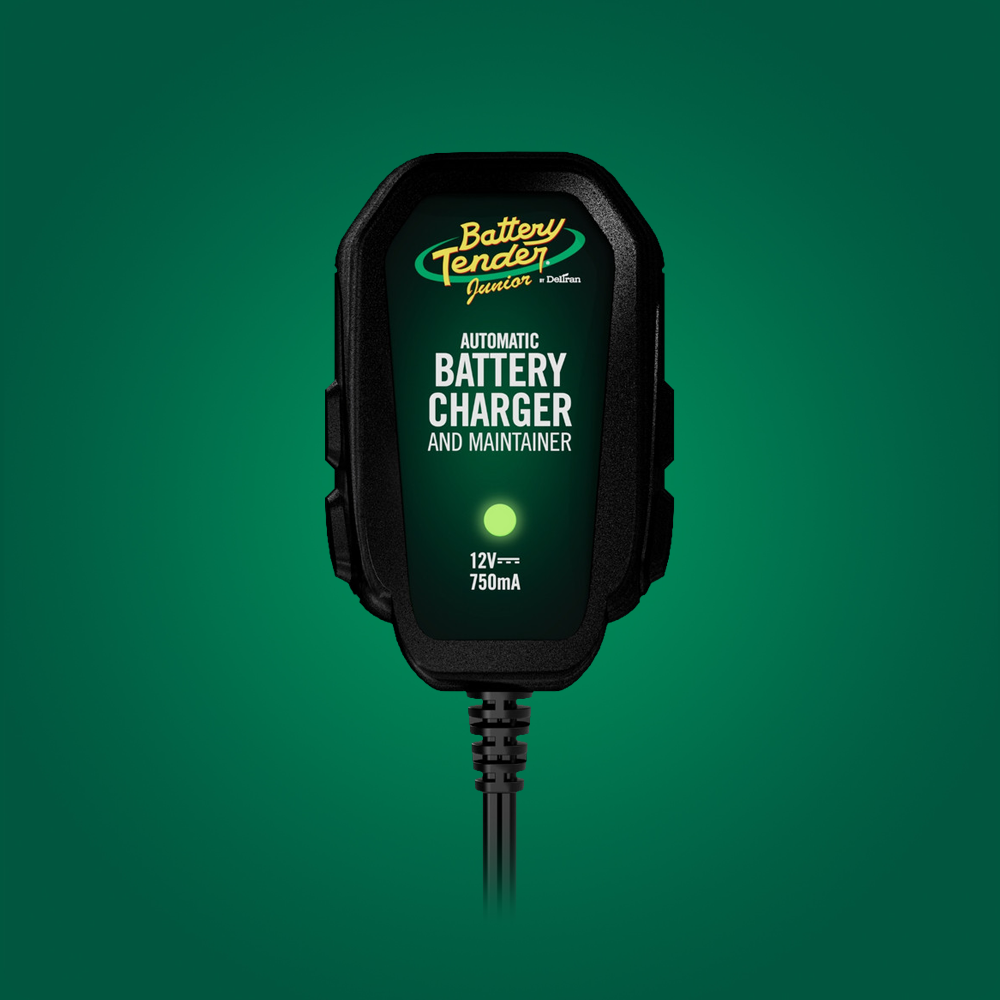
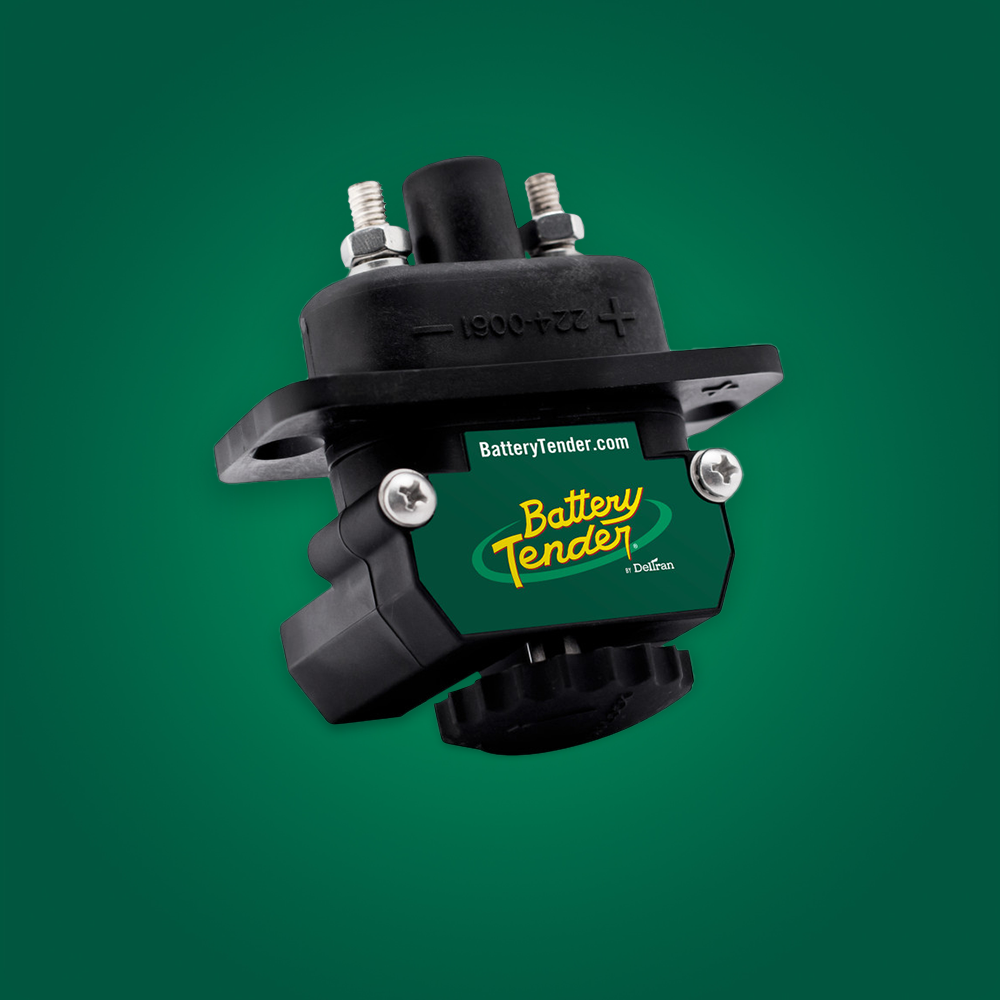
The Battery Tender Plus 1.25 AMP 12V (SKU: 021-0128) is the most popular powersports storage charger - leave it connected until the green maintenance light confirms full charge.
For bikes with lithium (LiFePO4) batteries, use the selectable chemistry charger to ensure the proper voltage profile for lithium chemistry.
Shop the Battery Tender Junior 1 AMP Selectable Chemistry (SKU: 022-0199-DL-WH) for lead-acid/AGM or lithium motorcycles.
Load Testing the Motorcycle Battery
After a full charge, load test the battery. Small motorcycle batteries are tested at lower loads than automotive batteries - typically 50-100 amps depending on the battery's CCA rating. A battery that fails a load test despite appearing fully charged has internal plate damage from over-discharge or sulfation during storage and needs replacement before the riding season.
If the battery is the original battery that came with the motorcycle and the bike is more than 3 years old, proactive replacement at spring de-winterization - rather than waiting for roadside failure - is worth considering.
Full De-Winterization Checklist
Battery and Electrical
- Charge battery fully and load test
- Check terminal connections for corrosion - clean with baking soda solution and coat with dielectric grease
- Inspect battery case for cracks or swelling
- Test all lighting: headlight (high and low beam), turn signals, brake light, tail light
- Test horn operation
- Check instrument panel function and warning lights
Fluids
- Check engine oil level and condition - if due, change oil and filter before the first ride
- Check coolant level and condition (liquid-cooled bikes)
- Check brake fluid level in both reservoirs - replace if discolored or more than 2 years old
- Check chain lubrication or shaft drive fluid (if applicable)
- Check fork oil level if any leakage is visible around fork seals
Tires and Brakes
- Check tire pressure - motorcycles lose 2-4 PSI per month sitting; cold tires will be significantly low
- Inspect tires for flat spots from sitting, cracking, or dry rot - replace if surface shows cracking or hardening
- Check tire tread depth - legal minimum 2/32", recommend replacing before 3/32"
- Inspect brake pads for thickness through the caliper window
- Squeeze front and rear brakes to confirm feel is firm and consistent
Controls and Safety
- Operate throttle from full open to full close - should return to idle with no binding
- Check clutch lever operation and freeplay adjustment
- Inspect brake levers for smooth operation and return
- Check all cables for fraying, kinking, or corrosion
- Inspect mirrors, adjust for riding position
First Start Protocol
- Confirm petcock is in RUN or PRI position (if carbureted)
- Do not use the starter with full throttle - choke/enrichment circuit only if needed
- Allow the engine to warm fully at idle for 5 minutes - do not ride until the engine reaches operating temperature
- Make the first ride a short, slow one in a controlled area - check for any unusual sounds, vibration, or brake performance before highway use
Having a Jump Starter Ready for Spring
Even with a properly charged and tested battery, the unexpected can happen - especially on a first start after months of storage. A compact lithium jump starter stored in the garage (or for adventure riders, in a tank bag) provides immediate recovery capability without waiting for roadside assistance.
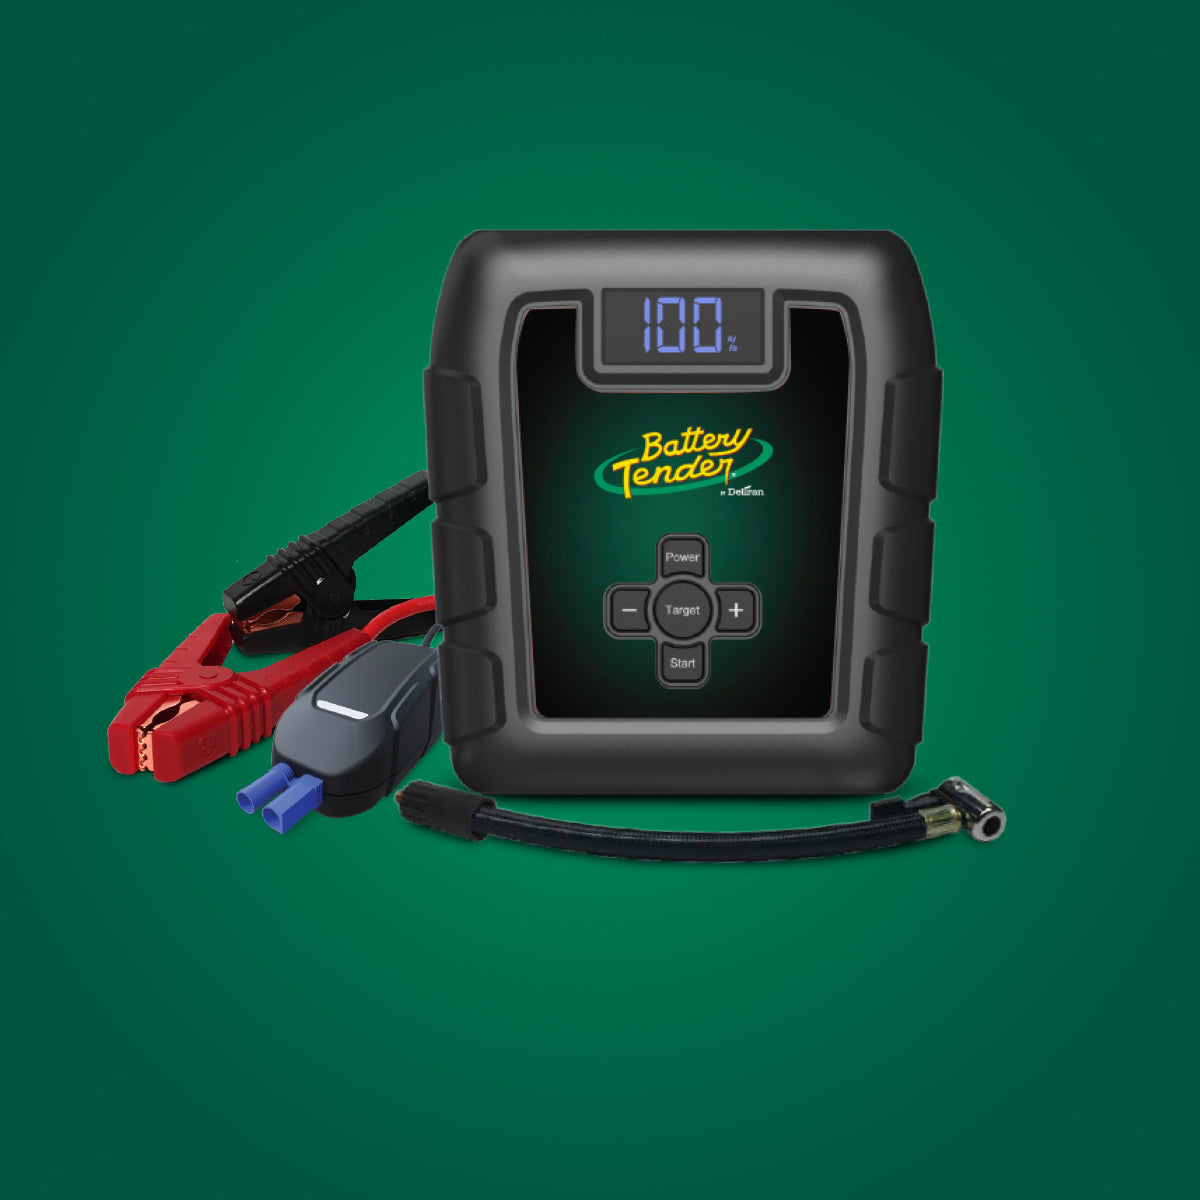
The Charge N Start 1100 is particularly well-suited to motorcycle de-winterization season: it jump-starts the motorcycle if needed and then serves as a 1-amp smart charger for the battery, covering both emergency starting and ongoing maintenance in one unit. For a rider with multiple bikes, the Charge N Start handles the emergency for any of them.
Explore the Charge N Start 1100 - 1 AMP Charger + 1000 AMP Jump Starter (SKU: 030-7010-WH) - ideal for powersports spring prep and year-round use.
Frequently Asked Questions
Is it safe to start my motorcycle right after connecting the battery?
If the battery was maintained during storage and reads 12.6V or higher, starting immediately is fine. If the battery was stored uncharged, allow a full smart charger cycle before attempting to start - attempting to crank a deeply discharged battery can damage it further and may not even provide enough current to start the engine.
My motorcycle won't start even with a fully charged battery. What's wrong?
If the battery is confirmed charged, the issue is likely carbureted bikes: fuel that has gummed up the carburetor over winter. Add fresh fuel, use carburetor cleaner spray in the air intake briefly, and try again. For fuel-injected bikes, stale fuel rarely causes this - more likely a fuel pump issue, a tripped tip-over sensor, or an immobilizer that needs to recognize the key again.
How do I know if my battery was damaged during winter storage?
A battery that was stored uncharged and now will not accept a charge, reads below 12.0V after charging, or fails a load test has likely suffered permanent sulfation damage from the storage period. This battery should be replaced.
Should I replace my motorcycle battery every spring?
Not necessarily - but every spring is when you should evaluate it. A battery that passes a load test, accepts a full charge, and is under 4 years old is fine to keep. One that has been unwell for a season, requires frequent charging, or is approaching the manufacturer's expected service life is worth replacing proactively at the start of the season.
Conclusion
Spring de-winterization is the reward for proper winter storage - and the cost of neglecting it. A motorcycle that has been properly maintained through winter, with a Battery Tender smart charger keeping the battery at peak charge throughout the storage period, de-winterizes in minutes rather than hours and starts the season with zero battery drama. For those who skipped the winter maintenance step, a systematic spring inspection, full charge, and load test before the first ride ensures safety and reliability from day one.
Shop the full powersports battery charger lineup and start this riding season the right way.