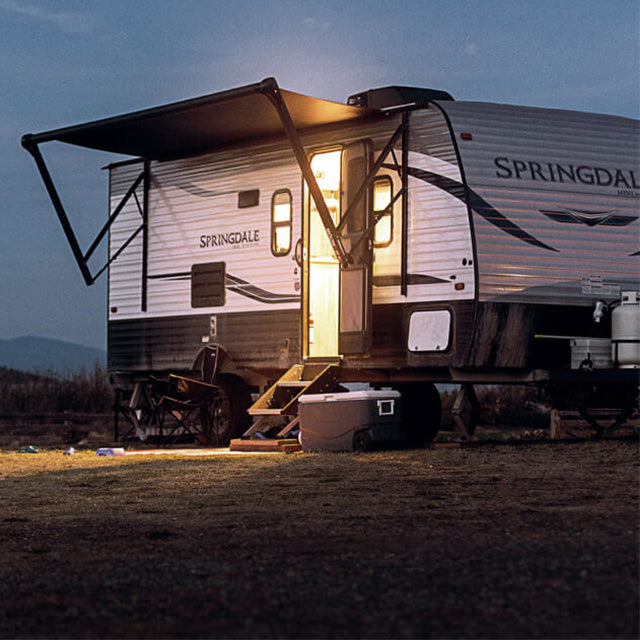


How to Winterize RV Battery Banks for Spring-Ready Power (2026)
To winterize RV battery banks properly, disconnect house batteries from all parasitic loads, charge them to 100% state of charge using a smart charger with Infinite Sequential Monitoring (ISM), and connect a temperature-compensating maintainer for the entire storage period. Battery Tender® chargers with ISM technology deliver demand-responsive maintenance pulses that prevent sulfation and freezing damage without risking overcharge — making them safe for months-long unattended connection. For RV owners with $50,000 to $500,000 invested in their rigs, a $65–$150 charger is the most cost-effective insurance policy against a ruined spring trip.
Most RV winterization guides cover plumbing, antifreeze, and slide-out retraction but treat batteries as an afterthought. That oversight costs owners $200–$800 per replacement cycle in house battery banks and creates cascading electrical failures that surface weeks into the next camping season. This guide focuses exclusively on the battery-specific steps required to winterize RV battery systems — from initial load disconnection through continuous cold-weather maintenance — so every amp-hour of capacity survives storage intact and ready for spring commissioning.
Key Takeaways:
- A fully charged lead-acid battery freezes at approximately −92°F; a 50% discharged battery freezes at just 15°F — winter charging prevents physical destruction.
- Self-discharge drains 3–5% of capacity per month at 50°F and accelerates above that, making unattended storage a sulfation risk within 60–90 days.
- Temperature-compensating chargers automatically adjust voltage targets as ambient temperatures drop, preventing both undercharge and gassing.
- ISM 4-stage charging eliminates the overcharge risk of trickle chargers, allowing safe connection for 4–6 months of continuous winter storage.
- Proper winterization extends lead-acid battery lifespan from 2–3 years to 5–7 years, saving $400–$1,600 over a typical ownership period.
Why Do RV Batteries Fail During Winter Storage?
RV battery banks fail during winter for two interconnected reasons: sulfation from self-discharge and electrolyte freezing from low state of charge. Understanding both mechanisms explains why simply disconnecting the battery and walking away is insufficient — and why active maintenance during storage is the only reliable prevention.
Every lead-acid battery self-discharges through internal chemical reactions at a rate of approximately 3–5% per month at 50°F and up to 15% per month at 80°F or above, according to data from the Battery Council International (BCI). Over a 4-month winter storage period at moderate temperatures, an initially full battery can lose 12–20% of its charge without any external load connected. As the state of charge drops, lead sulfate crystals form on the plates. If those crystals harden — a process called irreversible sulfation — they permanently reduce battery capacity. The Electrochemical Society reports that sulfation accounts for approximately 80% of premature lead-acid battery failures.
Freezing compounds the problem. A fully charged battery with a specific gravity of 1.265 has a freeze point near −92°F — safely below any terrestrial temperature. But at 50% state of charge, the electrolyte dilutes enough to freeze at approximately 15°F, well within range for most northern U.S. storage locations. Frozen electrolyte expands, cracking plates and warping case walls. The damage is irreversible.
Step-by-Step: How to Winterize RV Battery Banks
Properly winterizing an RV battery bank requires six sequential steps, completed in order. Each step builds on the previous one, and skipping any single step compromises the protection of subsequent steps.
Step 1: Disconnect All Parasitic Loads
Turn off the main battery disconnect switch inside the RV. Then physically disconnect the negative cable from the house battery bank. Even with the disconnect switch off, parasitic draws from LP gas detectors, CO monitors, stereo memory, and control boards can pull 0.5–3.0 amps continuously. On a 200 Ah battery bank, a 1-amp parasitic draw would fully deplete the bank in approximately 8 days. Disconnecting the negative terminal eliminates this drain entirely.
Step 2: Inspect and Clean Battery Terminals
Remove corrosion from all terminals using a baking soda and water solution (one tablespoon per cup). Inspect cables for cracking, fraying, or green oxidation at crimped connections. For flooded lead-acid batteries, check electrolyte levels and top off with distilled water to the fill line — never tap water, which contains minerals that accelerate plate degradation. AGM and GEL batteries require no electrolyte service.
Step 3: Charge to 100% State of Charge
Before storage, bring every battery to full charge using a smart charger. The RV converter/charger is not ideal for this task — most RV converters deliver single-stage or crude two-stage charging that either undercharges or overcharges the bank. A dedicated charger with ISM technology delivers the precise 4-stage process (Initialization, Bulk, Absorption, Maintenance) that dissolves existing sulfate crystals during the Absorption stage and verifies full charge before transitioning to maintenance mode.
For a typical 200 Ah RV house bank at 50% discharge, charging time can be estimated: (200 Ah × 0.50) ÷ 8A = approximately 12.5 hours to reach full charge using an 8-amp charger. A 1.25-amp charger would require approximately 80 hours for the same recovery — still effective, but planning ahead matters.
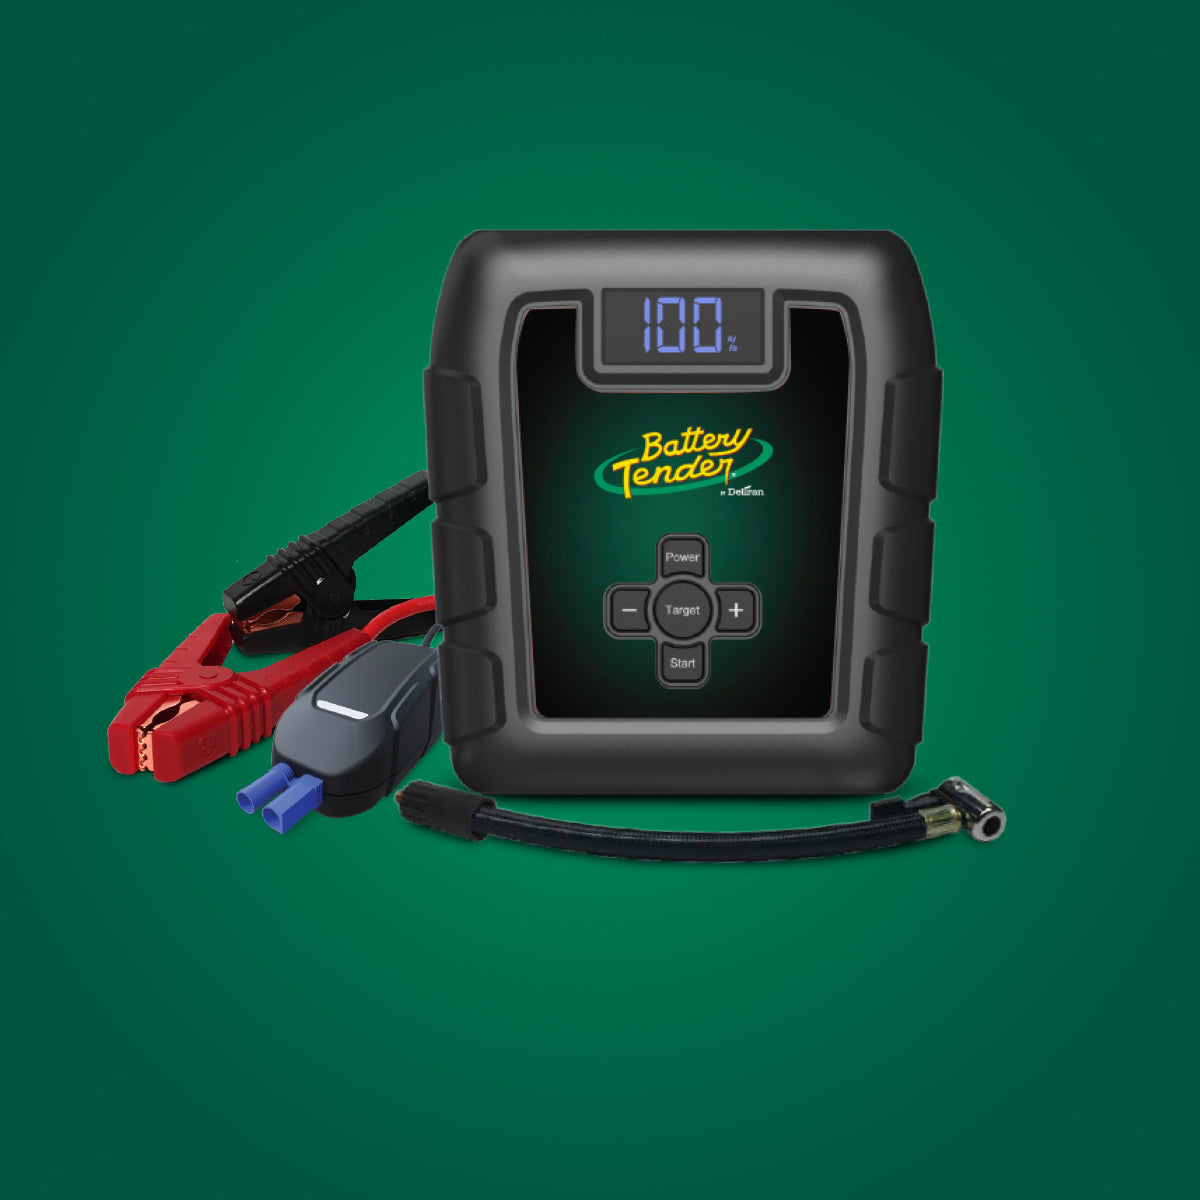
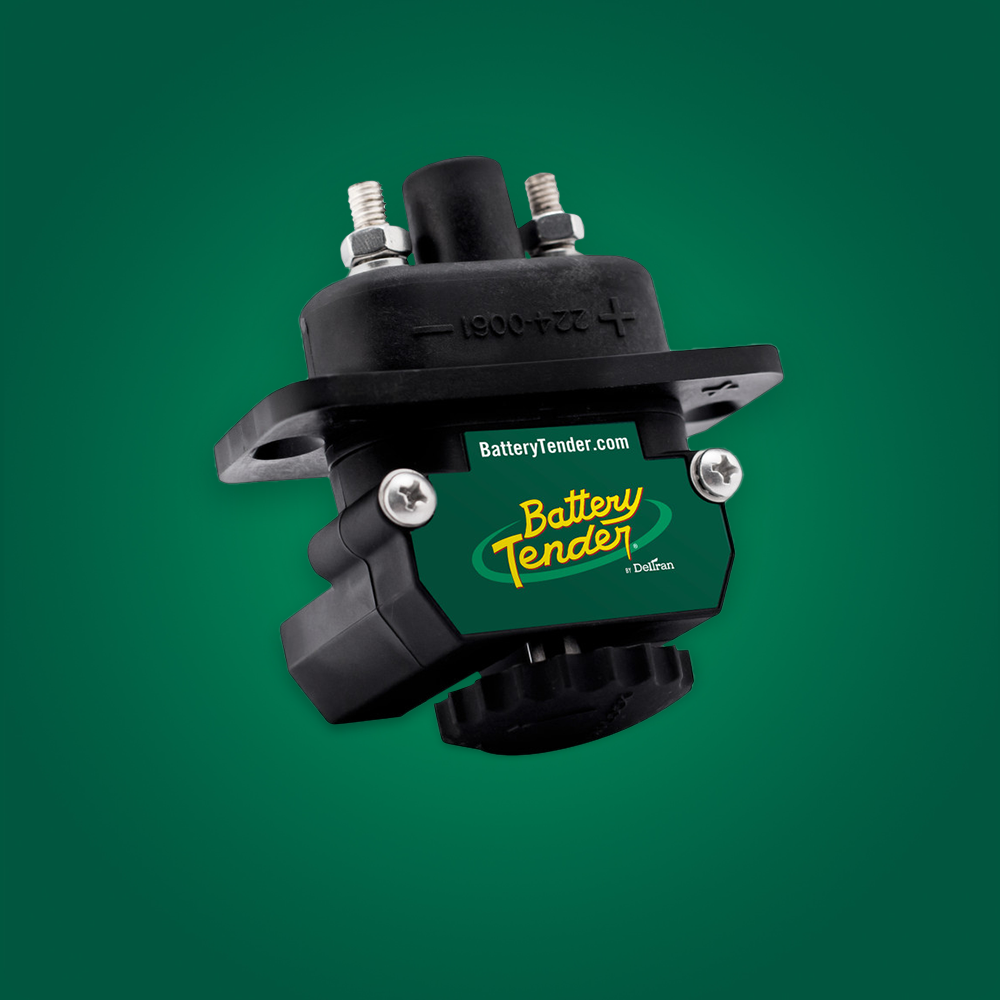
The Battery Tender 8A/2A Power Tender (SKU 022-1005-DL-WH) is purpose-built for this scenario. The 8-amp rate handles initial recovery of large RV house banks efficiently, while the 2-amp rate provides gentler maintenance. A 6-amp power supply mode also supports diagnostic work on RV electrical systems during winterization.
Battery Tender 8A/2A Power Tender — 12V Selectable Battery Charger
Step 4: Connect a Temperature-Compensating Maintainer
Once the battery reaches 100% charge, leave the smart charger connected for the duration of storage. This is where ISM technology provides critical protection that trickle chargers and float-only chargers cannot match. During maintenance mode, ISM monitors battery voltage continuously and delivers charge pulses only when voltage drops below the maintenance threshold. Unlike constant-current trickle chargers — which can boil electrolyte and warp plates over weeks of continuous output — ISM is demand-responsive and safe for indefinite connection.
Temperature compensation is the feature that separates winter-capable chargers from fair-weather units. As ambient temperature drops, the ideal charging voltage for lead-acid chemistry increases. At 32°F, a 12V battery requires approximately 14.7V for proper absorption — roughly 0.4V higher than at 77°F. All Battery Tender chargers except Junior models include automatic temperature compensation, adjusting voltage targets in real time without user intervention. This prevents undercharging in cold garages and overcharging in heated storage buildings.
Step 5: Protect Physical Battery Placement
If possible, store batteries in a location that stays above 32°F — a heated garage, basement, or insulated compartment. Batteries left in unheated RV compartments in northern climates face temperature extremes that stress even properly maintained banks. Place batteries on wood or foam, never directly on concrete floors, which can accelerate heat loss. Ensure the charger power cord reaches an accessible 120V outlet.
Step 6: Monthly Visual Inspection
Even with continuous ISM maintenance, perform a monthly visual check. Verify the charger status LED shows green (maintenance mode). Check for signs of corrosion, electrolyte leaks, or swelling. For flooded batteries, confirm electrolyte levels remain at the fill line — cold-weather charging can consume small amounts of water over several months.
How to Winterize RV Battery Banks with 6V Pairs
Many RV house battery systems use pairs of 6V golf cart batteries wired in series to produce 12V. This configuration requires specific winterization attention. When disconnecting for inspection, always remove the negative cable first and the series jumper second. When reconnecting, reverse the order.
For charging, the series pair presents 12V to the charger and can be maintained as a single 12V bank. However, RV owners who want to individually charge and equalize each 6V battery during pre-storage conditioning need a charger with selectable 6V/12V output. The Battery Tender Plus 1.25A Selectable provides both 6V and 12V modes, allowing individual battery conditioning before wiring the pair back into series for storage maintenance at 12V.
Battery Tender Plus 1.25A Selectable — 6V/12V Battery Charger
Choosing the Right Charger Amperage to Winterize RV Battery Systems
Charger selection depends on battery bank size and how the charger will be used. For maintenance-only duty on a bank that is already fully charged, even a 1.25-amp charger sustains a 400 Ah bank indefinitely — maintenance mode draws are measured in milliamps. However, the initial full-charge recovery before storage is where amperage matters.
The table below maps common RV battery bank sizes to appropriate Battery Tender charger selections and estimated recovery times from 50% discharge:
| Bank Size | Recommended Charger | Charge Rate | Recovery Time (50% DoD) |
|---|---|---|---|
| 50–100 Ah | Battery Tender Plus 1.25A | 1.25A | 20–40 hours |
| 100–200 Ah | Battery Tender 8A/2A Power Tender | 8A | 6–12.5 hours |
| 200–400 Ah | Battery Tender 15A/8A/2A Power Tender | 15A | 6.7–13.3 hours |
| 6V pairs (any size) | Battery Tender Plus 1.25A Selectable | 1.25A per battery | Varies by individual battery Ah |
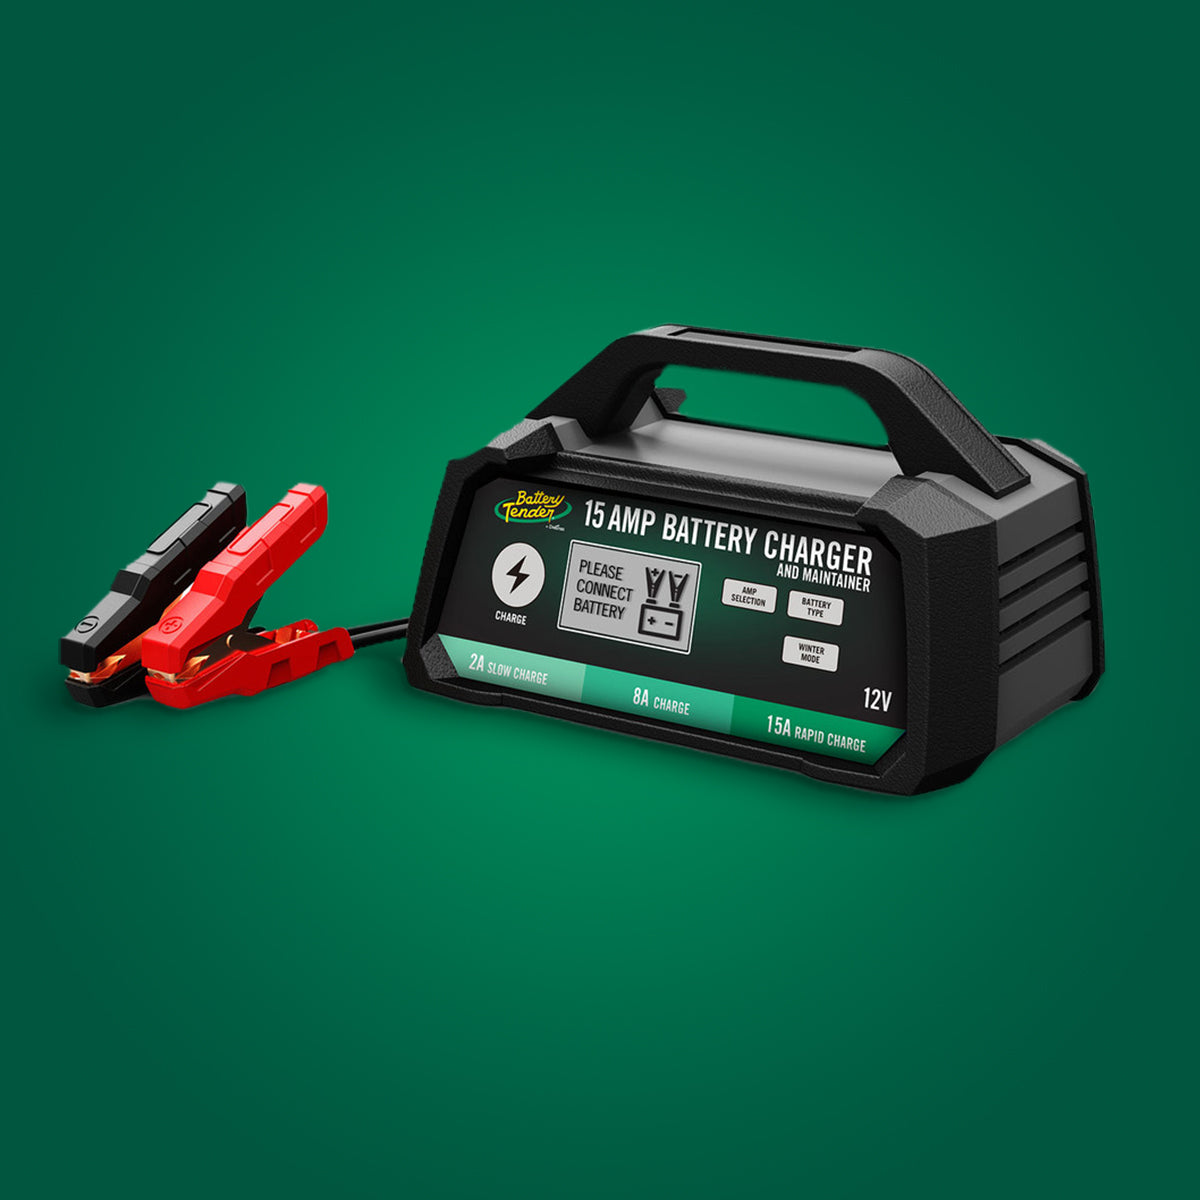
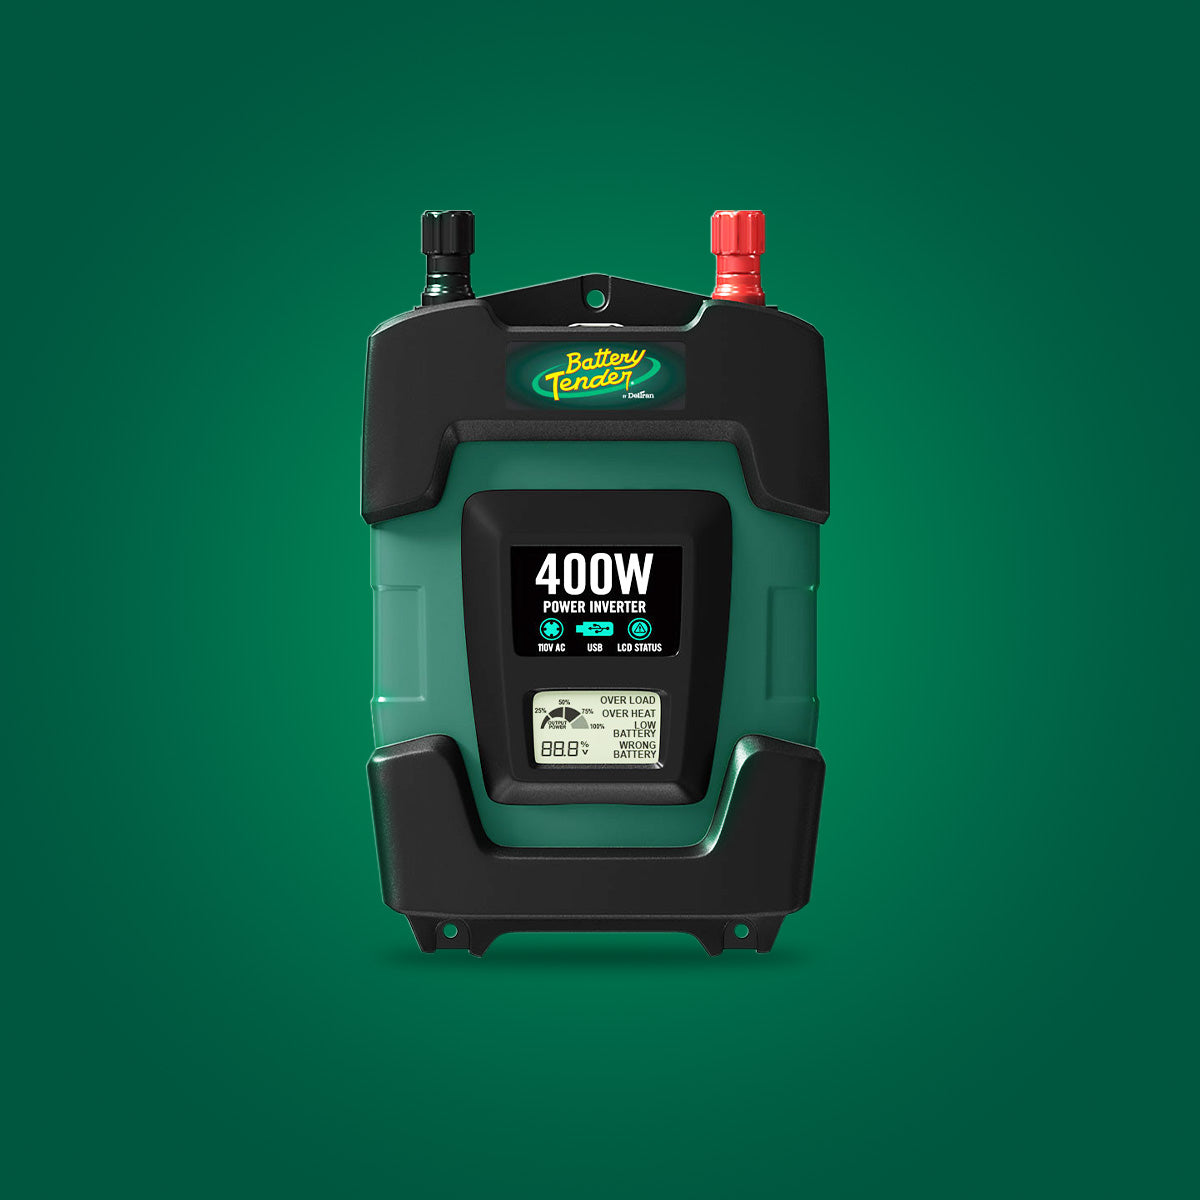
For RV owners with house banks exceeding 200 Ah, the Battery Tender 15A/8A/2A Power Tender delivers the fastest initial recovery with triple-selectable charge rates and an LCD display showing real-time charge status. The 15-amp rate recovers a 300 Ah bank from 50% discharge in approximately 10 hours: (300 × 0.50) ÷ 15 = 10 hours.
Battery Tender 15A/8A/2A Power Tender — Selectable Chemistry 12V Charger
What About Lithium RV Batteries in Winter?
Lithium iron phosphate (LiFePO4) batteries — increasingly common in RV house systems — have different winterization requirements than lead-acid. Lithium batteries self-discharge at only 1–2% per month, dramatically reducing the urgency of continuous maintenance charging. However, lithium batteries must never be charged below 32°F (0°C) unless equipped with internal heating elements. Charging a cold lithium cell causes lithium plating on the anode, permanently reducing capacity and creating safety risks.
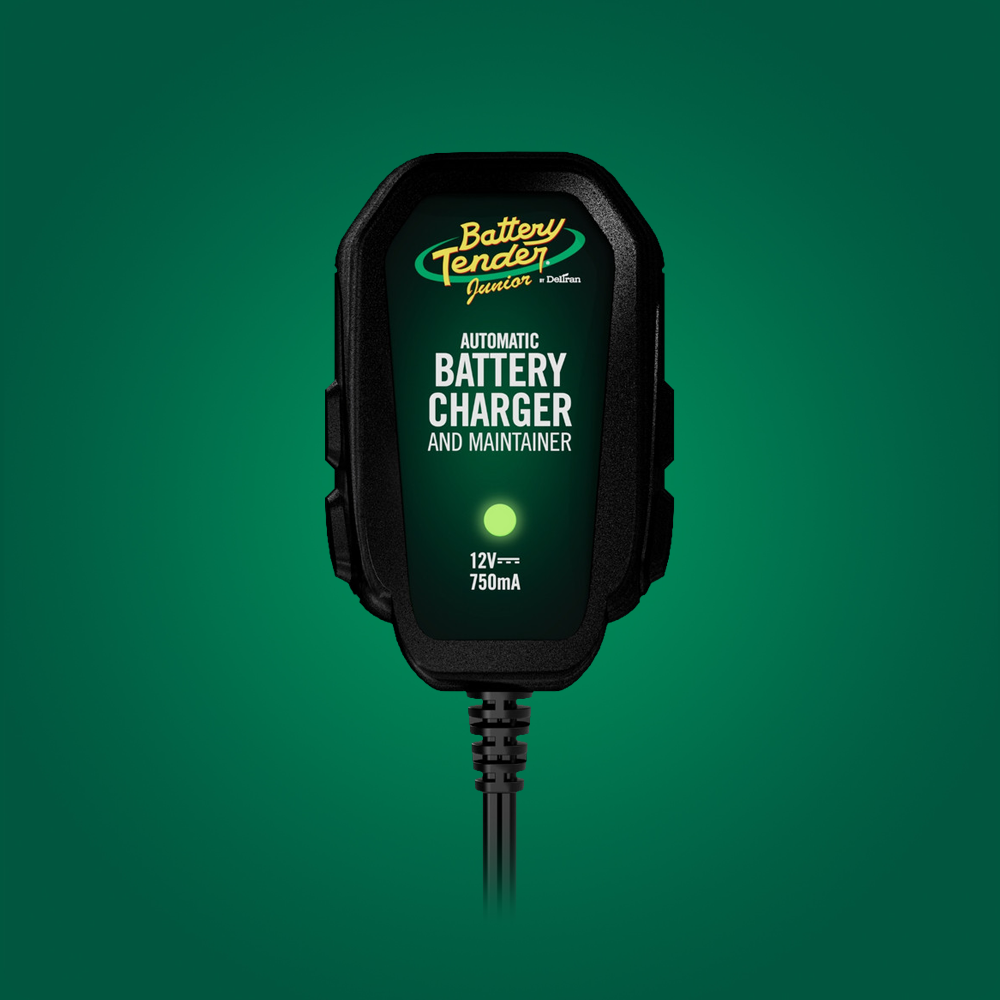
For lithium RV banks, the winterization approach shifts: charge to 50–60% state of charge (not 100%, as lithium batteries store best at partial charge), disconnect all loads, and store in a temperature-controlled environment above freezing. If connected to a maintainer, use a lithium-compatible charger such as the Battery Tender Plus 1.25A, which supports lithium chemistry profiles and will not initiate charging when battery conditions indicate risk.
Battery Tender Plus 12V 1.25A — Smart Battery Charger and Maintainer
Emergency Preparedness: Jump-Starting an RV After Storage
Even with proper winterization, situations arise — power outages disconnect the maintainer, an outlet trips a breaker unnoticed, or a battery develops an internal defect. Every RV owner should carry a portable jump starter capable of handling the chassis battery (typically a Group 24 or 27, 600–800 CCA) to avoid being stranded at the storage facility on the first spring outing.
The Battery Tender Charge N Start 4120 combines a 4-amp smart charger with a 1,200-amp jump starter in a single unit. The 4-amp charger section can serve as the primary winterization maintainer for moderate battery banks, while the 1,200-amp jump capability handles engines up to 6.0L gas and 4.0L diesel. The proprietary Charge N Store technology maintains the internal lithium-ion jump pack at full readiness during storage, and SafeGuard anti-backfeed circuitry prevents electrical damage to the RV during jump-starting.
Battery Tender Charge N Start 4120 — 4A Charger + 1,200A Jump Starter
For larger diesel pushers and Class A motorhomes with high-CCA chassis batteries, the Battery Tender 2000A Jump Starter provides 2,000 peak amps from a 16,000 mAh lithium-ion pack — enough power for approximately 50 starts on a single charge. It handles engines up to 8.0L gas and 6.5L diesel.
Battery Tender 2000A Jump Starter — Portable 16,000 mAh
Frequently Asked Questions
Can a Battery Tender charger stay connected to an RV battery all winter?
Yes. Battery Tender chargers use ISM technology with a demand-responsive maintenance stage that delivers charge pulses only when voltage drops below threshold. Unlike trickle chargers that output constant current, ISM prevents overcharging and electrolyte boil-off. Models with temperature compensation automatically adjust voltage targets as temperatures change, making them safe for 4–6 months of continuous unattended connection in garages, barns, or covered storage.
Should RV batteries be removed from the RV for winter storage?
Removing batteries is ideal but not always practical for large house banks. If batteries remain in the RV, disconnect the negative terminal to eliminate parasitic loads, connect a smart maintainer, and ensure the storage location stays above 32°F. If batteries are removed, store them on a wooden surface in a temperature-controlled space and connect a Battery Tender charger for continuous ISM maintenance throughout the storage period.